Hope you don't mind me putting another of my projects up?
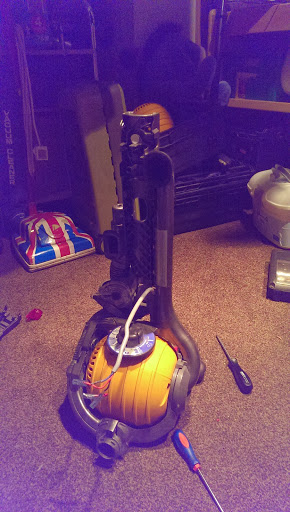
The patient:

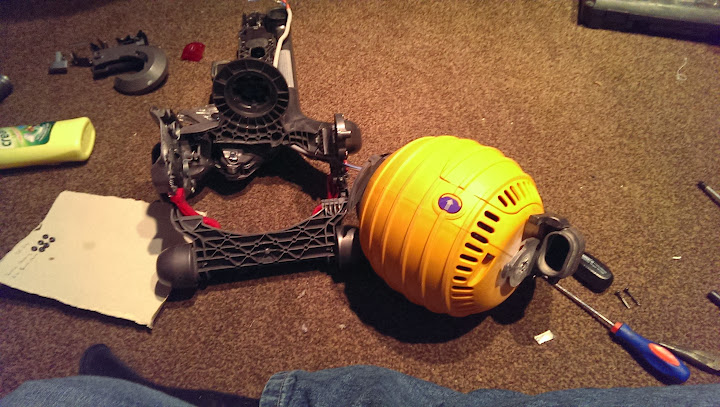
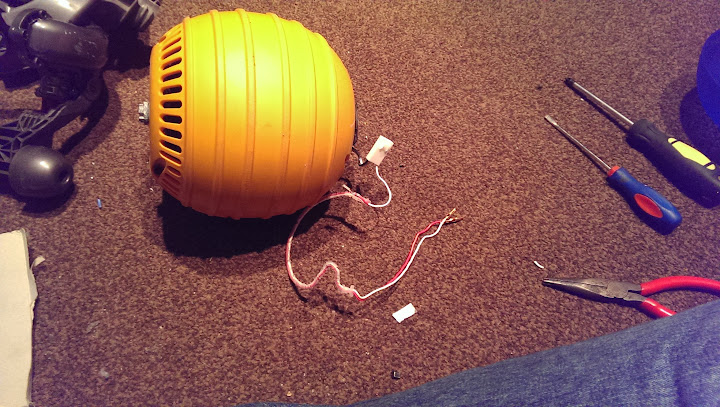
A DC24 All Floors with grumbly carbons. Runs well enough, but smells of burning on occasion and sparks can be seen with the filter removed. I've been using this for the past few weeks, but decided to strip it down so it can be sold and be out of the way!
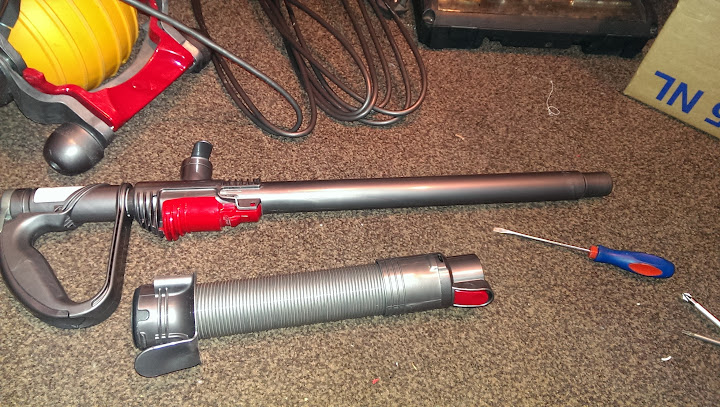
Hose and handle off
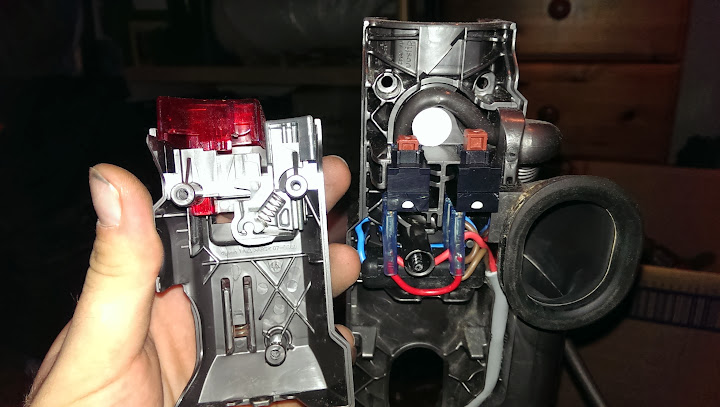
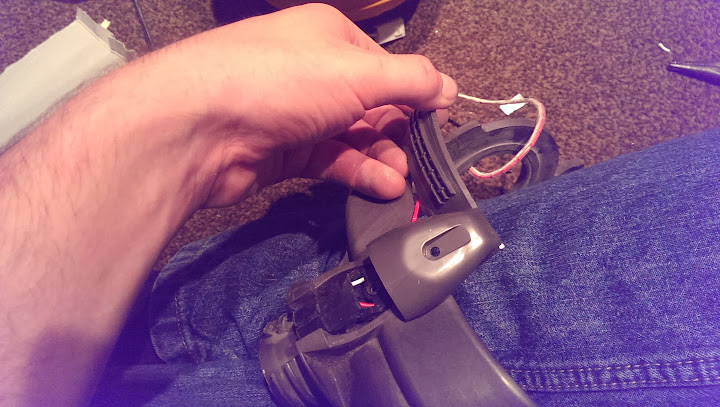
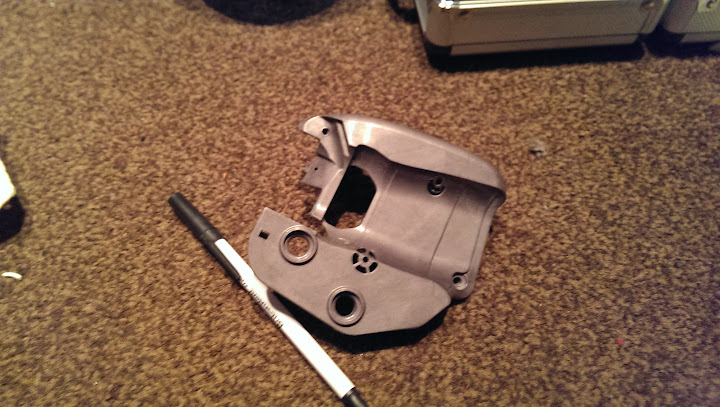
Switch housing removed. Found a good cheat here is to leave the screws in a few turns and push them in, this the unclips the housing without resorting to screwdrivers!
Much the same setup as the DC25 internally


Getting there
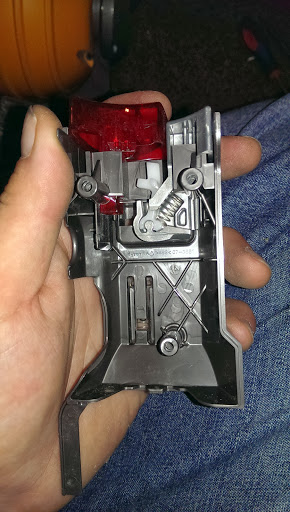
Moody* shot
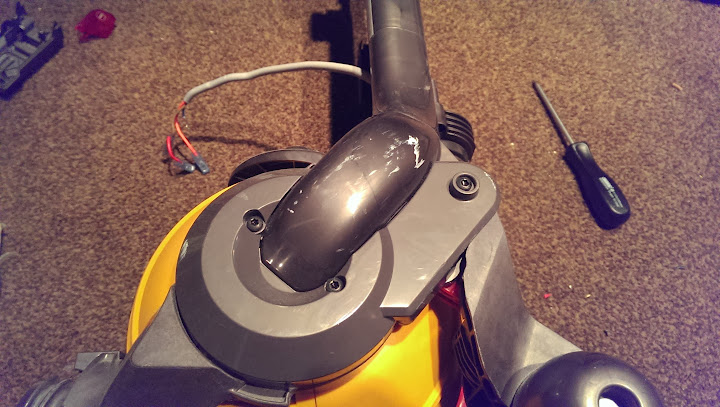
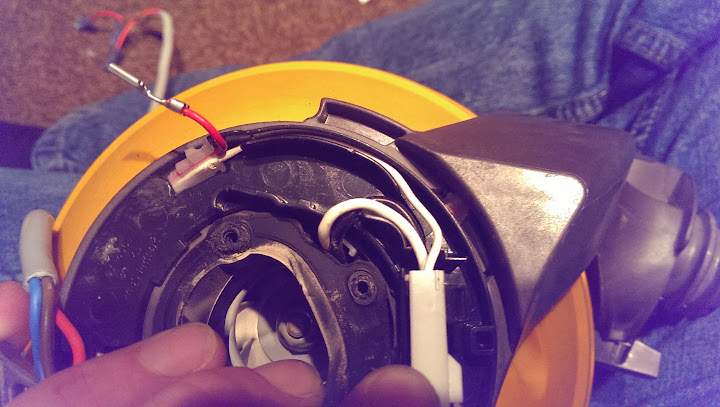
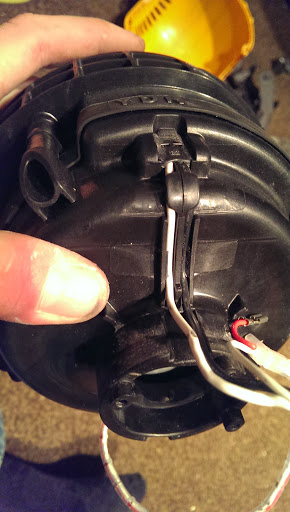
Remove the cover, and the wires and centre screw become visible
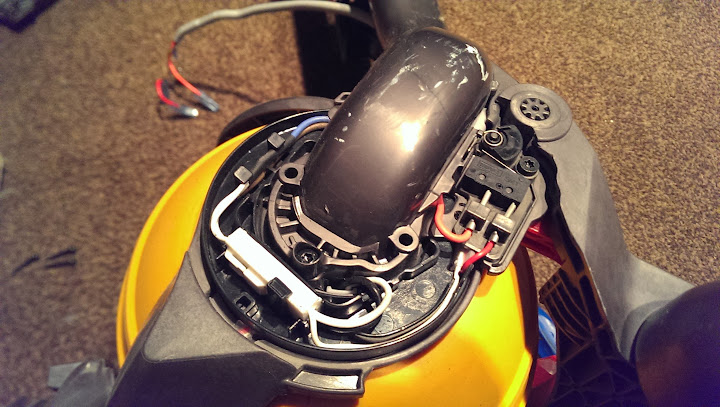
Refrence of the orange and red wire that goes into the recline activated brushroll switch

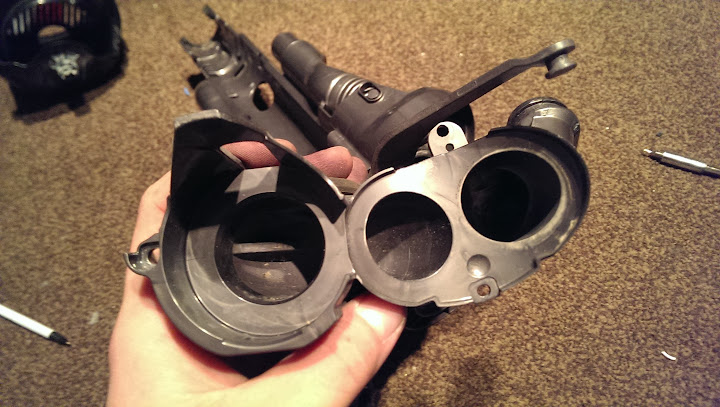
Pop the lower hose off

Remove the centre screw from both sides
And unclip the ball. Be careful though, the wires are all still attached.
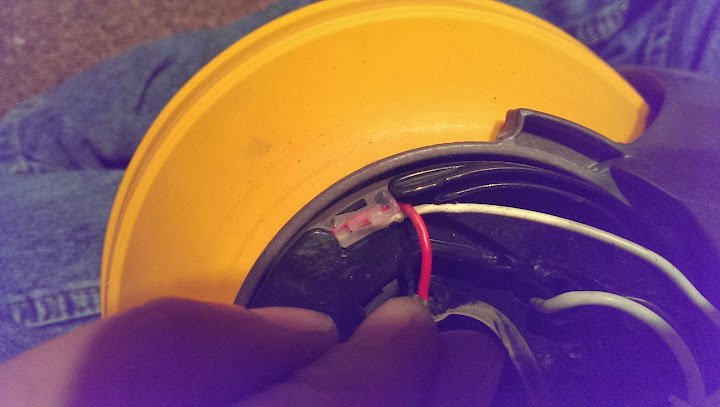
Refrence shots of the cable runs, it all has to go back together exactly otherwise the ball won't turn/it will but you will rip loads of wires out...


Under the black ring, the wires from the floorhead coil around the housing


Once all the wires are unplugged and removed from their various holding positions, you can fully seperate the ball from the yolk assembly

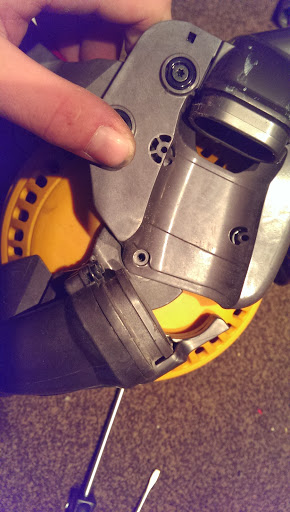
Sidelining to the yolk assembly, undo the 1 torx screw and the cable cover will lift off and wriggle out
In order to properly wash the yolk, the floorhead plug needs to be stripped and removed. The wires need to be removed for this, they just pull out. Tip here is to loop some cable out of the back, then push the contacts out with this slack, then pull them through and out of the housing. (It's easier when you do it)

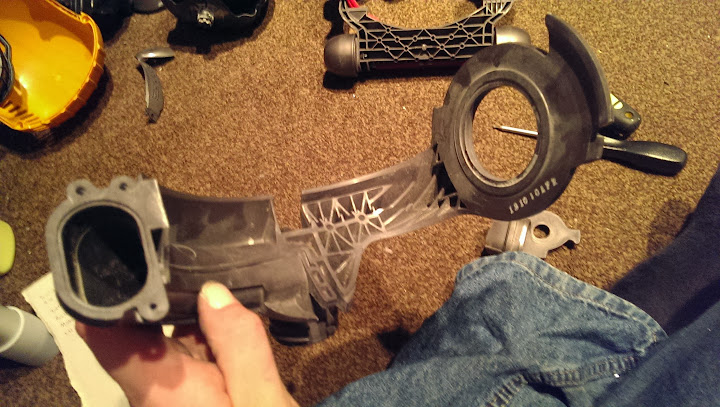
The yolk can then be fully removed
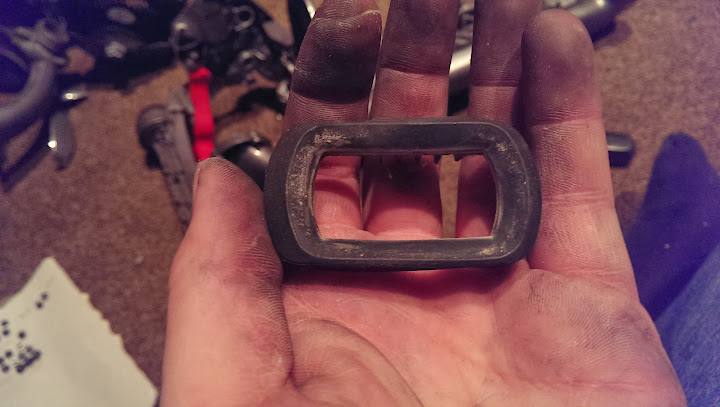
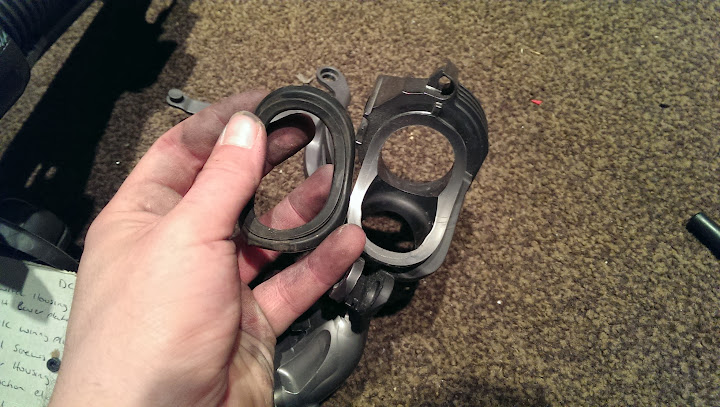
Remove the rubber seal from the motor housing

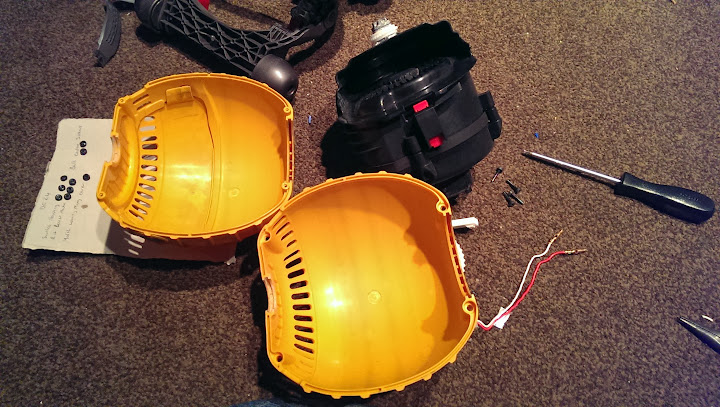
4 torx screws later the ball falls apart
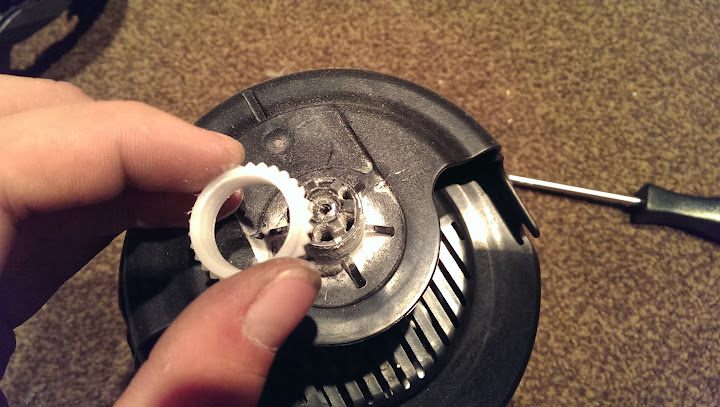
Nylon 'washer' is slightly worn, but should be ok with a drop of grease for many more years
The motor and motor housing
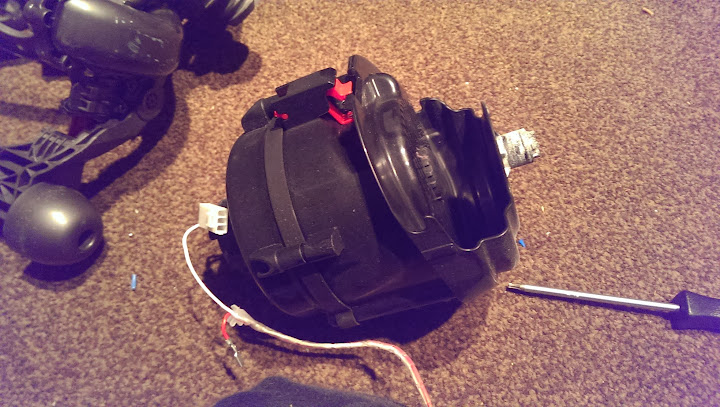
The motor cables are fed out and around the motor housing
The black rubber bung is fixed, but does wriggle out of the motor rubbers

The wiring connectors wedge into the space on the motor rubbers


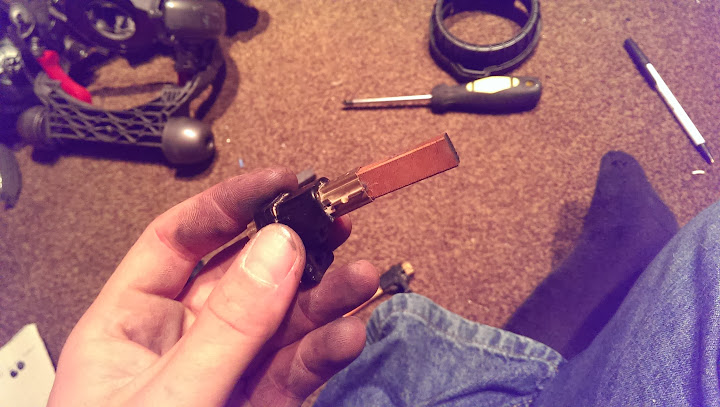
Now we can get to the root of the issue


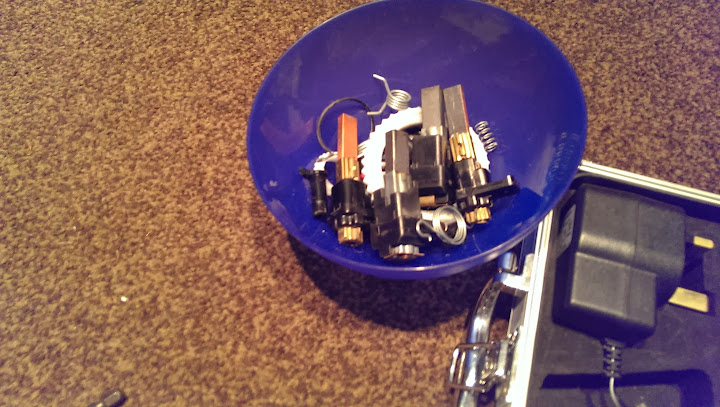
The carbon has started to break down and spark. Luckily the armature is in good condition though, it's not been doing this long. 1 screw in each carbon housing and the whole thing unclips.
I then found the carbons from my scrap DC24 (Motor broke and it didnt run very well)
However, old motor was a Panasonic, good motor is a YDK

So, a few emails to MVacs later and they have some in stock at a VERY good price, so once I have some spare money I will be buying some better condition ones.
Carried on with the stripdown so it could all be washed


Rubbers off

Pedal and wheels next. Spring for refrence

2 screws and some wriggling later and


This plastic shroud slides off now
Not sure what this bit does, but here it is!

Moving onto the valve assembly, the clear plastic disk comes off first. Smaller torx screw here

Another screw through the centre of the spring, and a quick push with a screwdriver to poke it out and the valve flap will fall off.
Undo 4 more screws and the valve assembly will remove fully from the main chassis
Valve flap spring refrence shot

Rubbers out of valve flap
The last thing to remove is the valve hose. Flicks out with a screwdriver, and once you un-latch the top mount it pops out with a slight turn

Split for cleaning

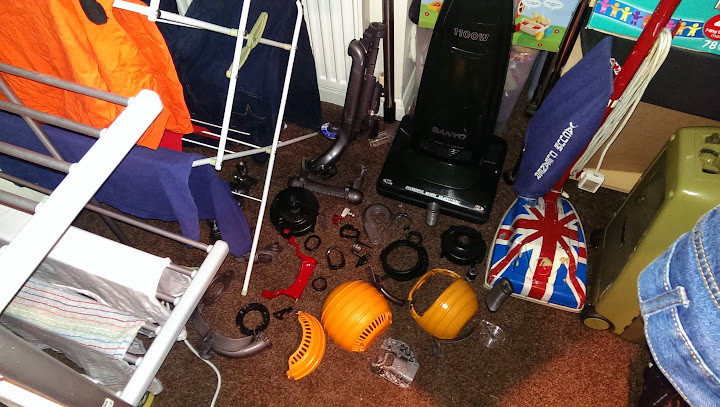
Now you have a naked chassis in your hands

and a big pile of washing

A smaller pile of non washable bits
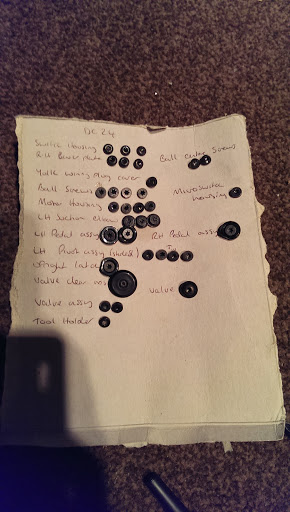
and all the screws so far
Al the plastics were washed and left out to dry for a night. It is now all sitting in a box awaiting the new carbon brushes, although I may start putting it together just so nothing gets lost, and stop when I can go no further
Still to come: Re-assembly, new carbons, cyclone stripdown and floorhead stripdown. Hope the new carbons fix it after all this!


