I've had this one a while, saw it on ebay back in the summer, missed it, and grabbed it on the re-list. SWMBO picked it up, as she was going shopping that day (could have been any day really

)
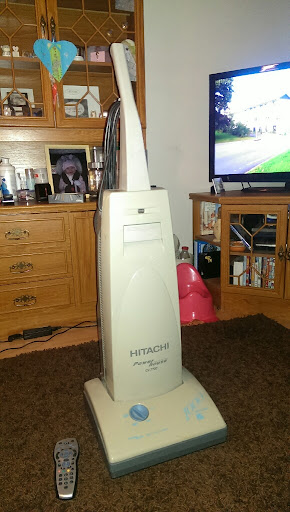
I remember seeing these everywhere when I was little! They ran for a few years, did a 900w, this one, 1100w, and 1300w I think, in different colours!

The hose came off first, as I had a load of dyson hoses and filters to wash, so bunged this in as well

Typical hitachi tools


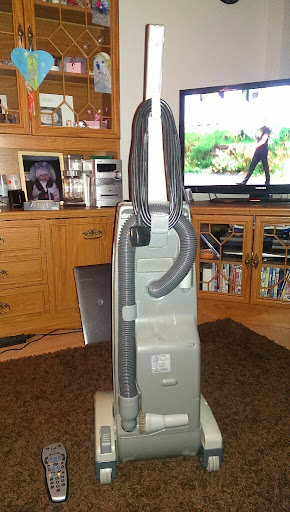
It wasnt too bad when I got it, but it was a tad loud
So, on with the usual!
Bag door off


Door catch popped off

Inner seal removed


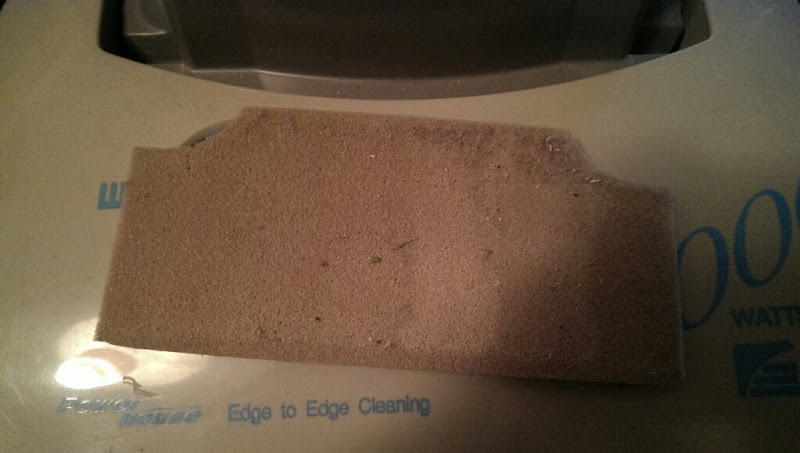
Pre motor filter wasnt too bad, I think the elderly couple who owned it since new took ok care of it
Handle off
Top cap popped off

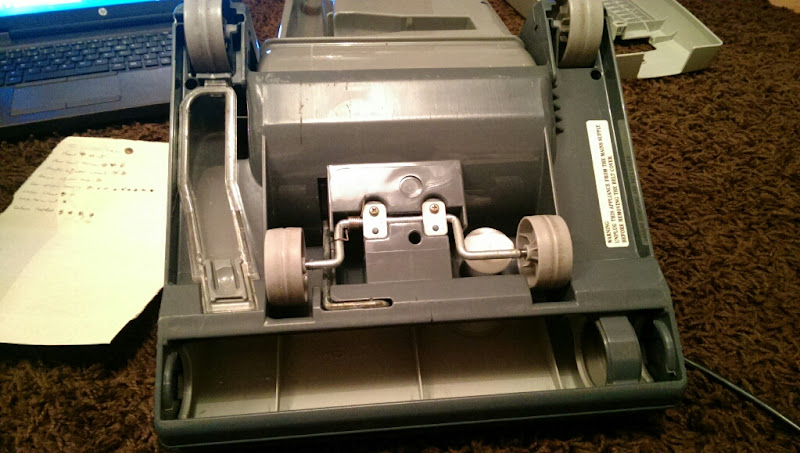
Onto the underneath now
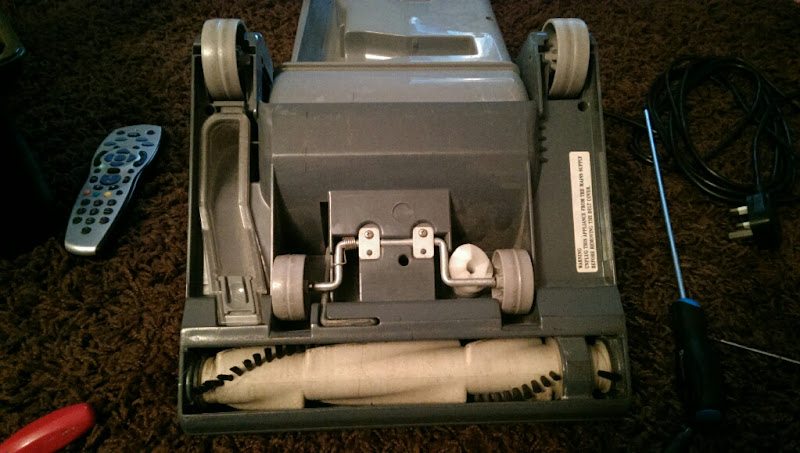
Blockage channel removed

Hood unscrewed and removed

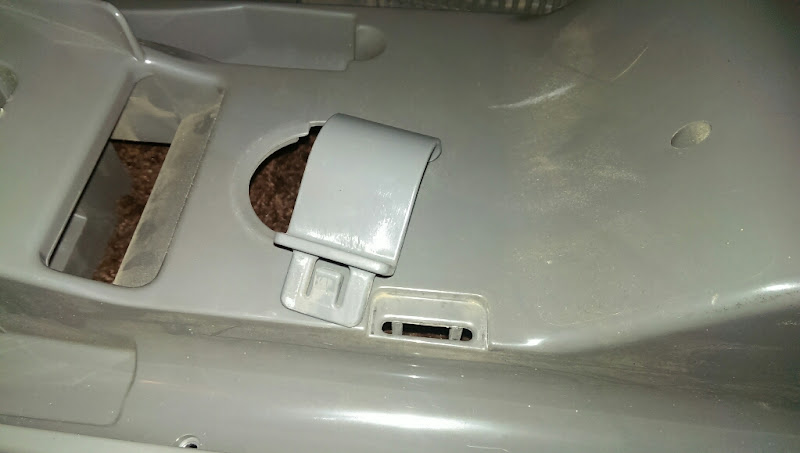
Release pedal off


Belt guard off

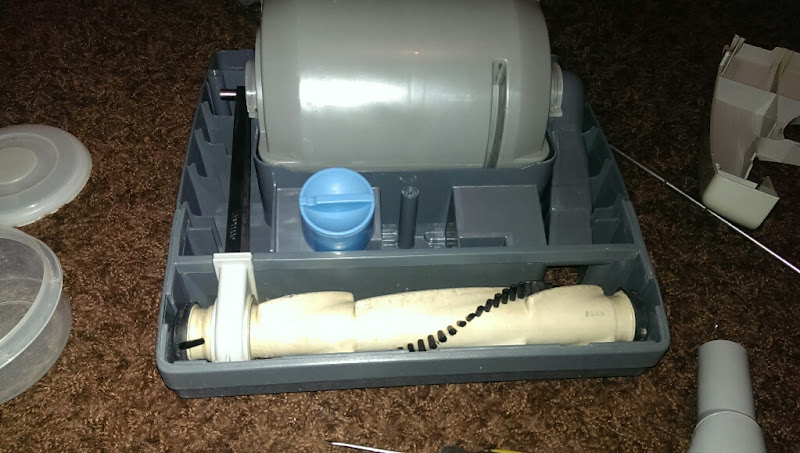
Very stretched belt and brushroll removed

Brushroll end caps off

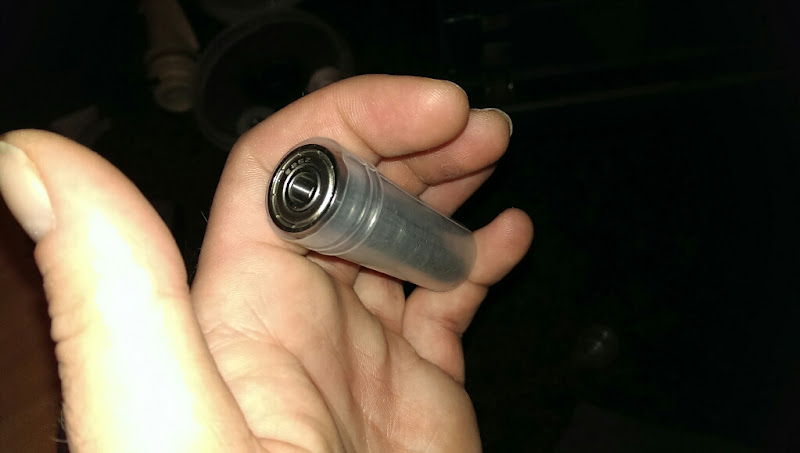
and the brushroll was split down
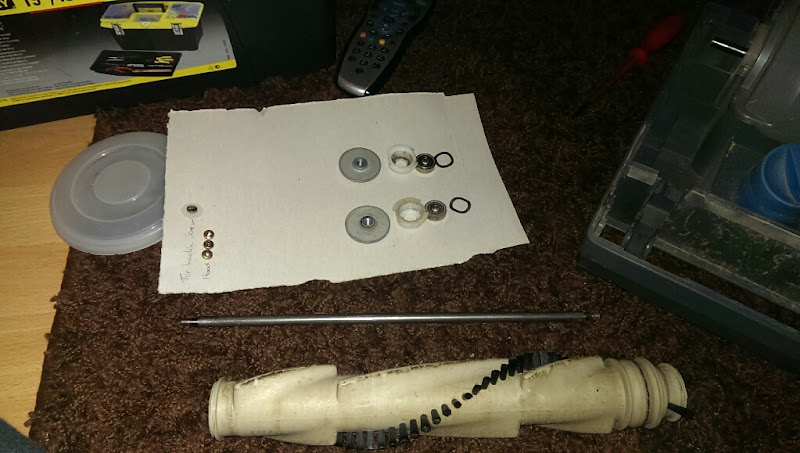
One of the bearings was seized solid, and the other was none too healthy, which explained the awful noise it made. More on that later
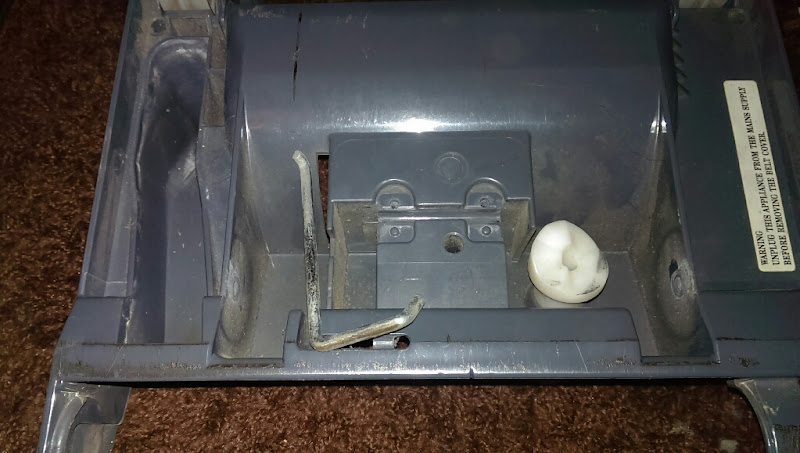
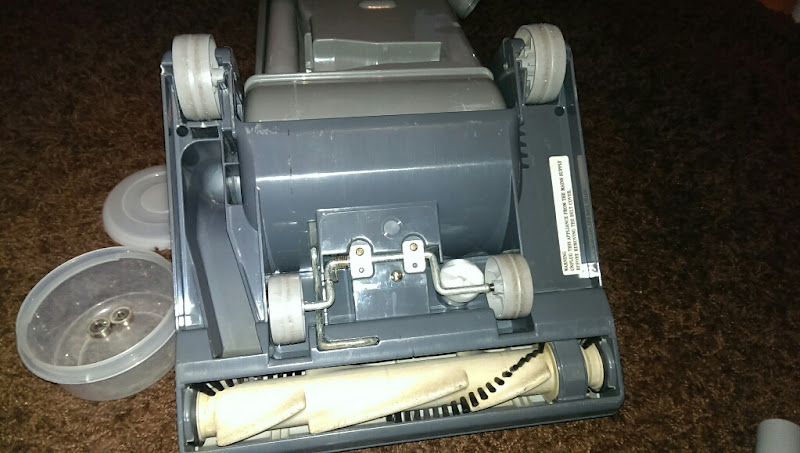
2 pivot hinges removed and the base seperates from the main body
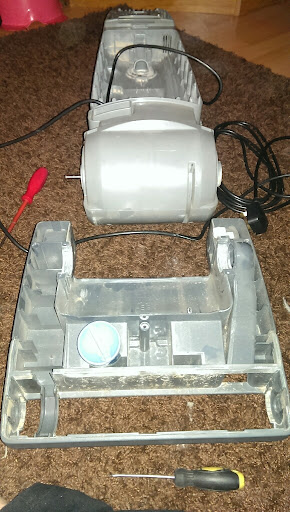
Onto the wheels now
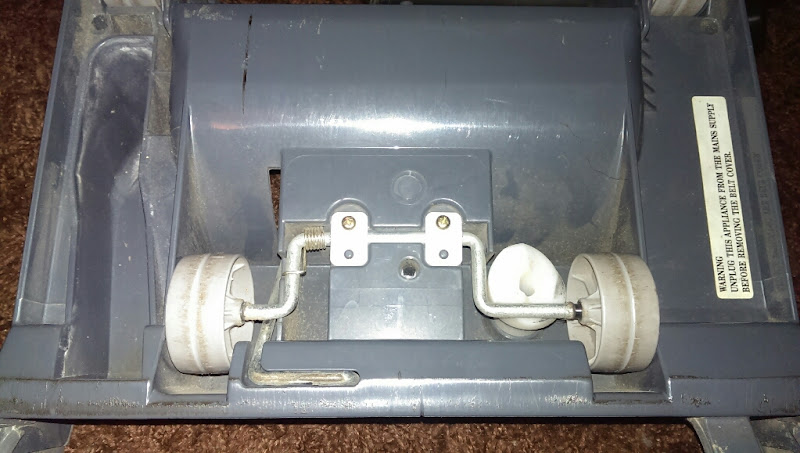

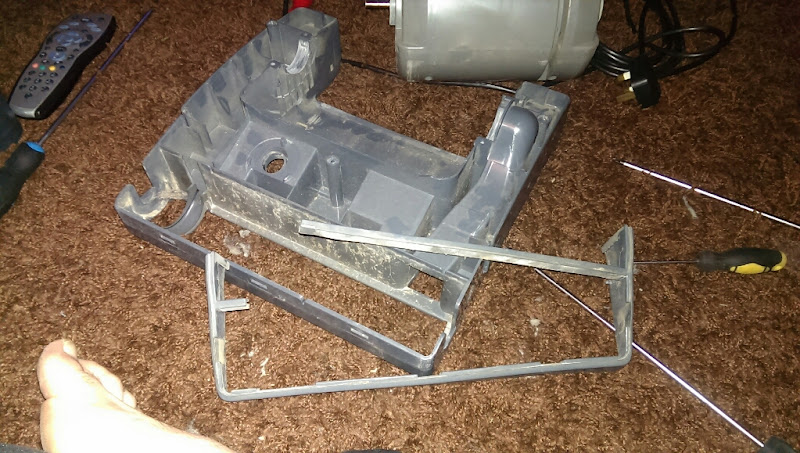
Wheels removed, and the brace bar removed, with its orientation refrenced
Height adjuster knob split and removed

There were 2 pictures of the rest of the reclining mechanism being removed, but the flash made them useless so I'll skip that, and move onto removing the baseplate seal
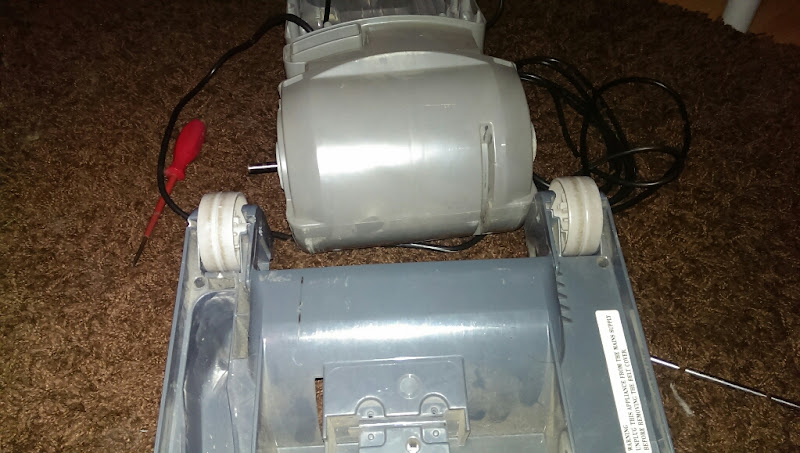
I tried to remove the rear wheels, but failed, and didn't want to damage the, so left them be!
Many screws later, and the main body of the machine splits into 2

Was filthy

Lower cord hook removed

Hose clip removed
Onto the top wiring now

Mains incoming terminal

I see alot of solder sadly around the switch terminals


I had to snip a wire to remove it all

Then realised I'd snipped the wrong wire, so had to snip again

Carrying on, the bag fill indicator piston pops off


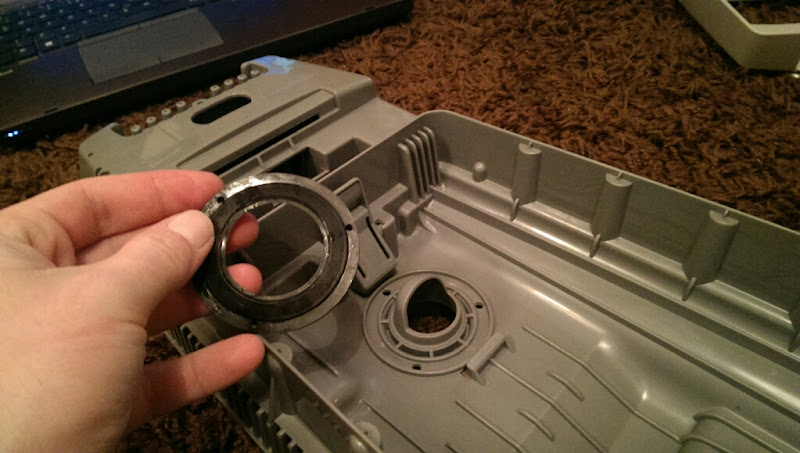
The whole motor assembly lifts out now, and this is the suction diverter piece


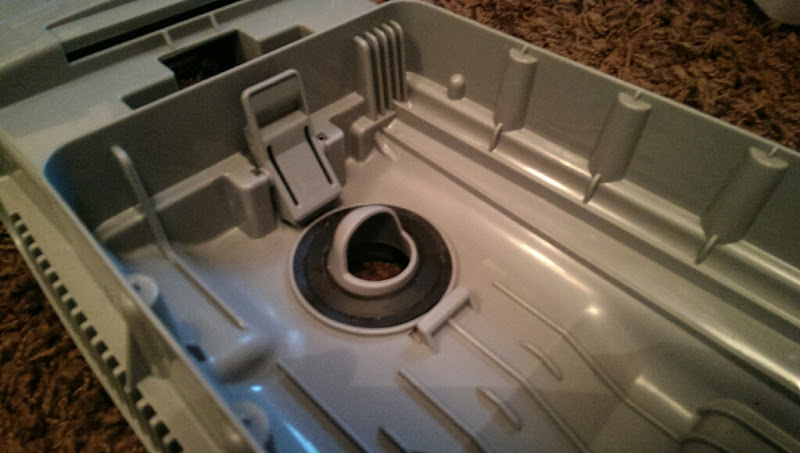
The bag seal pulls out

as does the bag holding clip

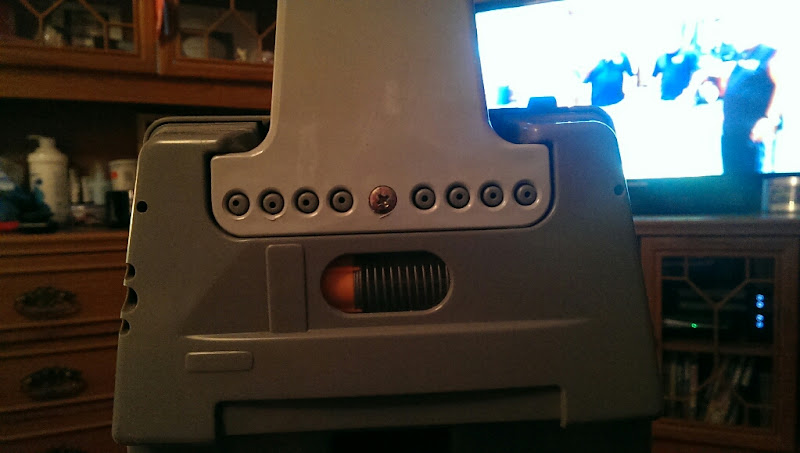
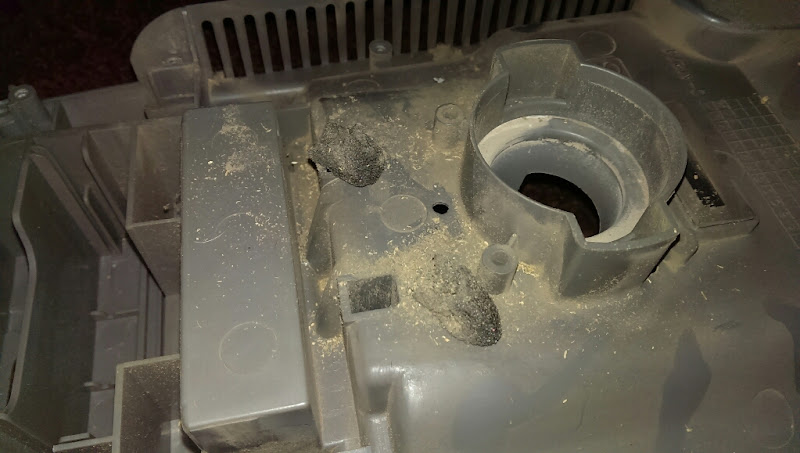
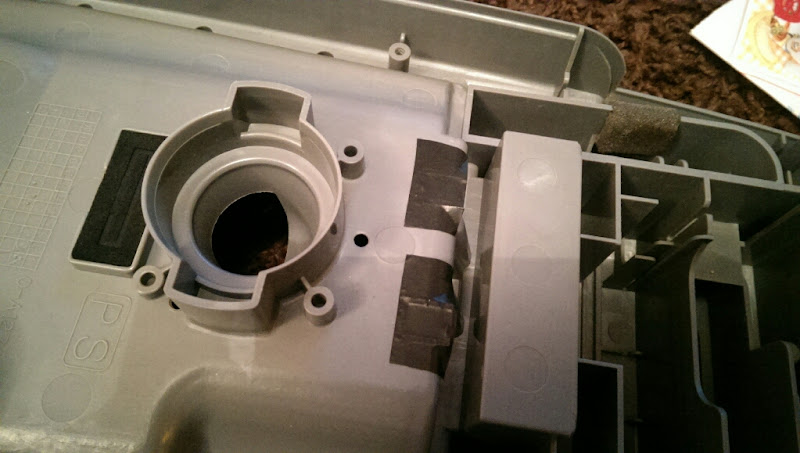
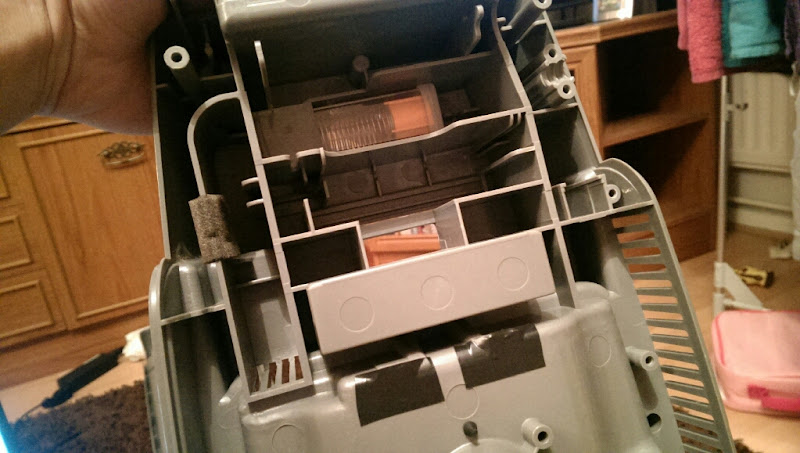
These clogged bits of foam revealed themselves
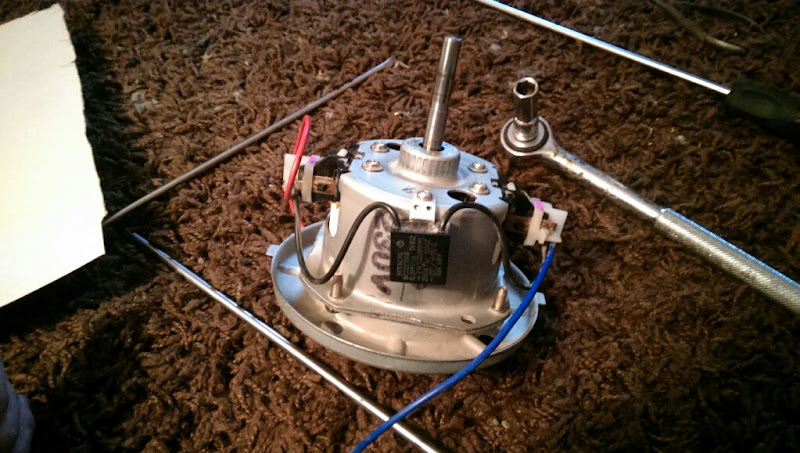
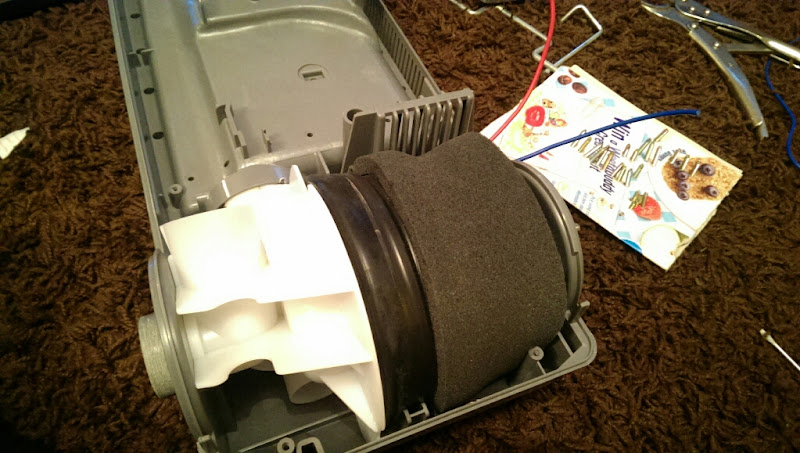
On to the motor now, it didnt look too clever


Rubber mount off


I decided to see how far the motor comes apart, so fan shroud tapped off

Fan retaining nut off

Fan and inner shroud off

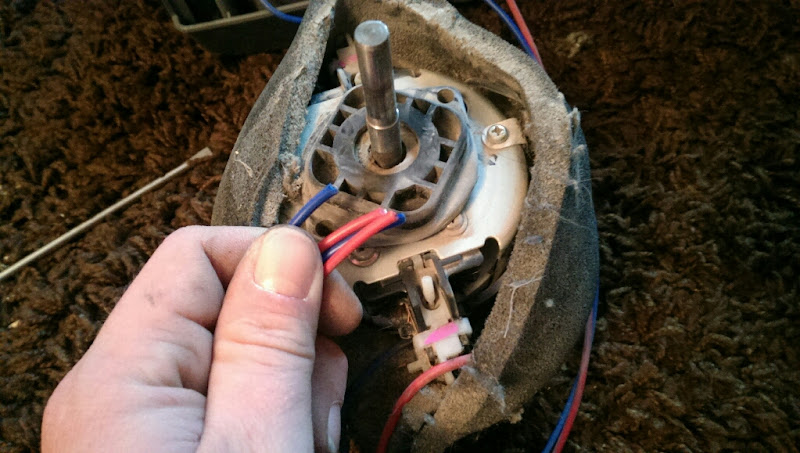
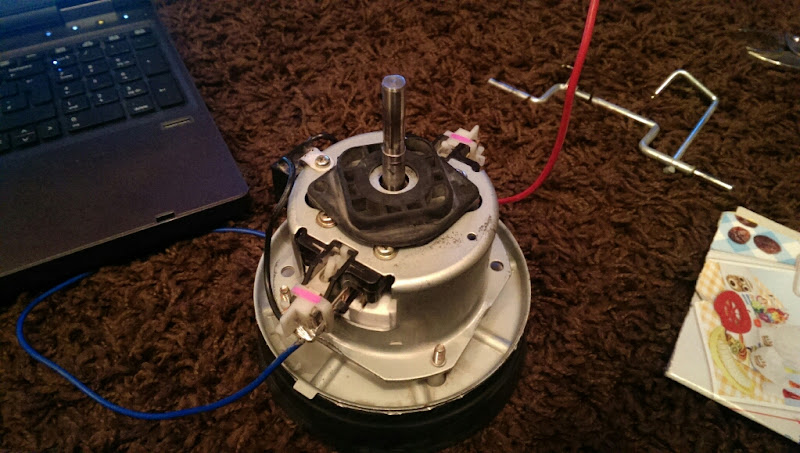
The carbon brushes are removed with just a few screws
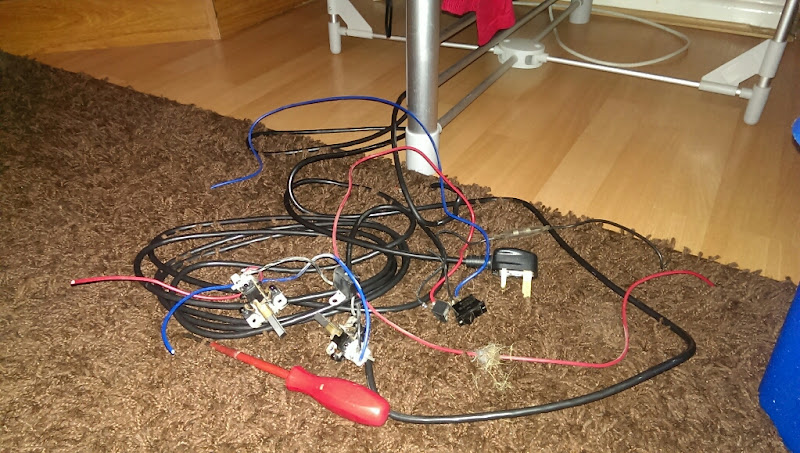
Which takes the rest of the wiring with it
All the wires the machine has
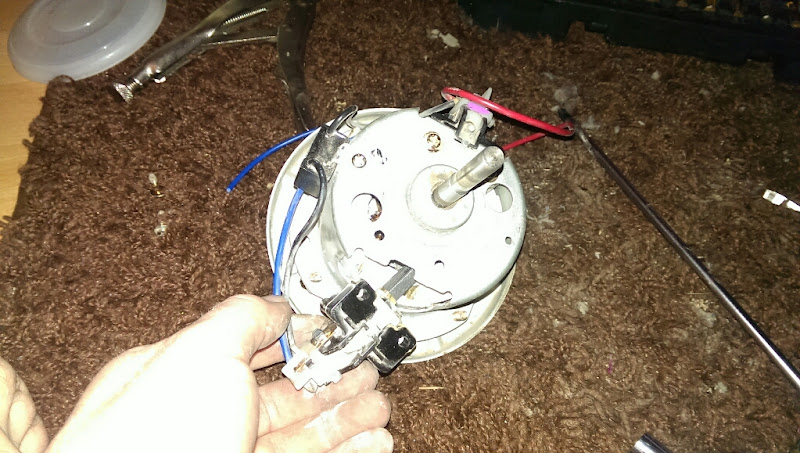
4 more screws seperate the motor unit

The coil seems to be fixed, so I didnt persuade it too hard, but the fancase bearing tapped out easily

and, brilliantly, was re-greaseable!

so I did

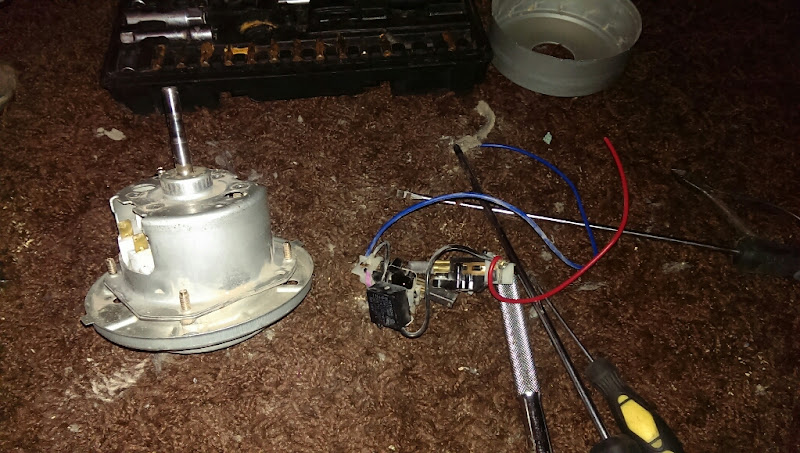
Coil and armature looked very good

and again, had a servicable bearing

All tickled, I re-assembled the motor unit
All the screws for the whole machine

Everything was the nwashed and dried, including the motor fan and fan cover as it was full of dust, and hair as it turned out once the water flushed it through!

All back together with the clean motor seals


Clean foam bungs were re-fitted


And I then fitted a lick of tape over them for good measure
Cleaned bag seal refitted
Motor was mated back up with the suction diverter, then the whole assembly drops into the chassis
Bag piston reassembled

and refitted
All the wiring was fitted and trunked appropriatly


and crimped up where I cut it
Lower cord hook and hose hook refitted

Bottom section now

Hood seal fitted

Reclining mechanism fitted

Front wheels refitted

Pivot clamps fitted

and the hood and blockage window screwed down. Was waiting for bearings by this point, so left her like this
Bag door clip back on

and the seal pushed into its slot

The pre motor filter cleaned up nicely

and that was that! 2 weeks later, the new bearings arrived (from some country or other), so work re-commenced!

anti vibration shim fitted into the bearing holder

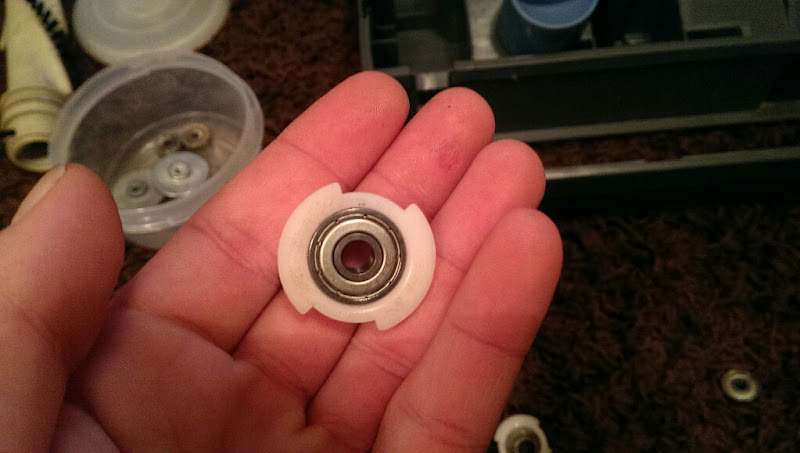
fitted into the brushroll

End caps and axle fitted

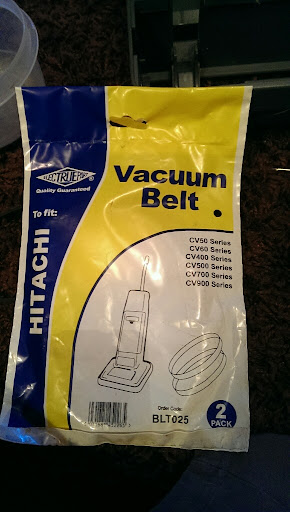
New belts

All finally back together

And the old girl is all done! Things got a bit busy with paying Dyson work, so I've been using it upstairs whilst I wait to polish and wax and finish her, so for now, that's it!


