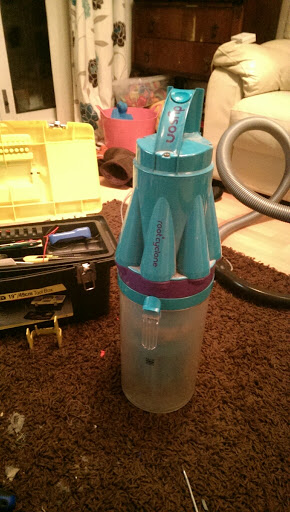
Picked this up from ebay a few weeks ago. Ended up going to a VERY posh house, big in and out gravel drive, 64 plate Tesla on charge on its proper charging port, all cars under 2 years old etc. Felt bad even bringing my car near them tbh but made sure I didnt blow any soot over them on the way out...


Wasnt too bad, but had NO suction at all, but didnt sound blocked.
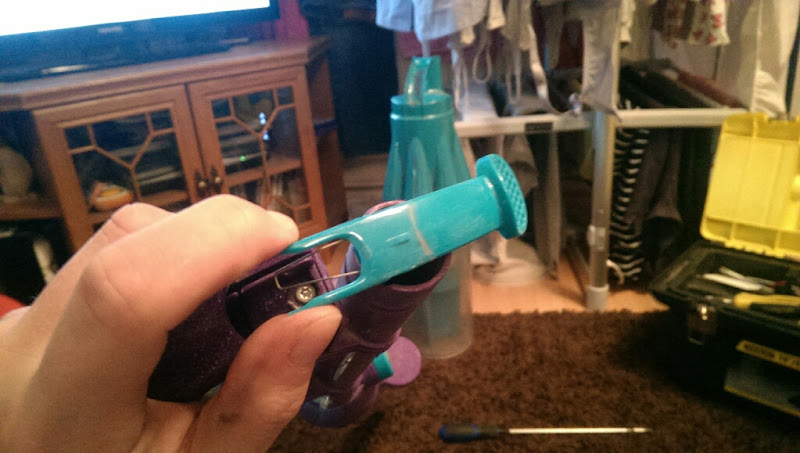
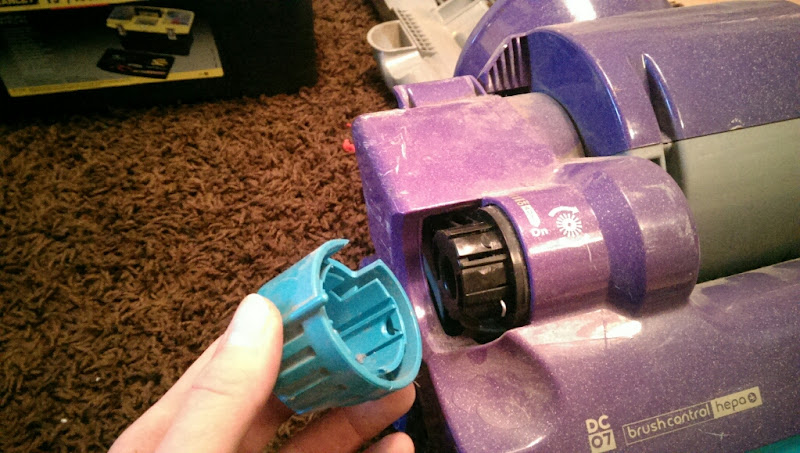
This is a clutched model, so you can turn the brushroll on and off. Non clutched ones dont have anything here, and the brushroll is always on.

Cyclone off

Tools off
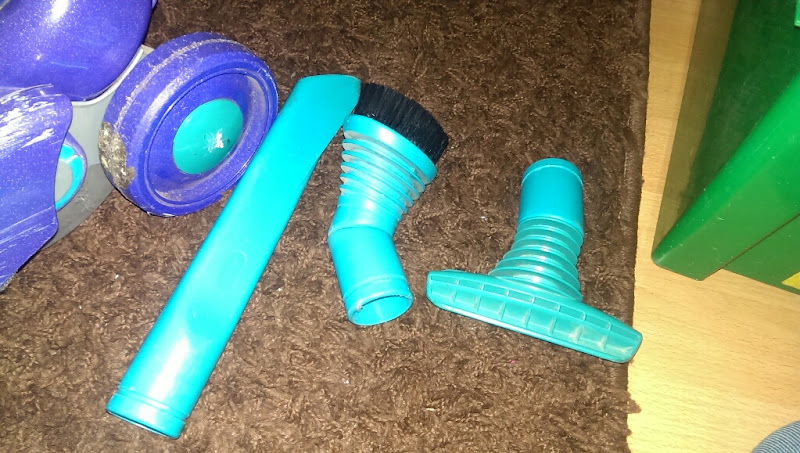


Dusty but in good condition
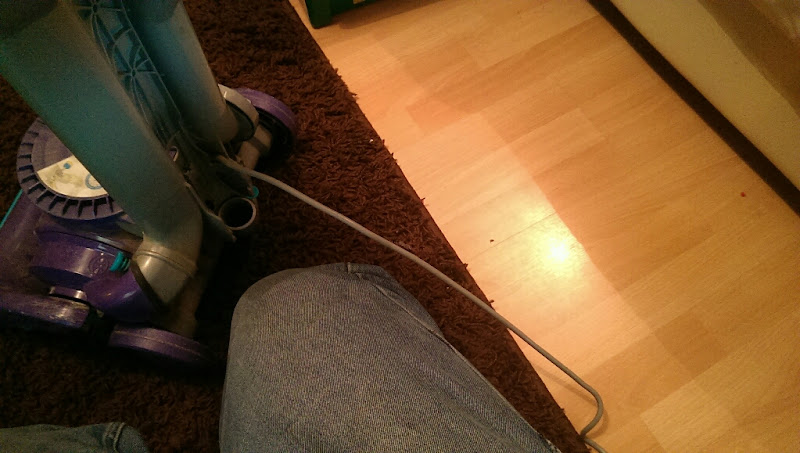
Cable off next

Hose and wand off

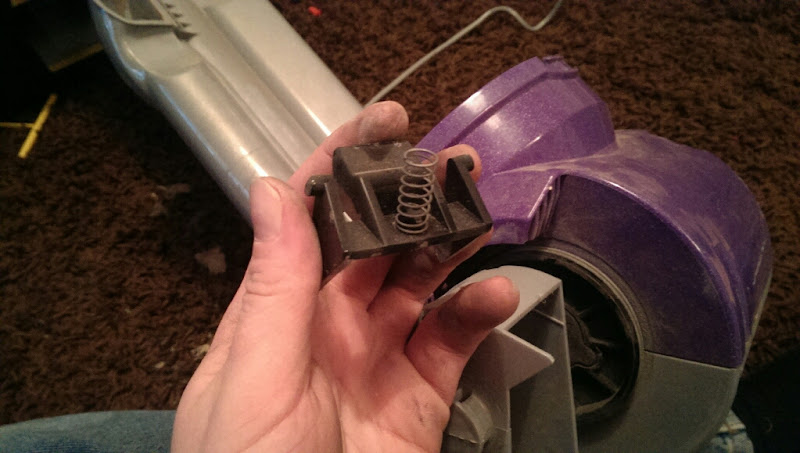
The release catch pops off the pivots from the bottom

This spring sits underneath it

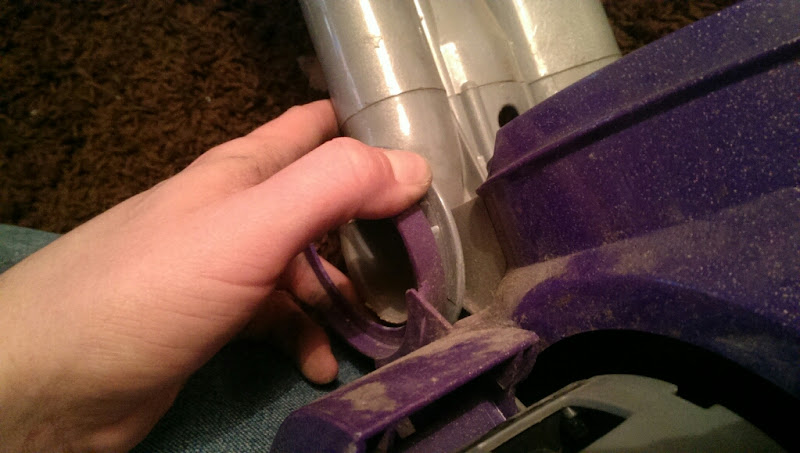
The cap ontop of the wand removed by pulling it firmly off

There may or may not be a spring under it, not all machines have them I've found
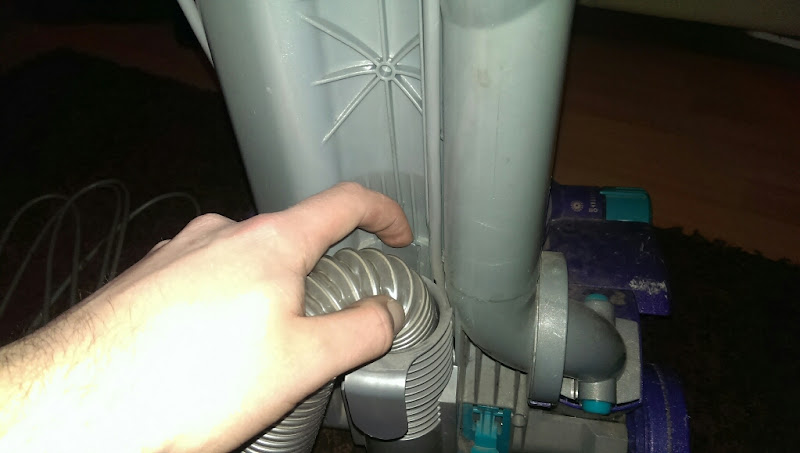
The hose removed next
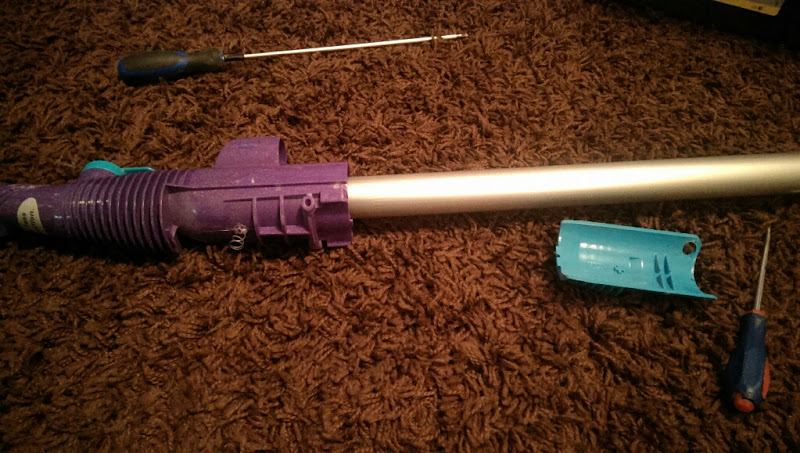
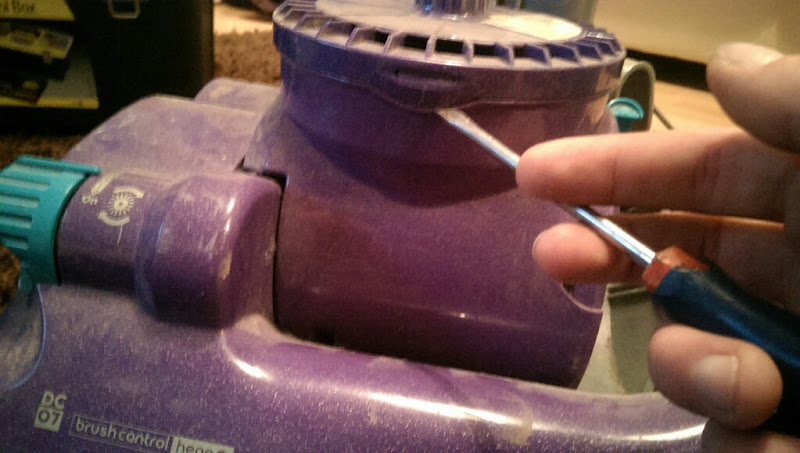
Back to the top, and the screw at the front of the switch housing comes off

Pushing from the back pops the clips out


Pulling slightly on both edges opens the housing up slightly and the switch cover falls out

The switch pulls out of the moulding
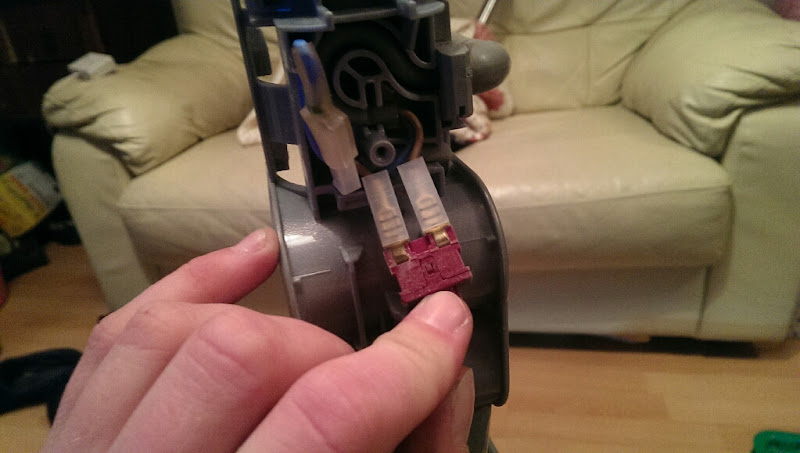
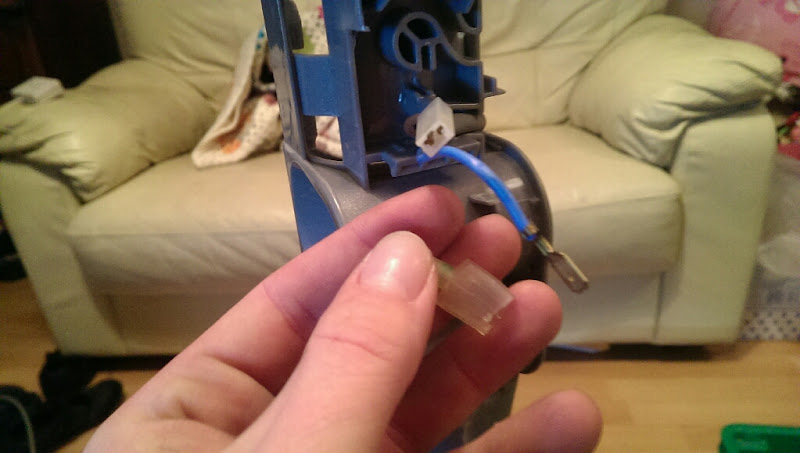
and the wires unplug (Blue to Blue, both browns to the switch)

The rubber boot pulls off the cable, which makes life easier removing the spine cable
Push the cable through to the back and pull the rest out

The rubber seal pulls off the chassis

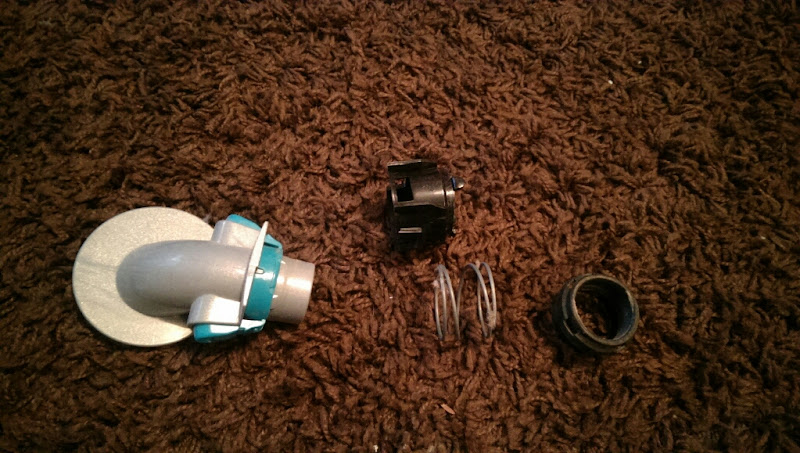
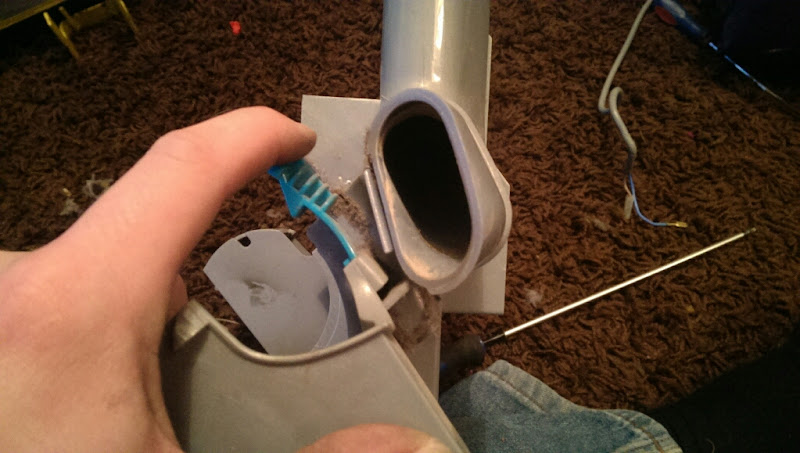
The removeable bit of the changeover valve comes out next


If you squeeze the black part together sideways it seperates from the housing
Inside is a bog fat spring. The rubber seal pulls off the end of the black housing
Another rubber seal pulls off the chassis

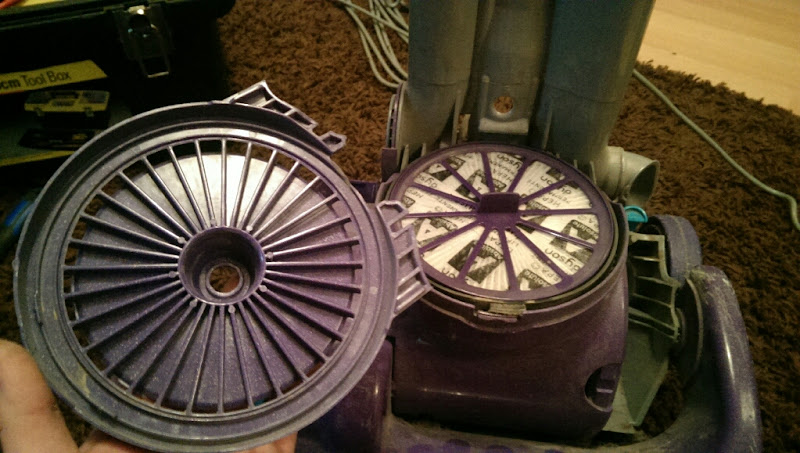
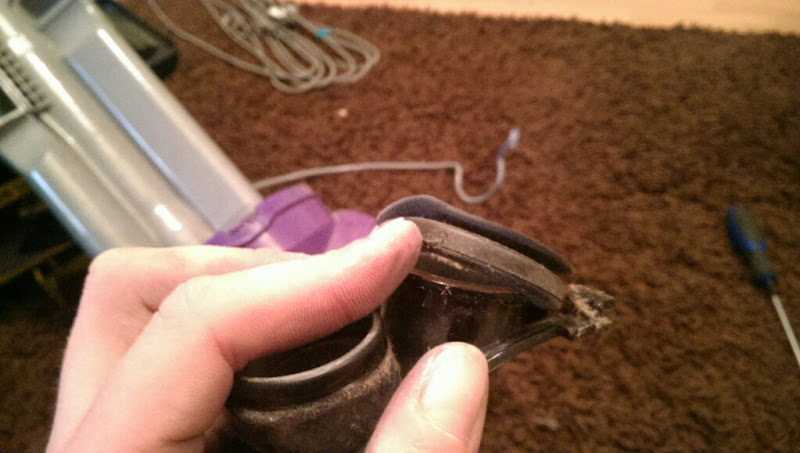
Pre motor filter cover is removed now

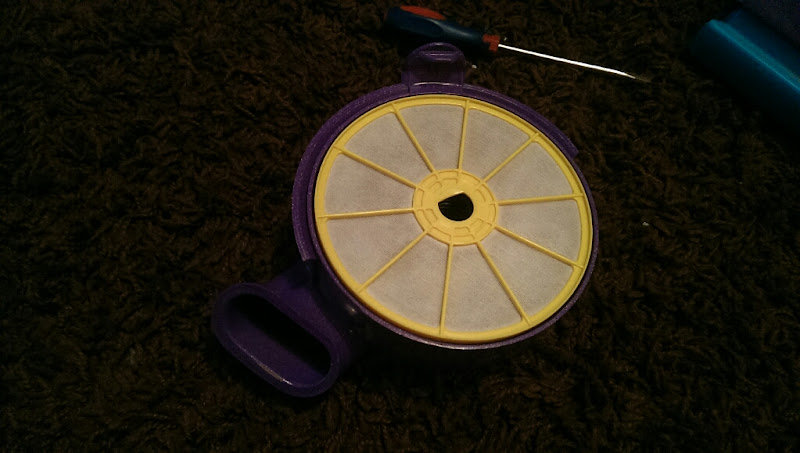
Filter didnt look too bad. Also noticed that the rubber seal inside the filter housing was missing, which would explain the rubbish suction
I forgot to take a picture, but if you carefully pop the top cap off the centre bit, a very long spring pops out, and the sealing part of the release valve too.

Another seal off the chassis
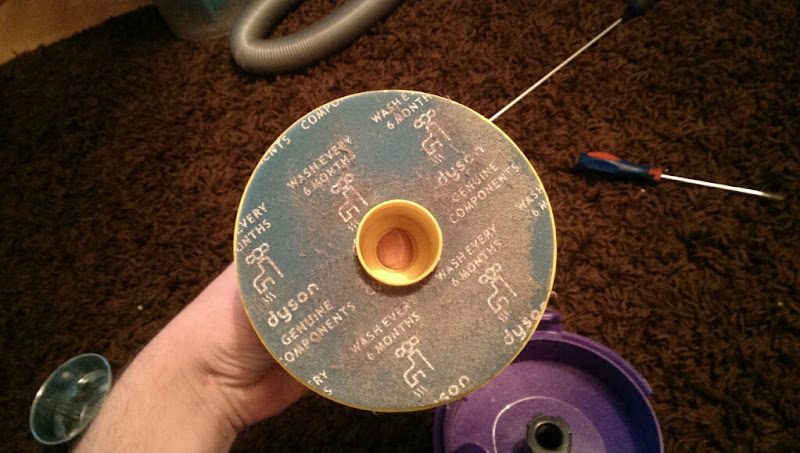
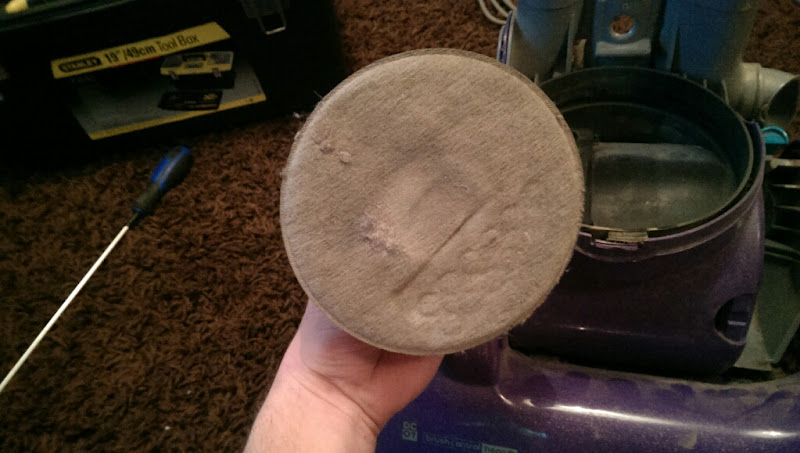
The post motor filter cover pops off now
Filter wasnt too filthy tbh, seen worse
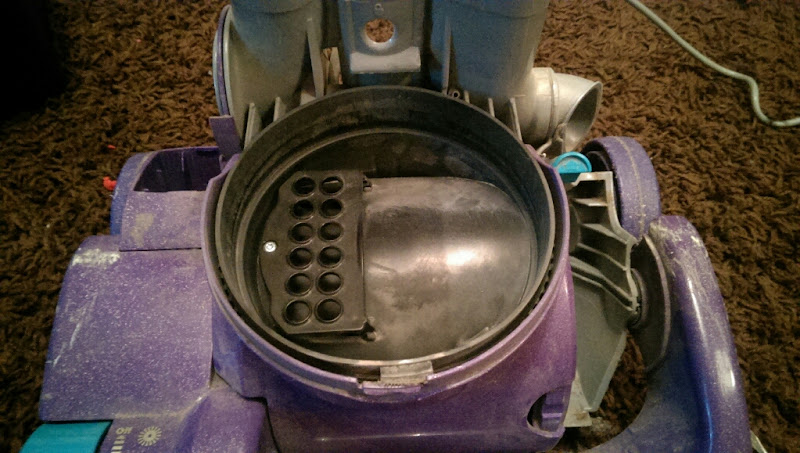
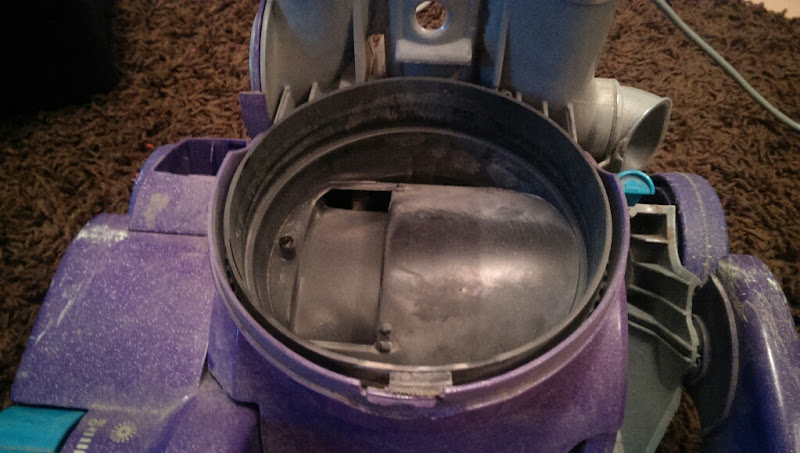
The diffuser can come out now

Clutch cover now. I've never really developed a knack for this, just lever it at the top and bottom until it cracks off and hope it doesnt split/crack the cover...

All done on top, time to flip it over

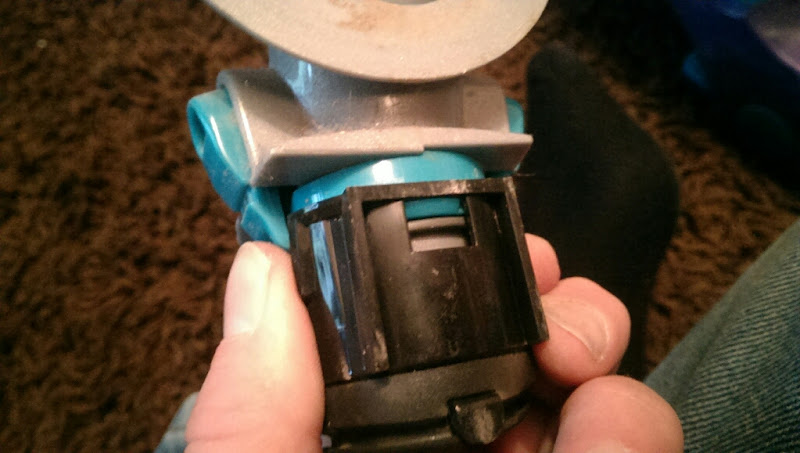
Wand blockage port off

and the plastic clip pops off from behind
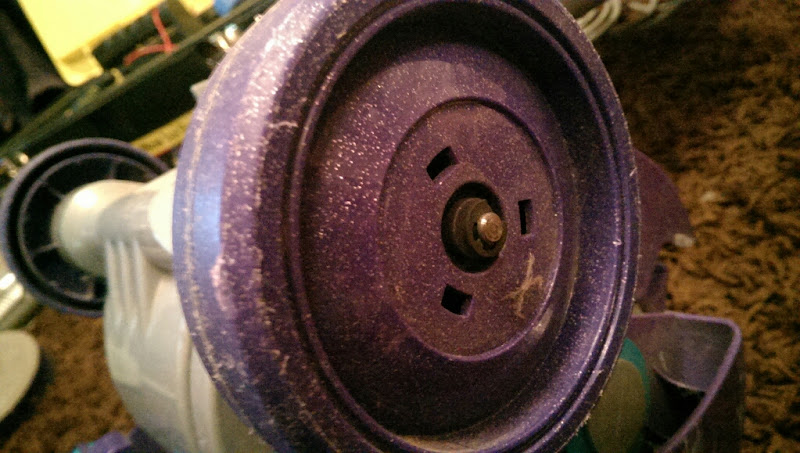
Pop a vanity cap off one of the rear wheels

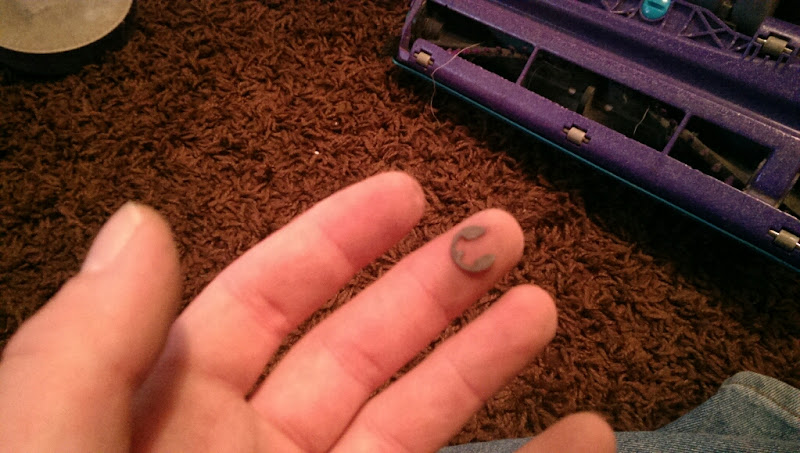
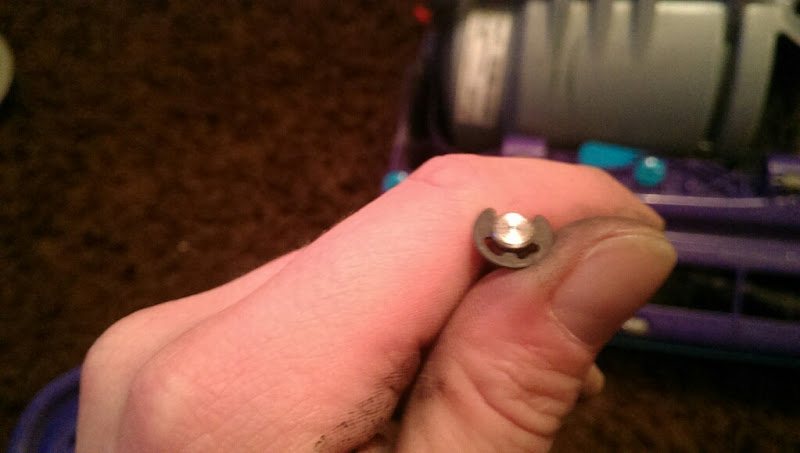
which reveals a little circlip
Blurry pic, but one can lever a small flatblade inside it and carefully pop it off the spindle

The wheel now pulls off

a washer sits between the wheel and chassis on both sides

Pull the axle and other wheel off the machine

Hold the other wheel, and give the axle a short sharp tap on the floor. It will pop the other glamour cap off, and the wheel can then be slid off the axle
leaving the other circlip on, no need to remove both
Brushroll area next

baseplate off

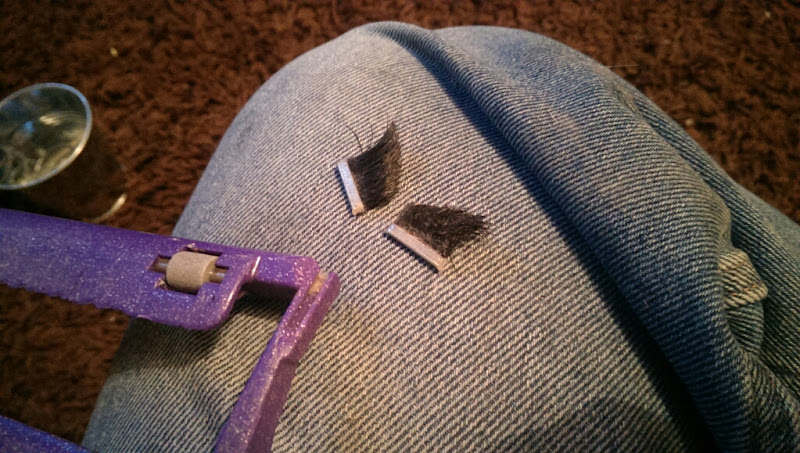
The edge cleaning brushes slide out of the baseplate
and the little wheels lever out with a screwdriver. These ones are fine, but if their worn replacements are dirt cheap!
Up with the belt now, and the brushroll comes out
End caps were full of rubbish
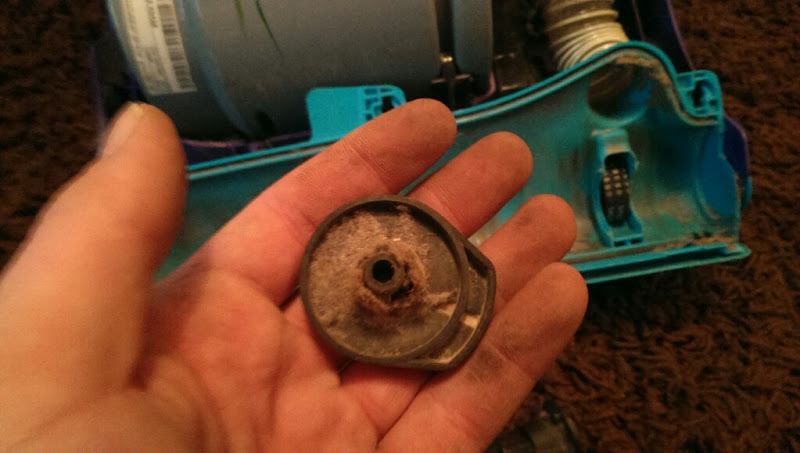
Grabbing the axle with some grips aids removing the other end cap

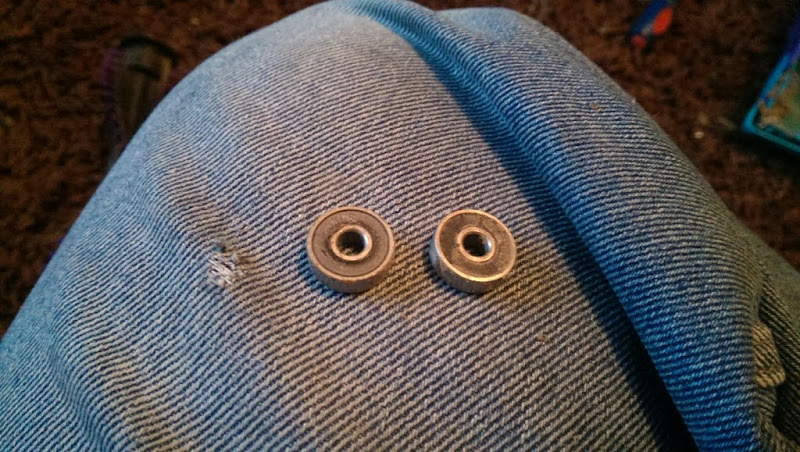
Using the axle, insert it into one of the brushroll bearings just enough so it doesnt actually come through the other side, and lever down. The bearing should flip up and be easily removed (this is do or die time for the brushroll, if it's weak, it'll crack. But that's probably a good thing, as if its weak enough to crack itll need replacing anyway)

You now want to remove the internal hose from the bottom of the changeover valve. It just pulls off the mounting point
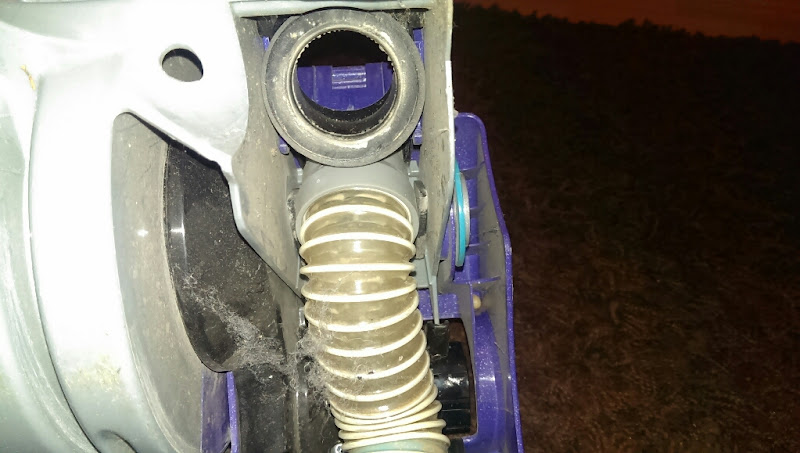
Internal hose off, gently lever the top of the brushroll housing out of the lugs either side

The internal hose twists off the brushroll housing. If your machine doesnt hold itself to the floor very well, replace this bit! (I did on this machine). Instant fix, it acts as the spring to keep the floorhead touching the floor)

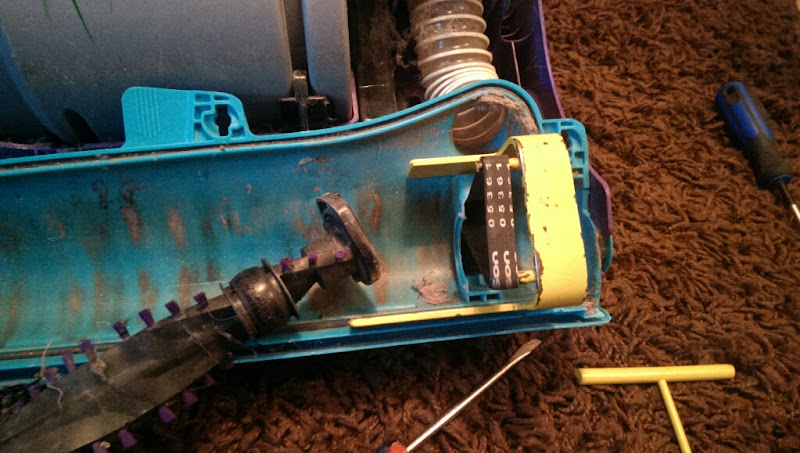
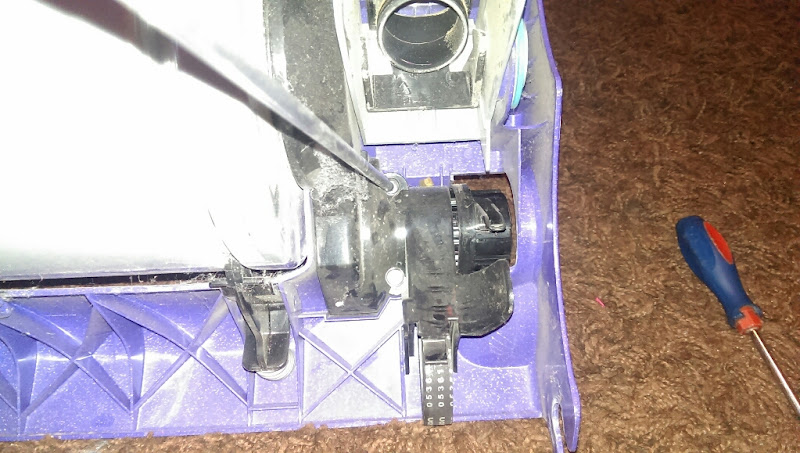
Onto the clutch cover now. Put the machine in the upright position for this, but still upside down. 3 screws, one buried deep under here
and 2 more here
and the cover pops off

the belt guide rod pulls out of the housing

pop the clutch to motor belt off the motor pulley

and a massive tug later the clutch will be out
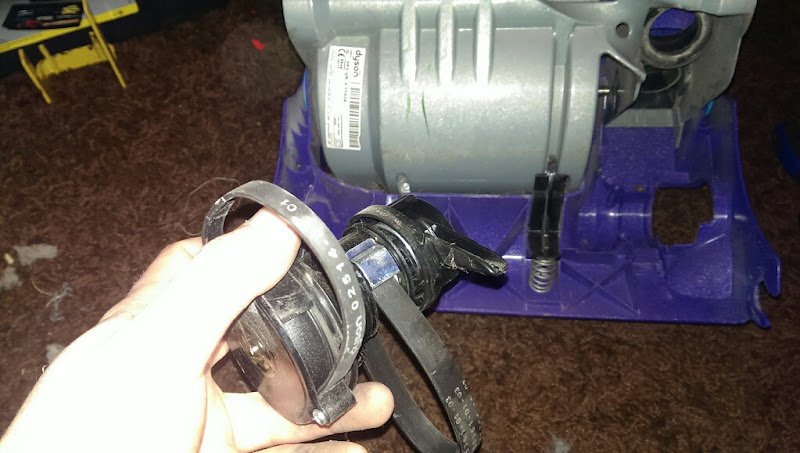
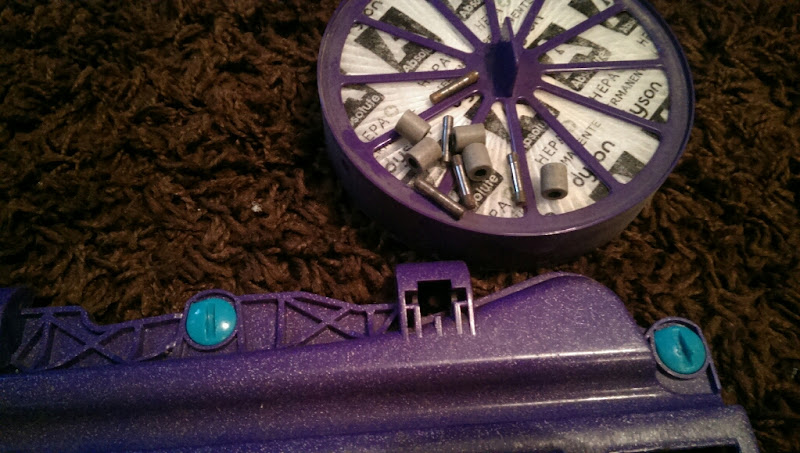
No idea wether this dates the machine or just the clutch

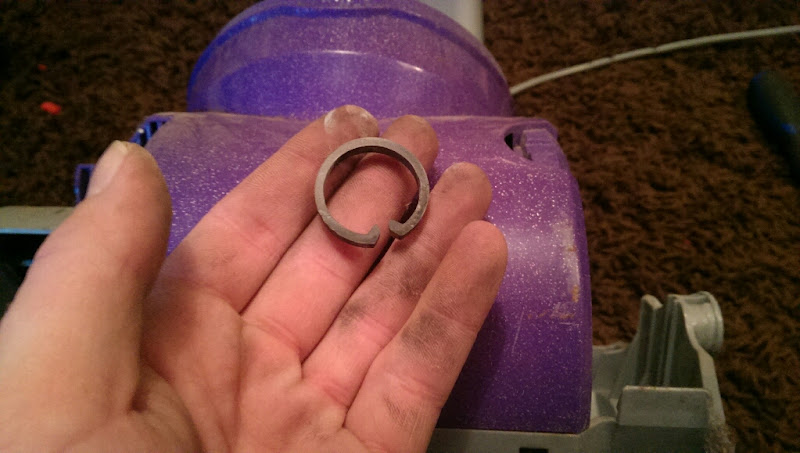
Under each side of the bottom part are 2 circlips. Pop the end out and the rest will follow

lay the machine as so

and pull each end out in unison and the whole lot lifts away
These 2 clips sit around each stub and provide the pivot for the bottom housing
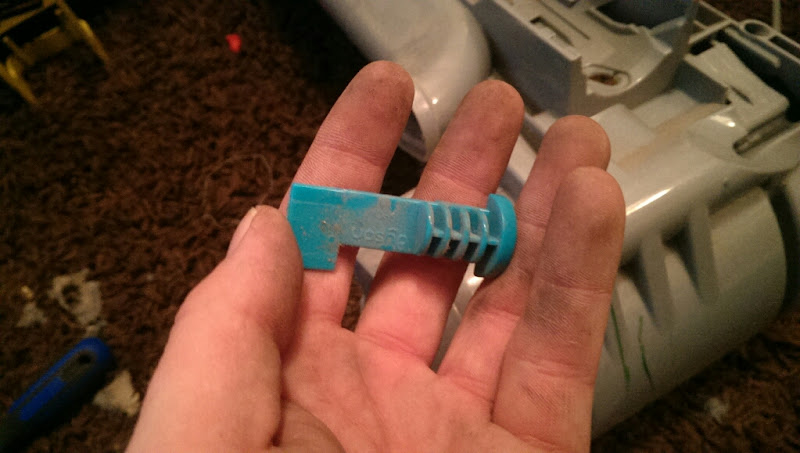
The remains of the changeover valve come out next. Pop both the tabs down (one on the other side too, get-at-able with a screwdriver)

and pull the latch out
This bit is fiddly. Pull the changeover valve top part out so it clears the housing
and gently pop these clips out


Another seal is removed
4 screws and the motor assembly comes off. Pull the spine wire through the chassis with it
There will be one screw left on the chassis

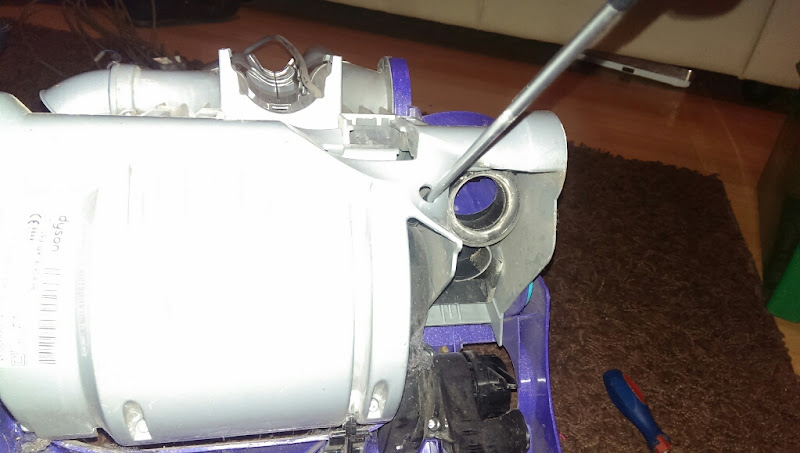
Pull the filter housing clip forwards slightly
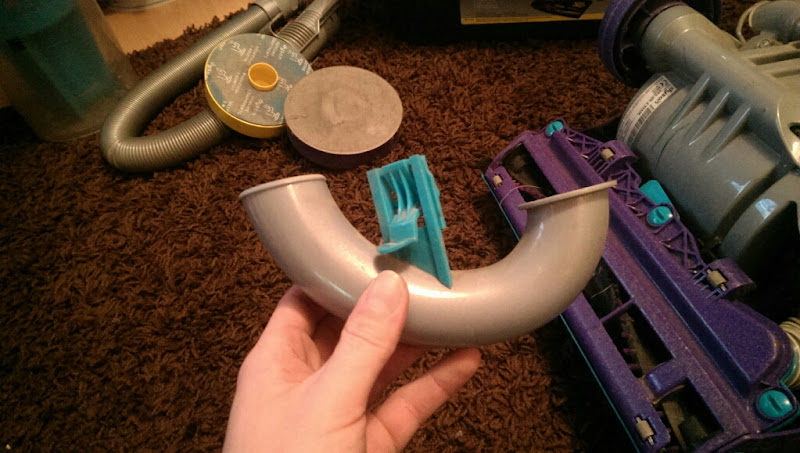
and wriggle the elbow peice out over the top of it

Position your torx driver over the back of the filter housing clip as shown

and smack it hard with something. The clip will fly out of the housing then!
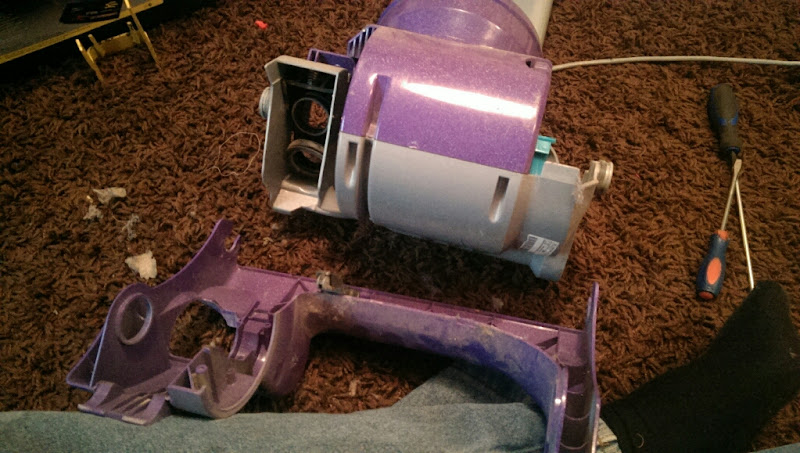
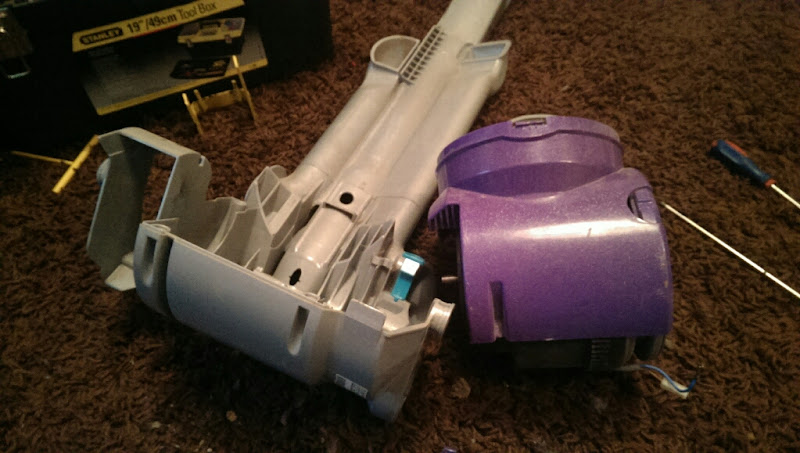
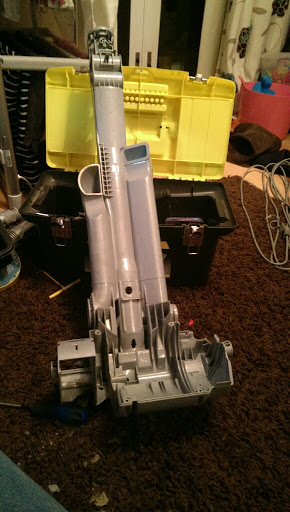
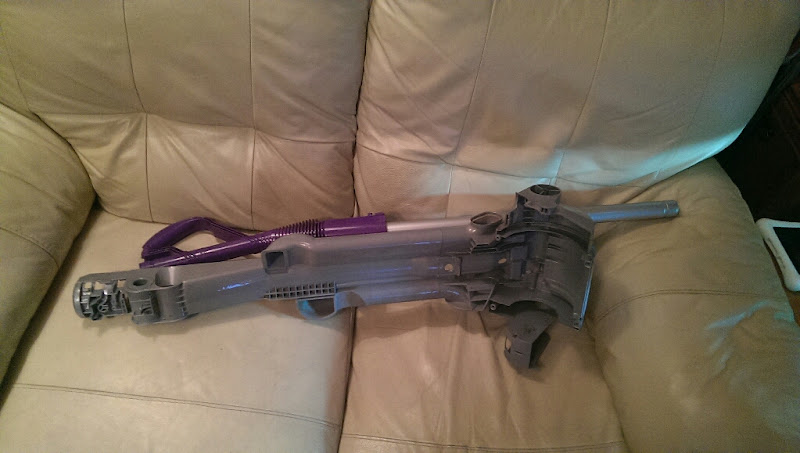
The chassis is now stripped!
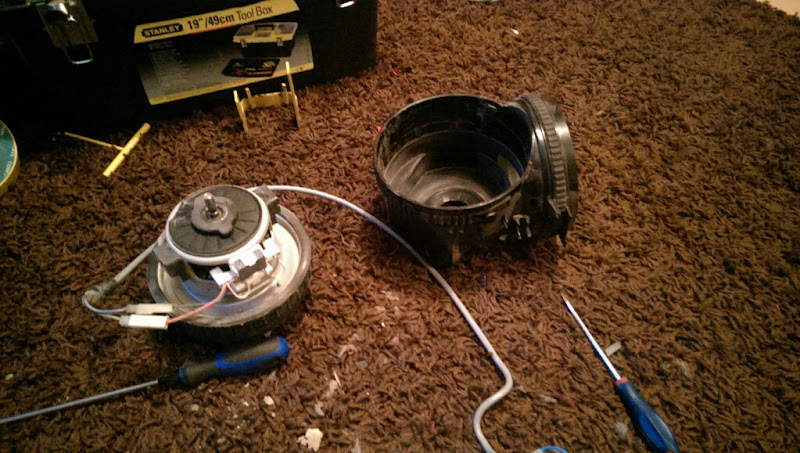
Motor now. Pull the housing off the front from the egdes and over the motor housing
Prise the 4 clips up one by one and remove the motor housing cover

A rubber seal comes off this bit too

Push the cable grommit into the housing, then position the motor onto the belt spindle, and push down hard


This will push the motor up a bit, enabling you to grab the motor top seal and pull it out, bringing the cable with it (hence why I removed the neutral cable boot when we took the switch out, so it fits through this hole!)
The top rubber pulls off

as does the fancase rubber


Leaving an empty motor housing

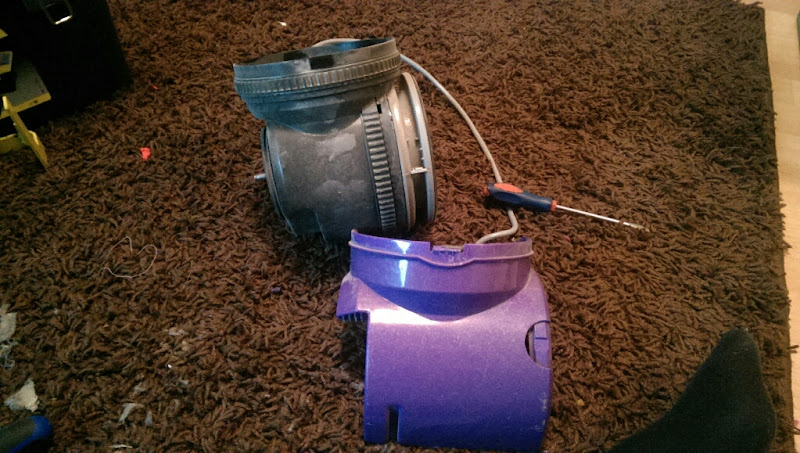
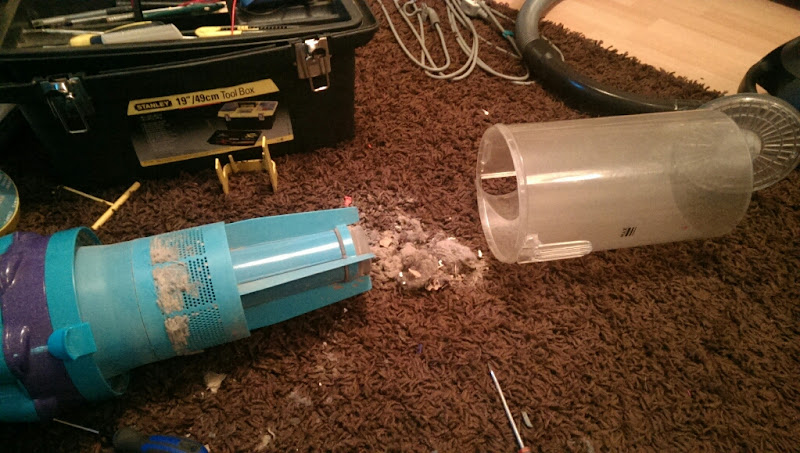
Onto the cyclone
Open the bottom flap and remove the bin from the cyclone
By holding the bin under your arm and squeezing, the clips bend just enough to pop the bottom flap off


Onto the top now, and remove these three screws. Their sometimes security torx screws, which can be annoying.


The cyclone top and release rod withdraw from the cyclone

Seen worse


The last screw is hiding under here
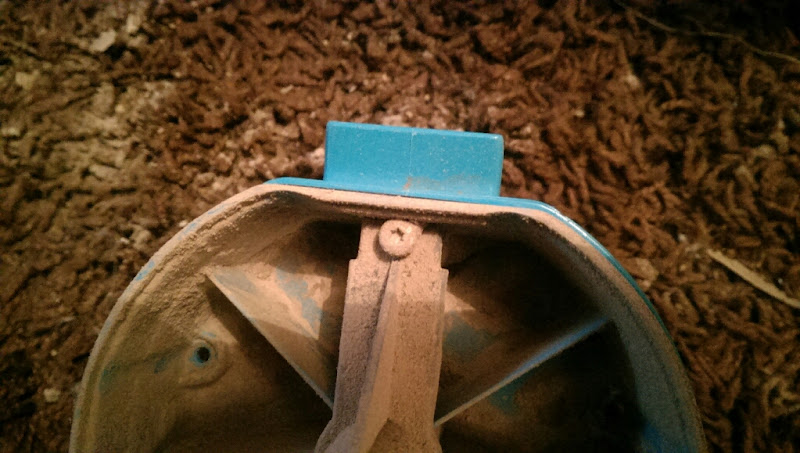
which holds the release rod on

The release trigger falls out of the top now
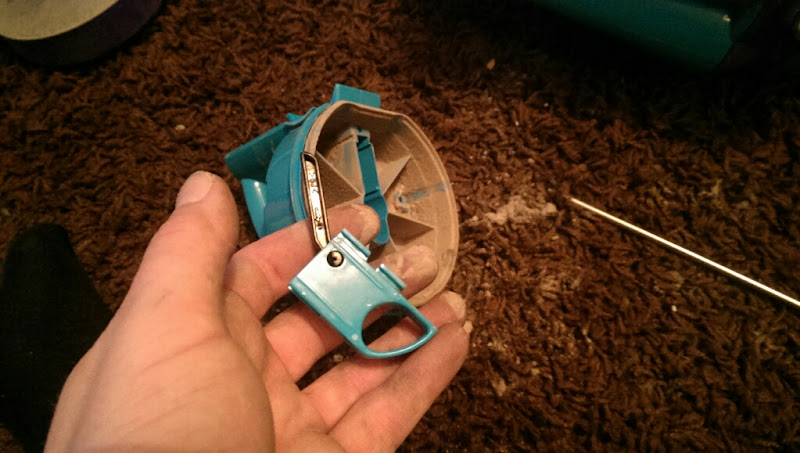
Pull each fin of the cyclone in turn until you hear a click. After the third click, the fins should fall out


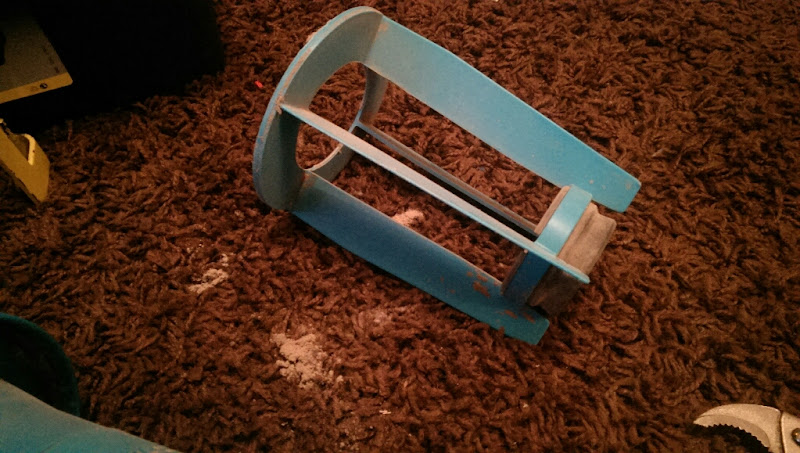
The inner cyclone seal sits inside the cage
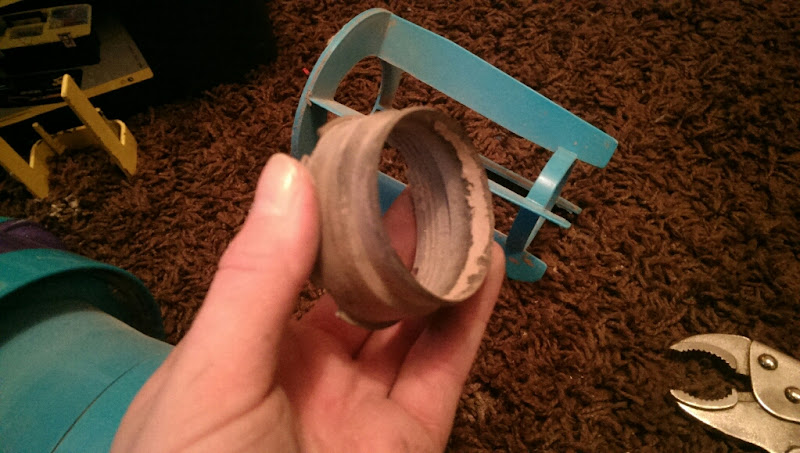
The shroud pulls off easily now

One last seal to remove

and we are disassembled!

Grab another vac and clean up before SWMBO notices (unless you are SWMBO, in which case bask in your glory!). Then, wash all the plastics in hot soapy water, then leave to dry. The cyclone unit can take a day or two, leave it somewhere hot like an airing cupboard. Clean all the rubber seals with a baby wipe/thick cloth until they squeak again!
Wipe the cables down, and if the motor is a bit dusty, try and airline it off, or vac it off/soft brush and sharp blowing onto it to dislodge the worst of it.


