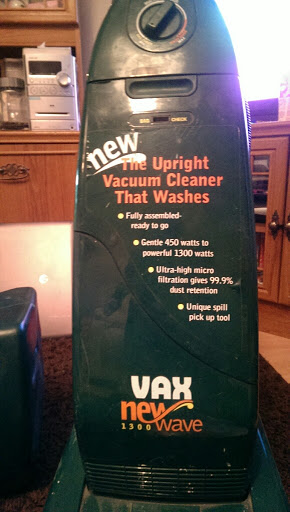
I am very excited about this! Another 1 bid <£5 machine (with a 40 minute drive to get it but meh)


Have always had a soft spot for these, I remember badgering my mum to enter a competition to win one in the mid 90's...
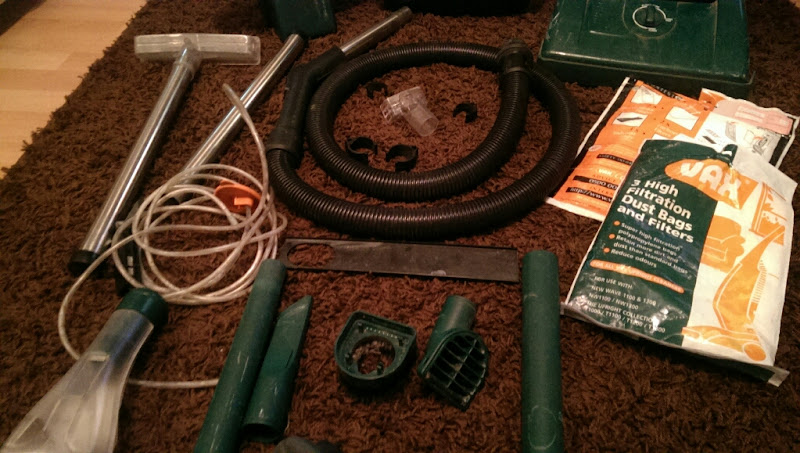
I also had a brand new pack of bags and filters in the shed that came with a job lot of shite years ago

 https://www.youtube.com/watch?v=eJya46g-SNM
It'll never set the world in fire, it's a rubbish vacuum. But an interesting one, as it also shampoos carpets...

(It's rubbish at that too...)
Either way, onto the refurb:

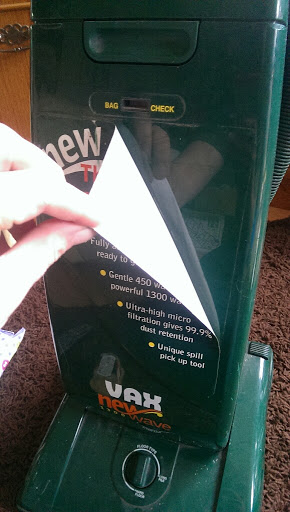
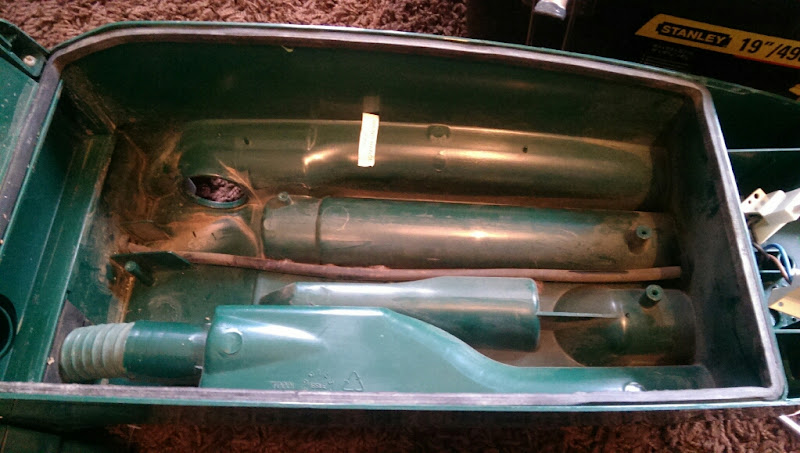
I peeled this sticker off straight away and put it safely on the living room window (it's a window sticker type thing)
Was a bit cleaner underneath


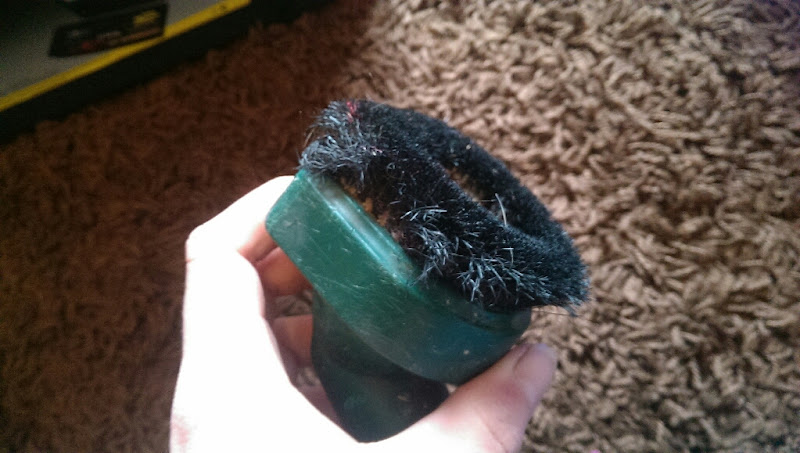
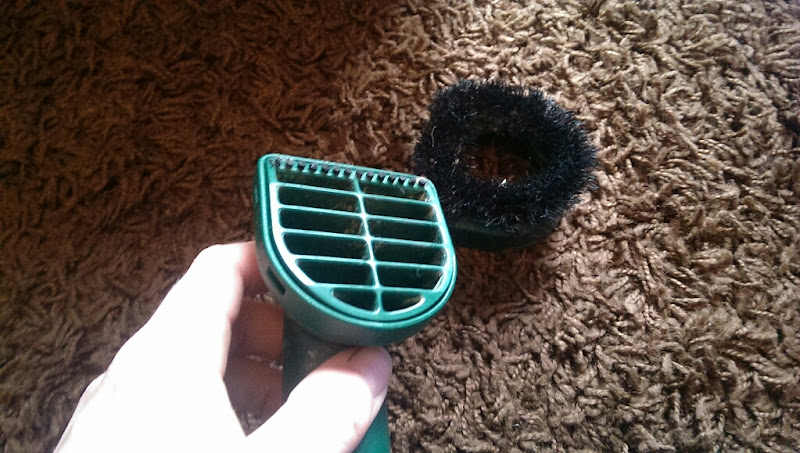
The dusting brush was pretty f :censored:ed though
The upholstry tool underneath is ok though
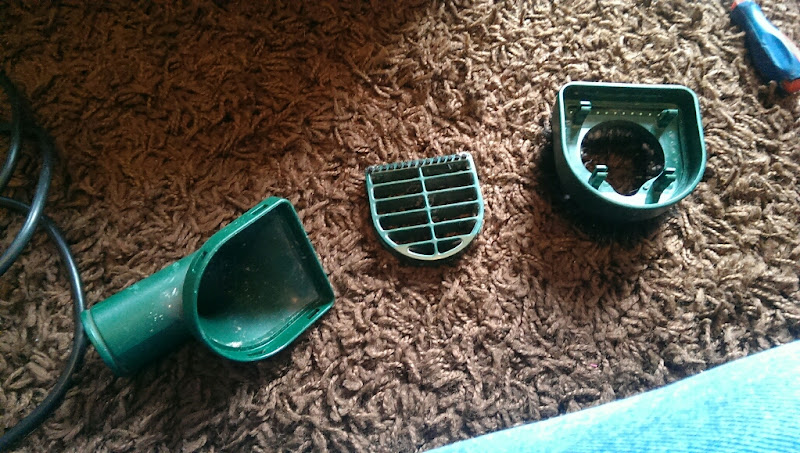
Short crevice tool

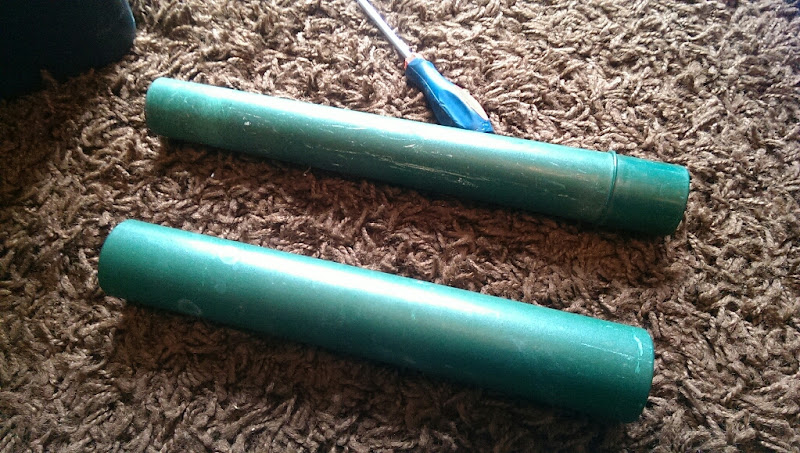
2 extension tubes
Spill pickup tool

which has a crack in it sadly, but it's not too bad


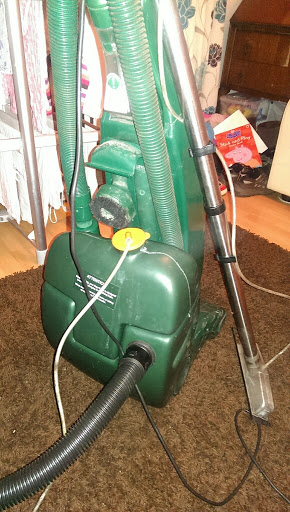
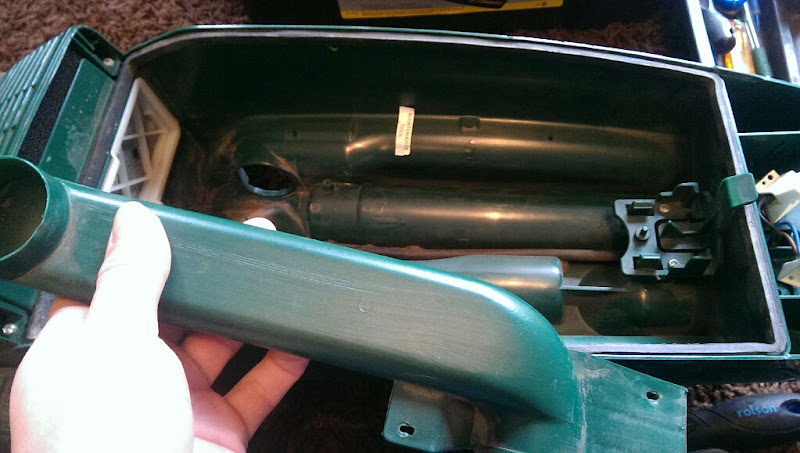
Onto the main machine now
Bag door off

Oddly, the bag full indicator is just an empty shell. Either its fallen out somewhere in history or never had one...

Removed that, and the bag door was stripped...
The half full bag was removed and binned
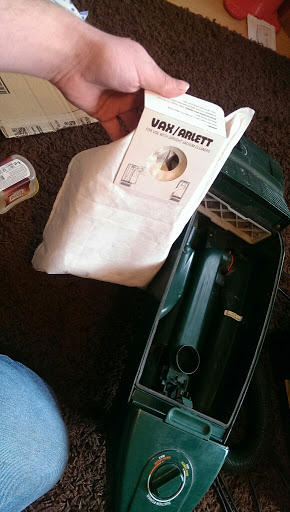
No idea if the machine hails from the same era, or just the bags though
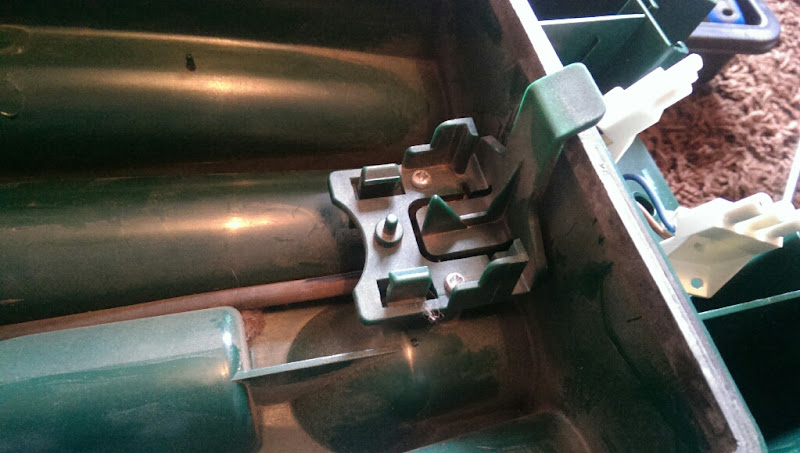
This orange clip holds the hose on

and once removed the hose falls out of the machine

There's 2 seals at the end of the hose

The hose end pops off revealing more seals


The tools end has seen some use
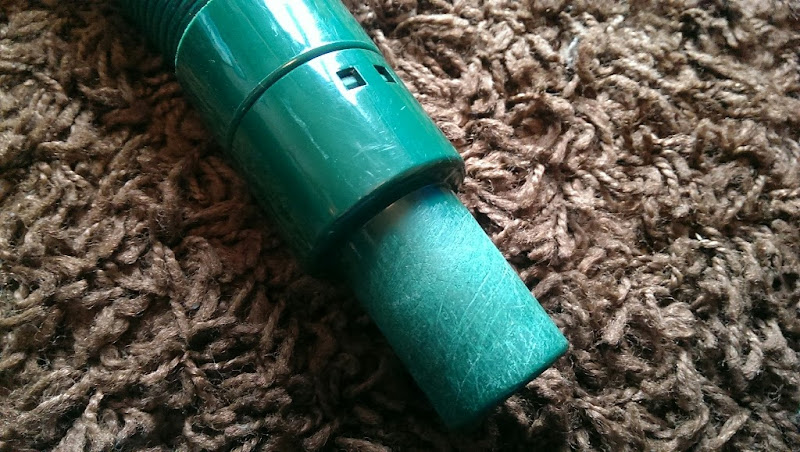
Sadly this bit did snap whilst removing the hose end

Another seal

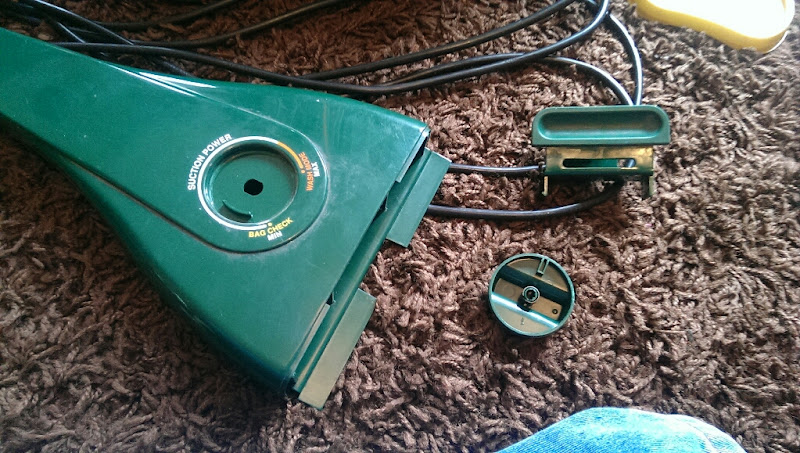
Back to the machine. Remove all the screws at the back of the handle and the front pops off, bringing the bag door latch and speed control dial with it

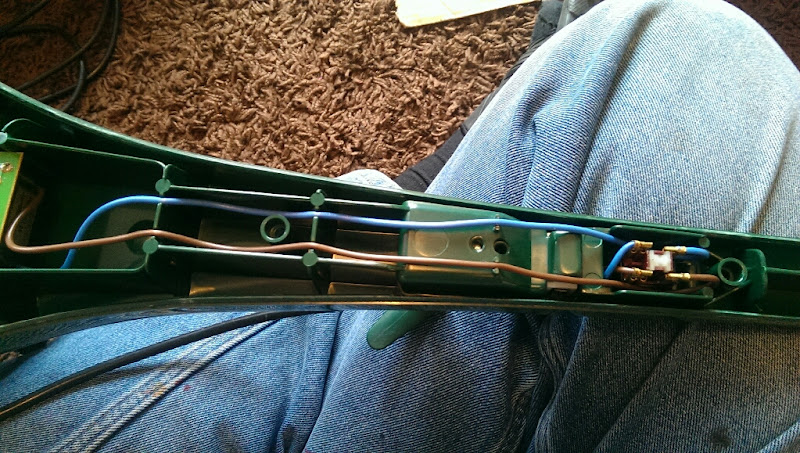
Some wires run through the handle housing
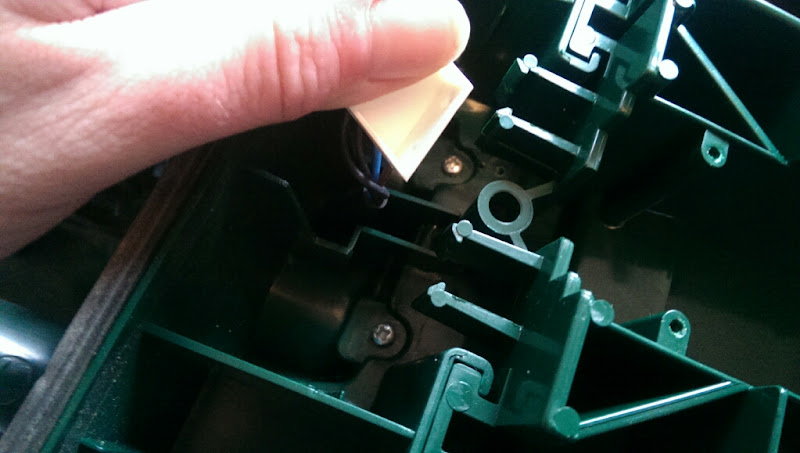
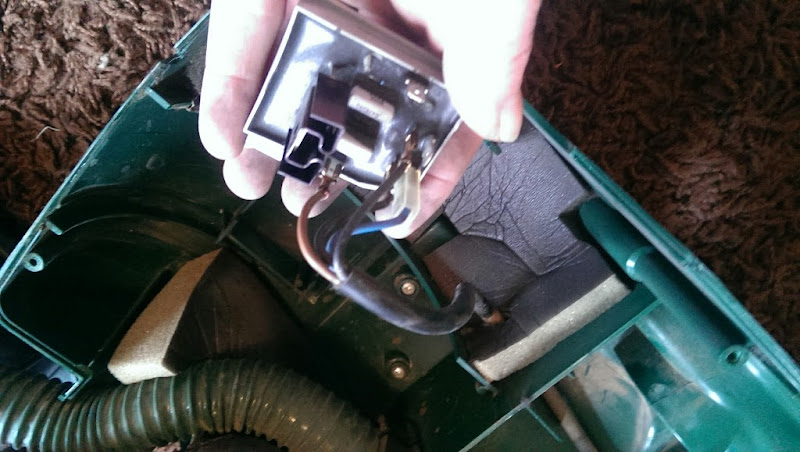
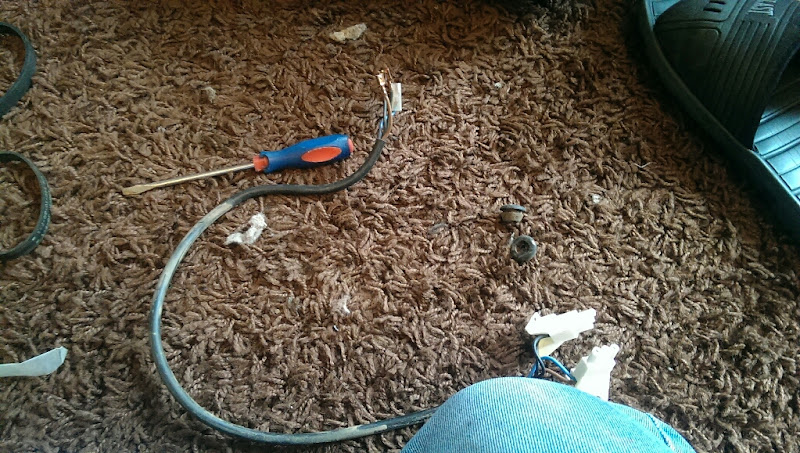
Removing the switch and switch housing reveals where the cable enters the machine
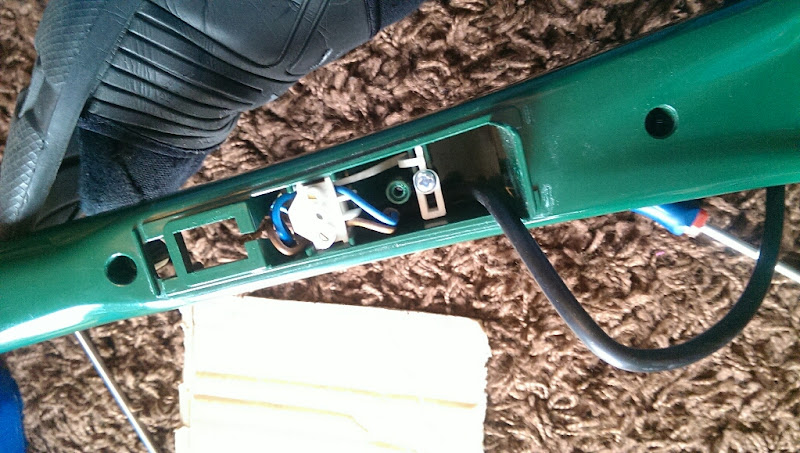
The cable was slightly torn right where it entered the machine so I cut it off and re-stripepd it upon reassembly. The cord enters through the top cord hook, and gets caught on the pegs when removing it...

Speed control next
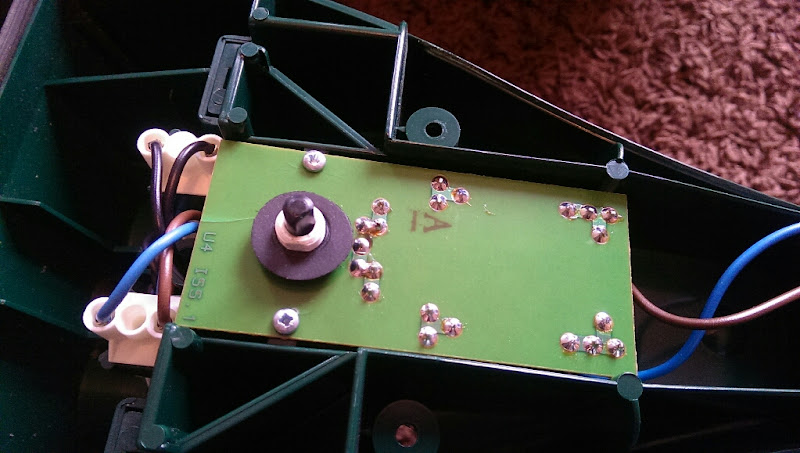
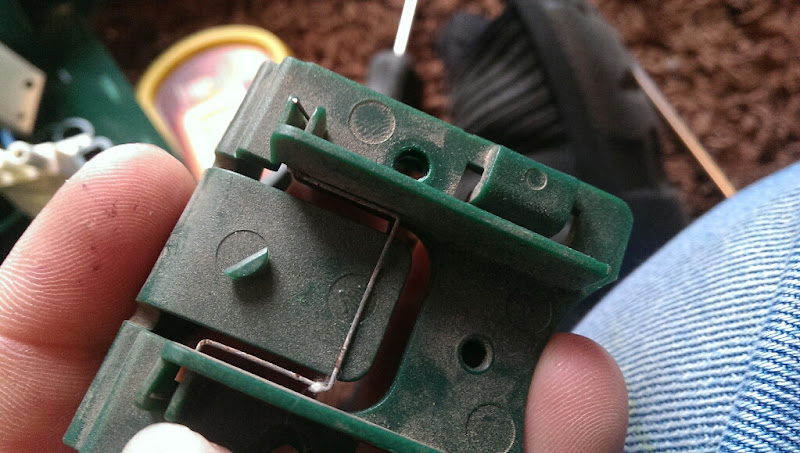
The lower wiring meets the handle wiring via these chunky plugs
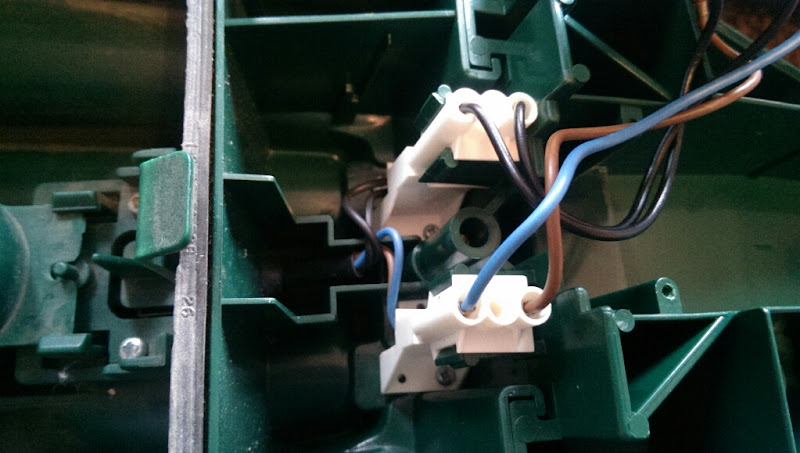
Which were screwed and clipped to the housing... Once removed though, everything pulls out


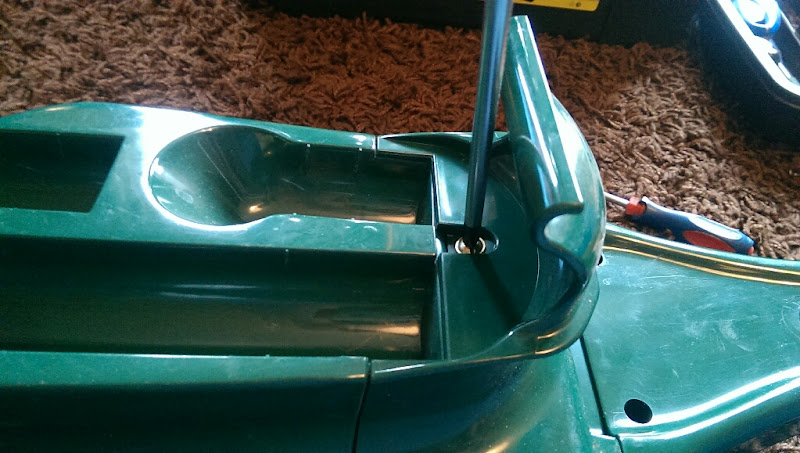
Time to remove the rest of the handle. Big handle screw resides under the carry handle
and 2 screws inside

The carry handle lifts out too when the handle is removed


Bag fill tube next

Bag holder clip then becomes visible
This spring looked tricky to remove so I left it be!
Pre motor filters out

and the post filter
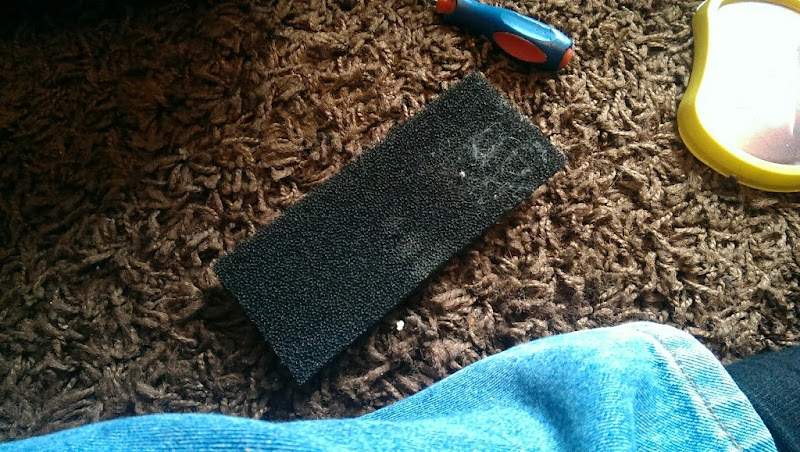
they all went in the bin!
That's about as far as I can go now without moving onto...
the lower half


The bumper hanging off had annoyed me since getting it, but I knew I had to strip it to fit it properly so had left it for now...
Baseplate off

Was a bit fluffy
Brushroll out. It's not too horrific, stiffer than a Panasonic, not quite as stiff as a brand new qtex dyson brushroll though.
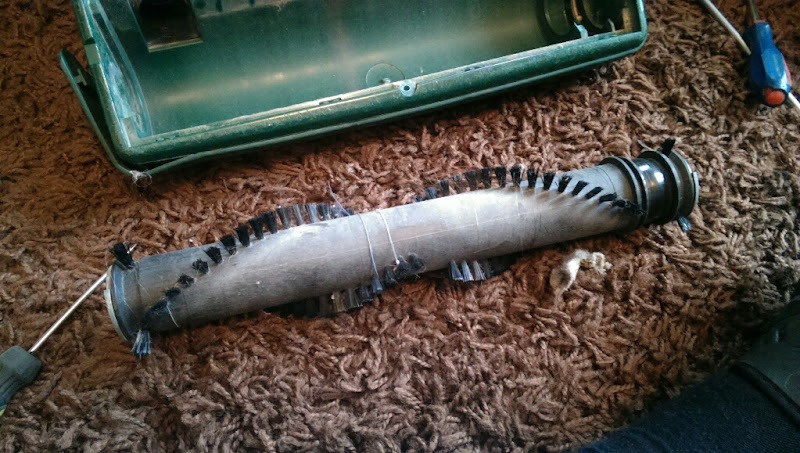
Both the end caps came off

but the bearings wouldnt come, and I snapped one side of the plastic housing that holds it all in so put it all back together and left it well alone!
2 More screws and the hood comes off

Release pedal out
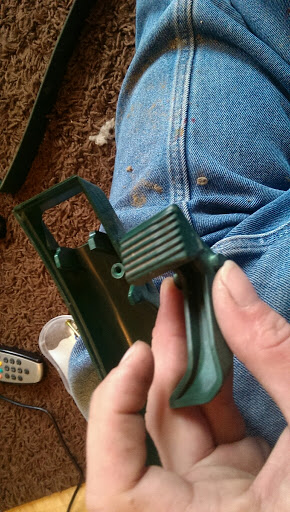
This does have a brushroll stop function, which works by a lever pushing the clutch apart when the machines put upright, but it doesnt work as I think the plastic around the rod is too worn, so the brushroll cant be turned off.
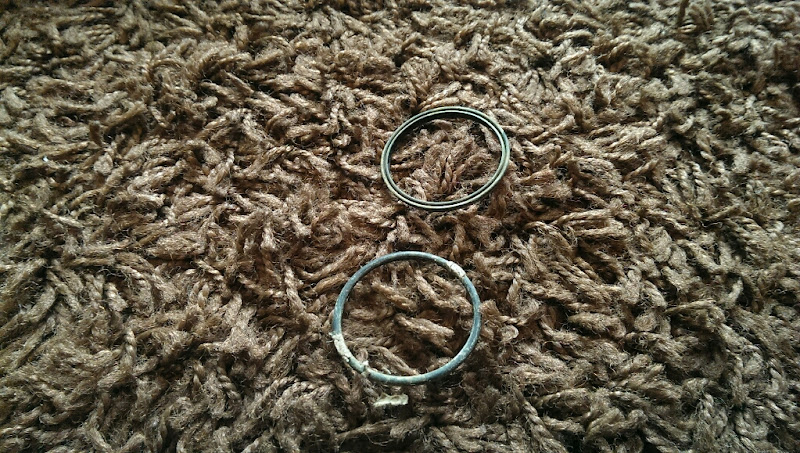
The old belts looked like they were ready for the bin too

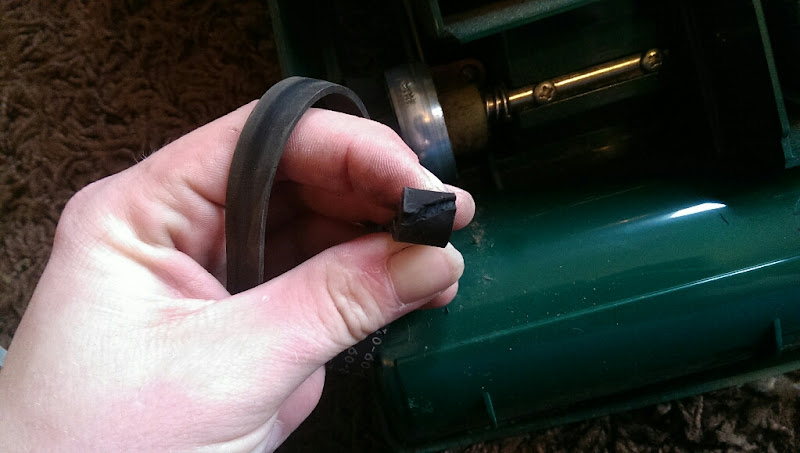

Hinges next, 1 tiny screw in each

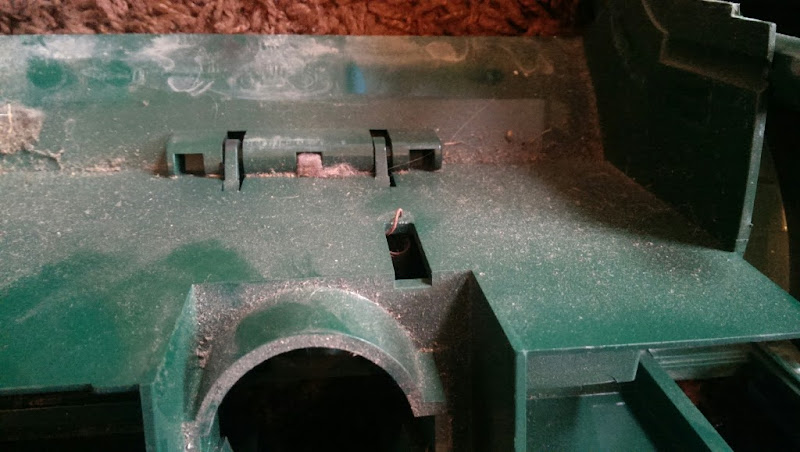
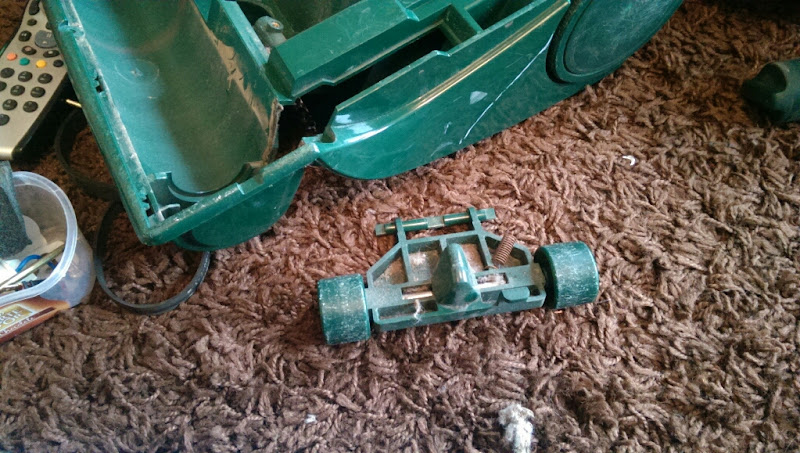
Once the 2 halves have been removed, 2 more screws and the clutch assembly comes out
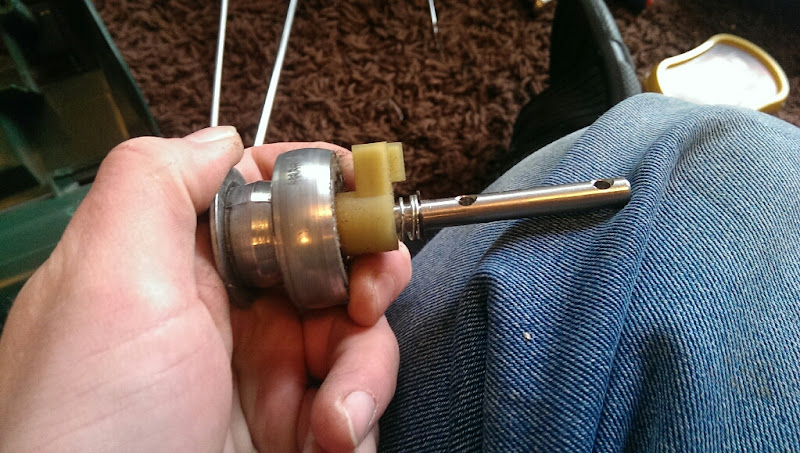
This is the mechanism to turn the brushroll on and off
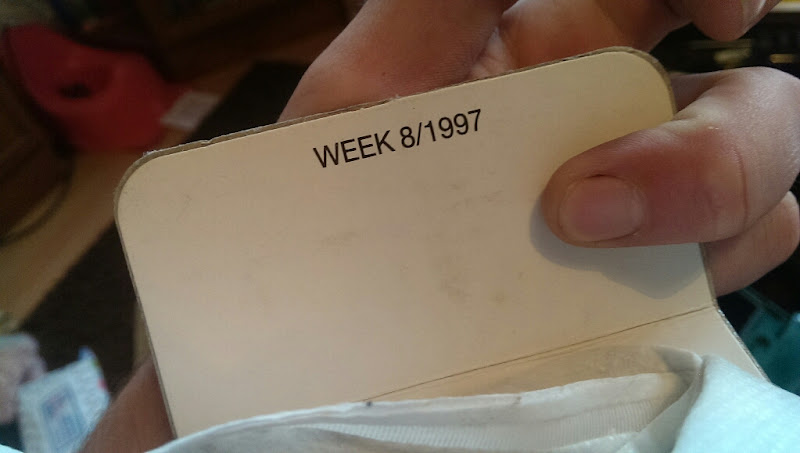
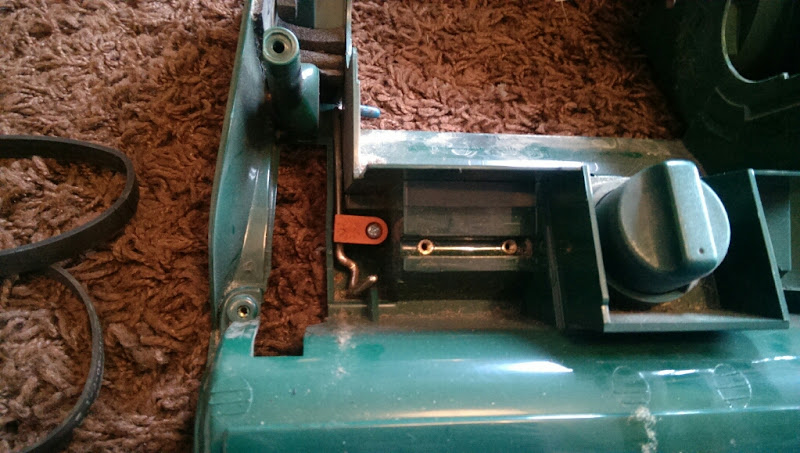
A date!

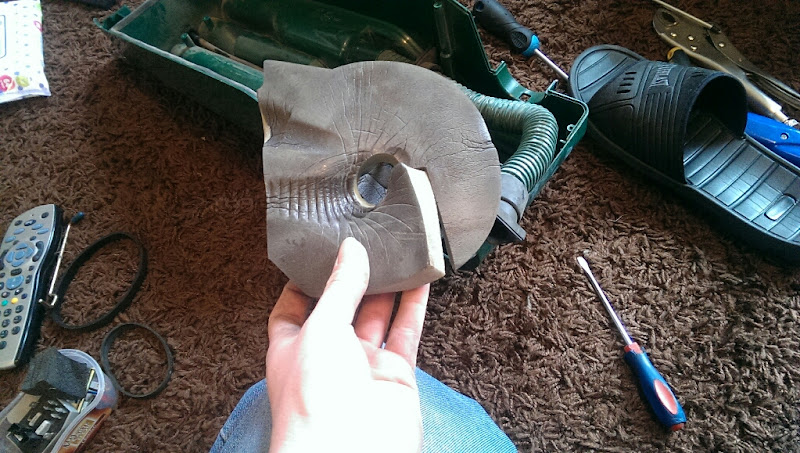
This packing stuff sits behind the belt pulley, and seals the suction around the area

The rod is removed
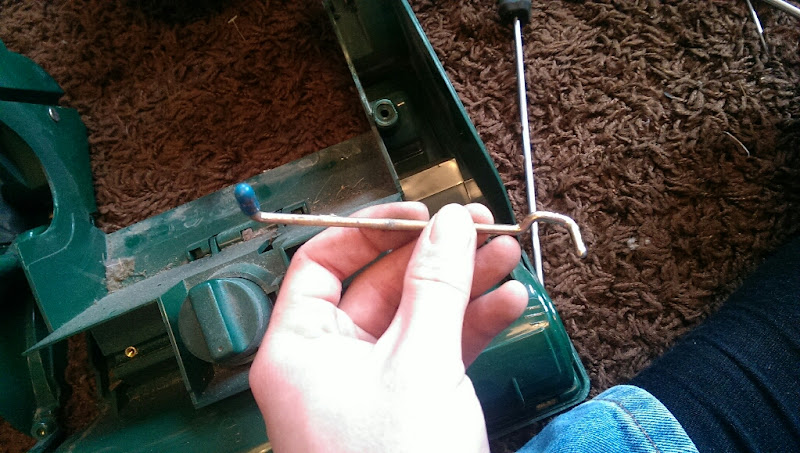
This little spring provides tension for the height adjuster wheels
Height adjuster knob and stepper pulls off

and the base of the machine is stripped!

I popped the caps off the rear wheels to have a look, and was greeted by these horrible horrible clips, so the wheels stayed on...


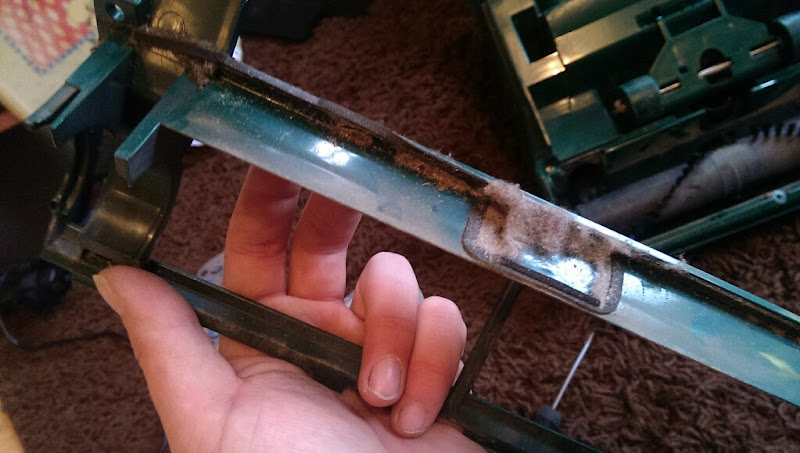
Back onto the middle part now, this machine is very involved!
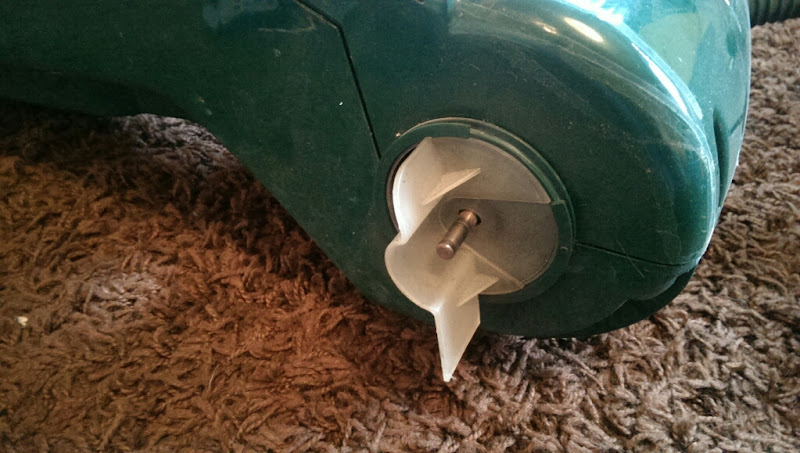
This innocent looking guard sheilds certain finger loosing death
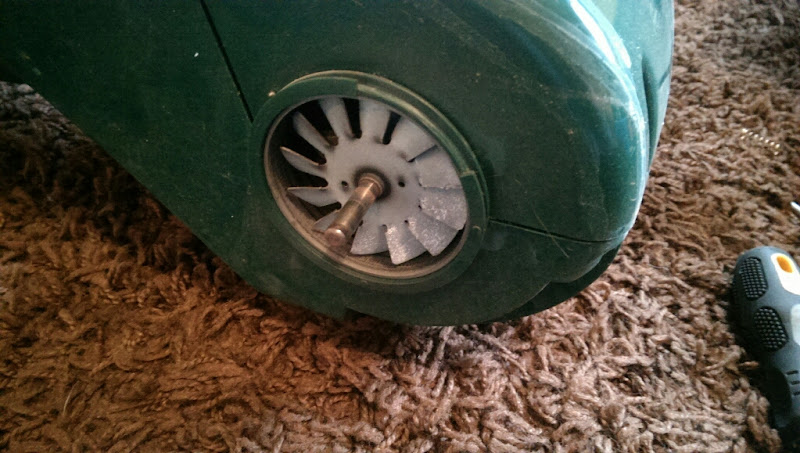
Some screws later and the front of the motor housing comes off
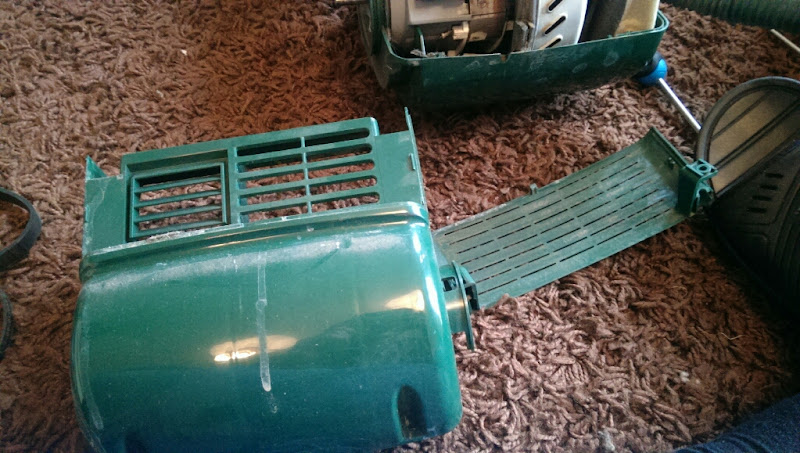
revealing the mahoosive motor!

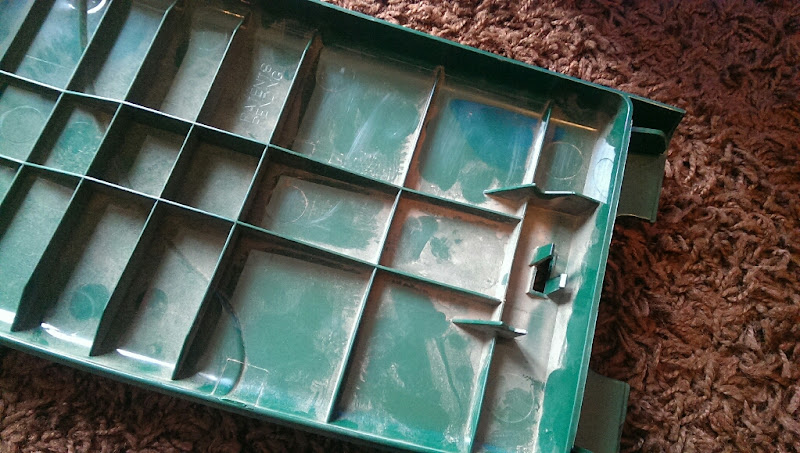
Middle tray/filter housing lifts out

and the motor comes out

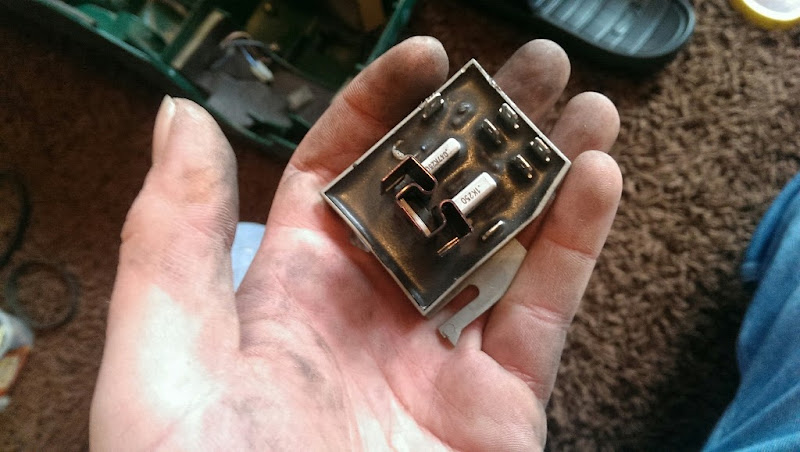
I presume this is some sort of thermal cutout device

Everything was unplugged, and the motor seals removed

The spine wires are removed
and the TOC is empty
This chunky bit of foam supports the end of the motor
the internal hose and associated bits are removed next

Then the spine wire and 2 rubber bungs
3 more screws, 2 here and 1 under the stuck on bit of foam
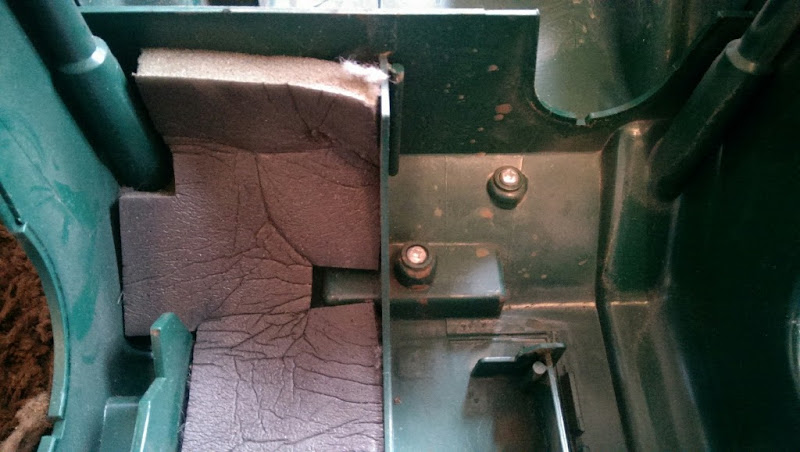
and the lower cord hook/wet use tank holder comes off

The only other stamping I could find anywhere


