Thought I'd split this, above for backstory and excuses for not doing this sooner, this thread for the normal style refurbishment!

I'd put the hose through the wash previously when I had a load, and the floortool is new, and I'm not bloody taking it apart as it works, and the poles are clean, so I didn't bother with those, just the main machine
This bag came from the S5210, and it was half full then, was bricked when I removed it...


Bottom filter came out of it after a vac, top filter I cut from a bojack filter I had for a Miele S7 (Bought cheap S7 bags for Hoover Uprights...)

Will wash and re-use those for now
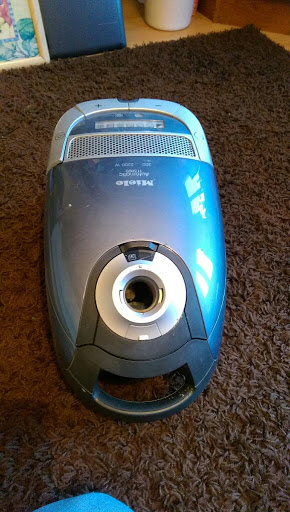
Tool cover popped

Removed, and the front trim peice removed too

Small tools out

Dusting brush came from somewhere years ago, and was full of fluff


Upholstry tool broken down

Spring that pops the hood removed

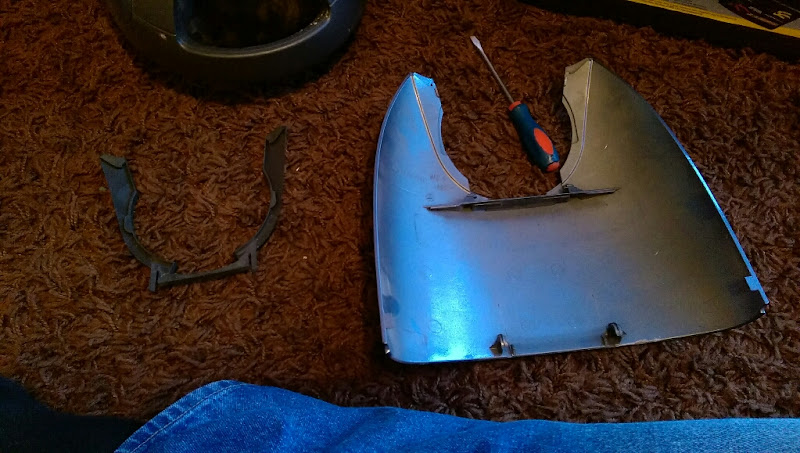
Exhaust diffuser removed

and with 2 popped tabs the bag door top comes away from the machine

I removed the screws from the hose holder, and this connecting pipe came off

The bag fill piston indicator is actually the one from the S5210, I swapped it as it was broken, and I wanted the S5210 to be perfect... Doesn't really bother me as once fitted its held together with the housing anyway!

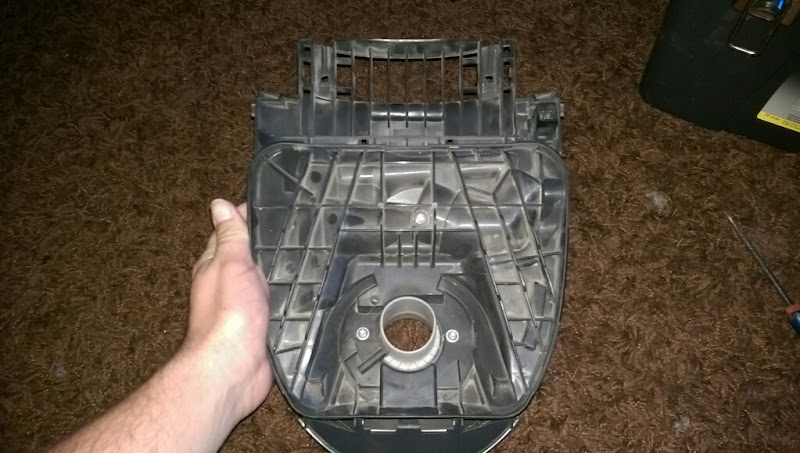
Powerhead connector cover removed

Under the hose connector housing are bits I;ve not seen before! One is the powerhead plug, the other is the sensor for the Automatic setting

Fill indicator/tool door popper removed

wiring tray and bits removed
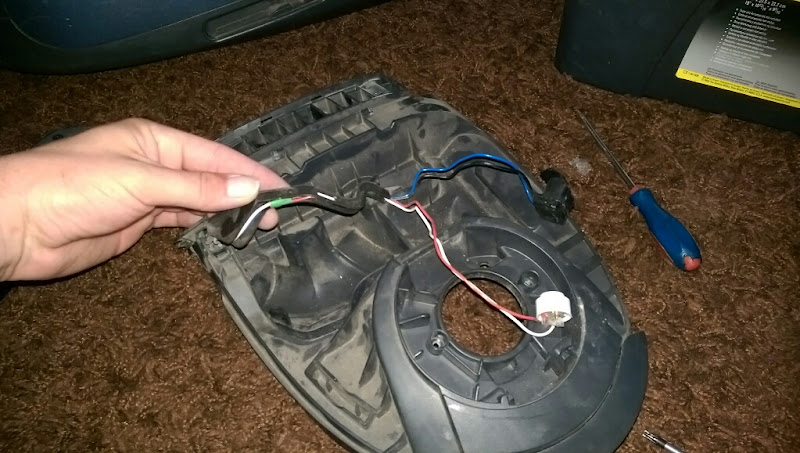
The white bit is the sensor. In Automatic mode, it's supposed to sense how much airflow is needed and adjust to suit

This is nothing new, Hoover had it on their top of the line Turbopower 2 Autosense cleaners, and I;ve heard it's pretty good.
It doesnt really work on this, just ramps the motor up to full power until you restrict the airflow when it went right down. I blew a load of fluff out of the connecting pipe so maybe that will help... I blasted the sensor out with switch cleaner too
Bag top wiring fully removed

Removed the wiring from the tray

Took the wires out of the powerhead plug


On the other end, the pins are held in place with these 2 pegs, which took bloody ages to find


Once removed, the wires just pull out

Lid release mechanism removed


This is the bag holder from the S5210, which is broken. I bought a new one for the S5210, and just kept this one. If one is careful when fitting the bag it's fine, its when you pull it around it pings out and puts the bag on the piss. Will probably replace it at somepoint in a moment of boredom, but for now it stays too

The Active clean filter is from the S5210 as well, so I washed it with the machine

Ont othe rear. The on/off switch and rewing switch covers are also fro mthe S5210, I swapped them for the minty ones on this to, again, make it look tip top. The rewind button has a broken tab, but it works and doesn't bother me, I can switch it on and off with the end of the tube, which works for me...

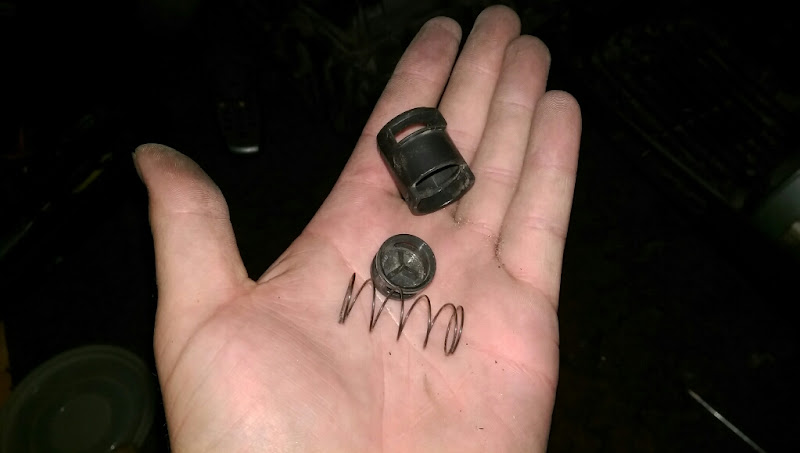
The +- buttons pop out first (I had to do all this to fix the motor so know how it goes...)

their 2 springs

A new switch and rewind cover is £17 from Miele, maybe one day I'll grab some. The coating pells off easily tbh, seen lots looking scruffy


The cover that houses the LED display comes out next

6 screws later, the top housing comes out

The 2 pegs that hold the bag door lid on and hinges it comes out next

The 2 pads that hold the machine upright pop out

Next layer now

This peice seems to diffuse the light from the LED's

One of the resons I love Miele is everything is plug and play. The entire switch/pcb/wiring tray unplugs nad lifts out

Plug for bag door and the main input plug

This is a switch, so when you park the floor tool it pauses the machine!

The wiring and assorted stuff unpicks from the tray

Busy little circuit board

The LED guide lifts off

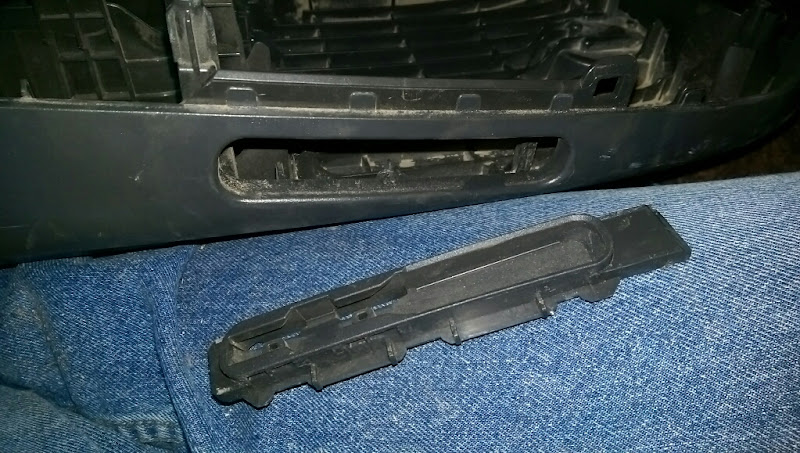
This is the park switch

This is the movement piece


Another layer done, another to do

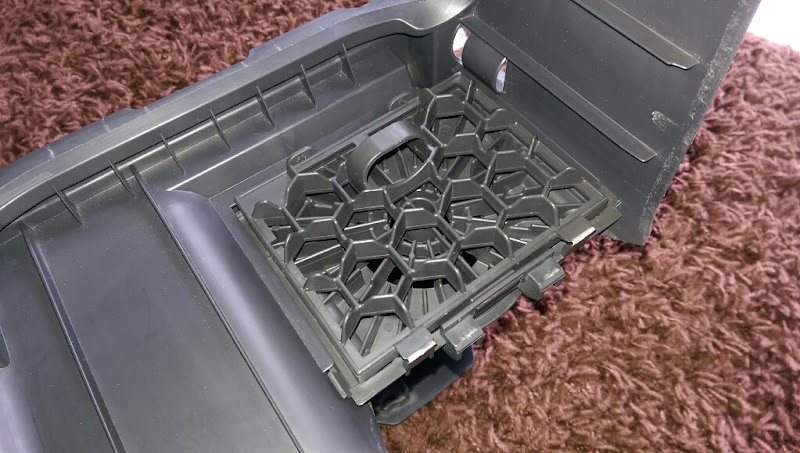
3 screws and 2 clips at the front...

The pre filter cage slides out, a load of grit fell out from behind this bit

The release valve has never worked...

That'll be why then

This is the bag door seal

and this is the business end

Cord rewind unplugged and lifted out. I did nothing bar give it a brush down as these are £££££££££

£££ even second hand

Motor rubbers off

Motor sound deadening and motor compartment seal out

Underneath now

and the wheels come off and apart
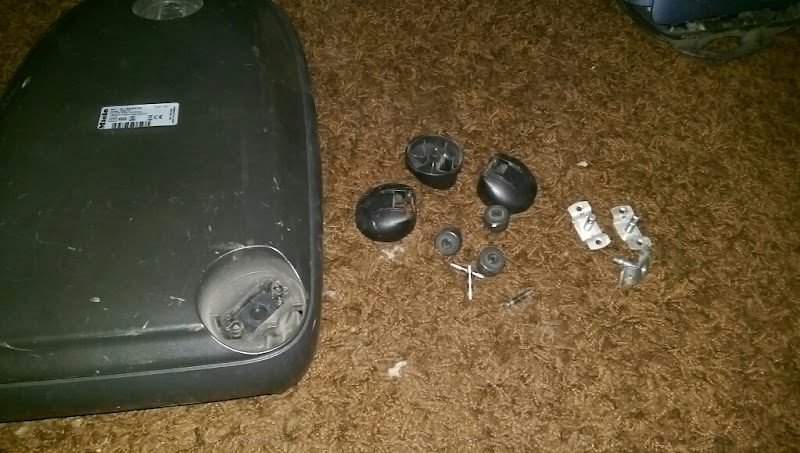
These bits are the side parking slots. No switch on these though
And she was stripped and ready for washing

Non washables

Everything was washed, dried and then polished. Then laid out for a picture!


and re-assembled!
Wheels back on

smear of grease on the pivot spindles


smear of grease on the wheel axles


Side parking slots back in

motor and cord rewind in

Post motor filter housing slotted in
and the motor housing layer re-fitted

Release valve refitted

Cleaned up and refitted circuit board and switch tray fitted

LED Diffuser fitted

Post motor filter and cage fitted

switch covers and led cover fitted

Wired the bag lid back up

A new bag was fitted! Have one left after this, so will buy a new service box in ready and change the lot, thats why I just washed the filters tbh

The filters cleaned up fine anyway

bag compartment lid fitted

Small tools fitted (yes, the dusting brush has been chewed by a dog...)

tool door fitted, and job done!

She works just like new again now! No smell at all, suction is much sharper than before and the LED's shine brighter! The Auto setting works better too. VAcuuming carpet, it hovers at about the middle of the range, but as soon as you lift the head off it shoots up to full popwer, same with vacuuming laminate. Will rarely use that setting tbh!
Still, my new daily driver is nearly done. She does need a run over with the machine polisher, but that can be for another time. It's already been put to work, clearing up after a DC14 I stripped earlier, and it performed very well!
Hope you enjoyed it! I'm off to bed now...


