Amy bought me this years ago, she found it in our local British Heart Foundation and bought it home!
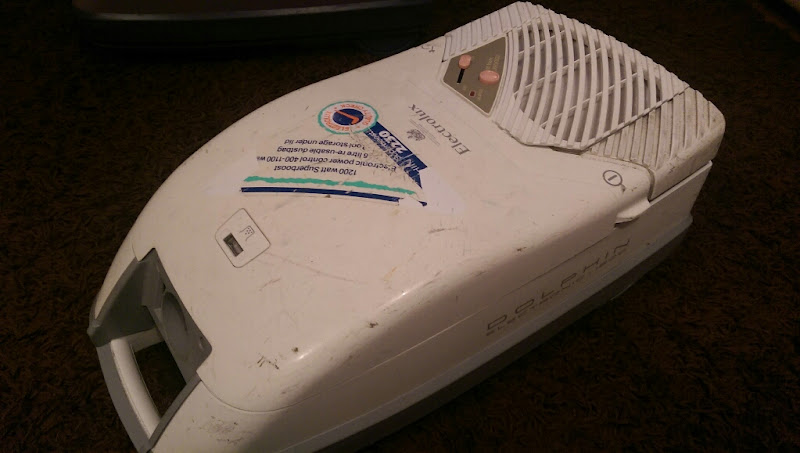
This is what it looked like on the 18th Jan 2014


Sadly, when trying to remove the power pedal, I broke it


After this it sort of languished about, unloved because I broke it. We were living at my mums at the time after evacuating our flat due to the rats, and I used it as a garage/car vac for a bit, and generally treated it like crap.
Last winter, I obtained several random dolphins, including another Z2230, an earlier one, in worse condition

They've sat in the shed for far too long, so I got them all out. I scrapped a bodily broken dark blue dolphin, which is a shame as it was quite rare, but too broken to bother with, so had the good motor out for the other z2230 which had a blown motor, pinched the unbroken power pedal from it and replaced it with a blue pedal, and decided to refurb it!
Poor, unloved thing

Week 36 1991

I was waxing and glossing up the 2260 whilst doing this, hence why its in the background. I cracked out a few beers and got to work

First to go was that sticker, which is a shame as I like originality, but it was too far gone

Hopefully the white bits will fade down happily in time
Bag door off
Bag fill indicator off

and split

The Escutcheon (yep, thats what its called) comes off

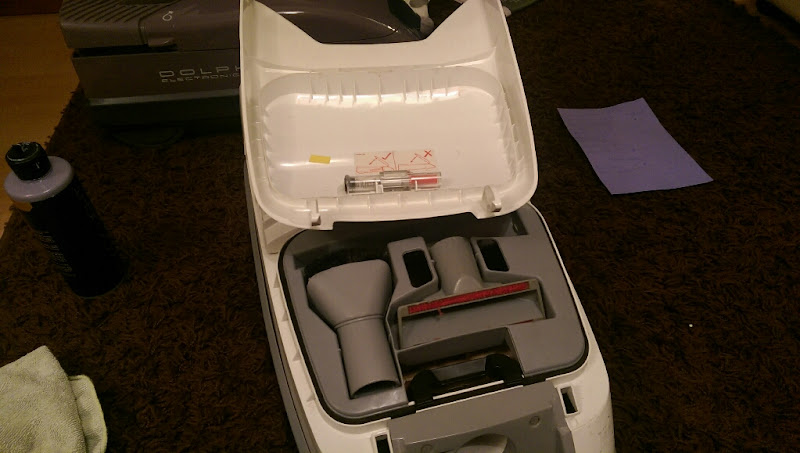
The crevice tool is there, I forgot to get it out of the shed...

Upholstry tool is in good order

Dusting brush is iffy but do-able

God knows how long this bags been in here

CUL8R

The filters weren't too bad tbh, I put them through the washing machine and they came up very well

Bag holder out

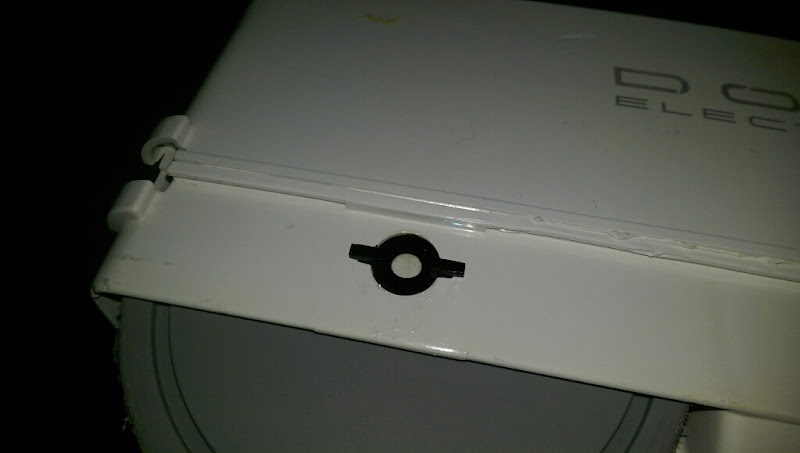
The screw holder bungs removed

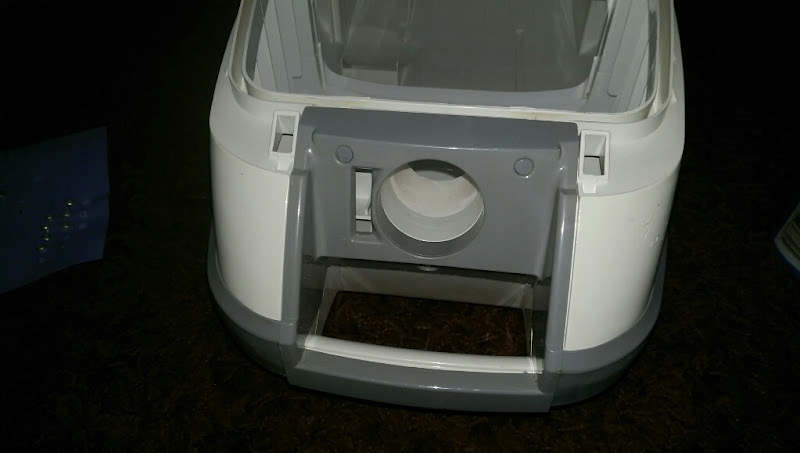
and the hose entry assembly removed

The mouldings for the electric bits as per the 2260 are present but unused

Bag door seal removed

Post motor filter housing removed

The post filter was washed too and was fine

Wiring cover removed

Power slider removed

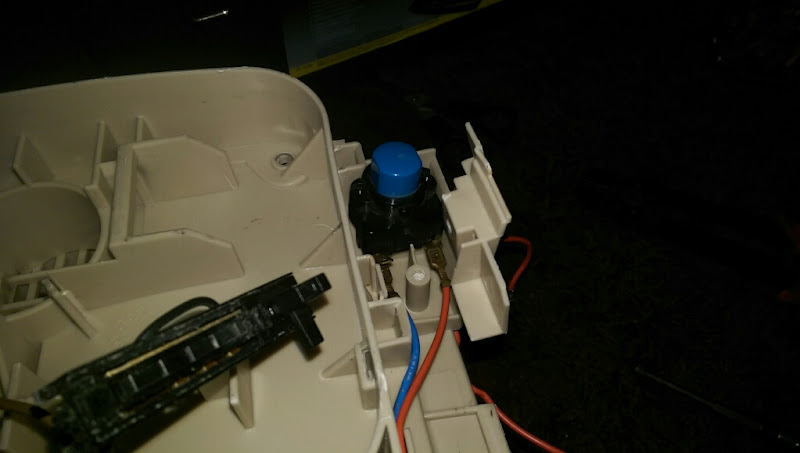
1200w superboost button removed

Power slider and superboost indicator gubbins lifts out


They both sit on a bespoke housing

Superboost button removed


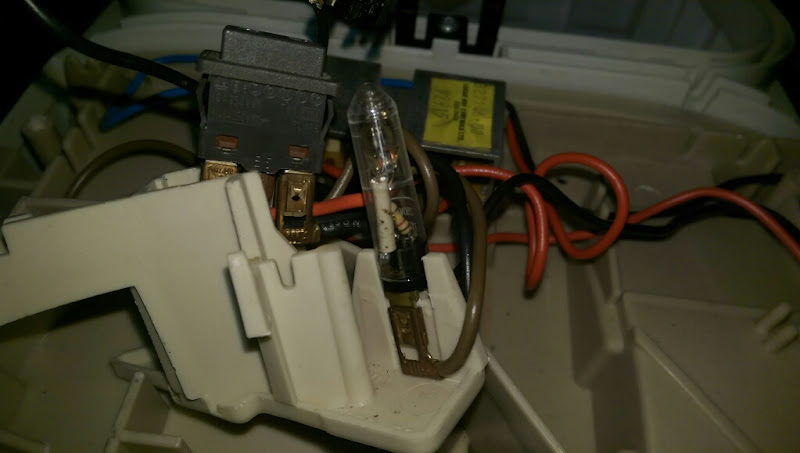
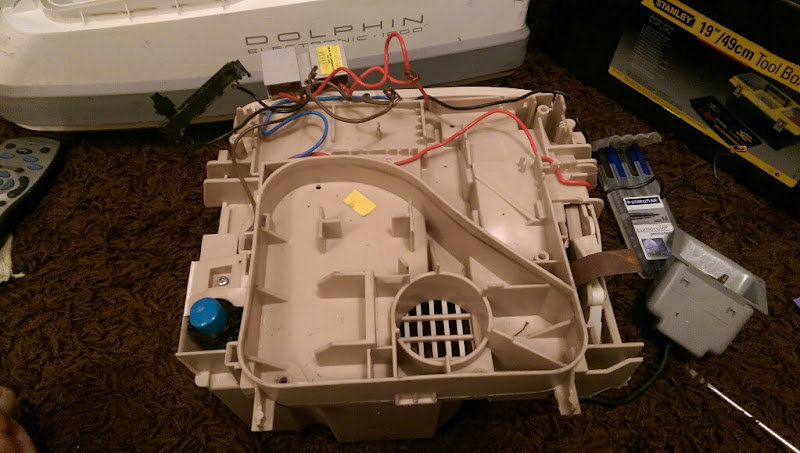
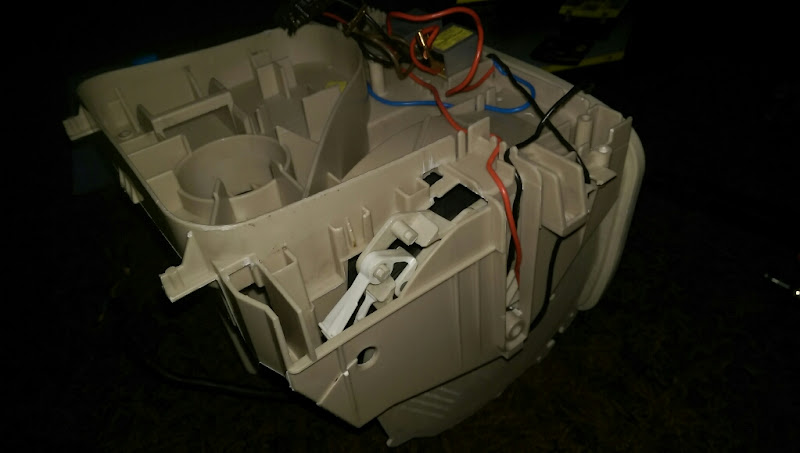
Lucas prince of darkness

reference shot of the wiring

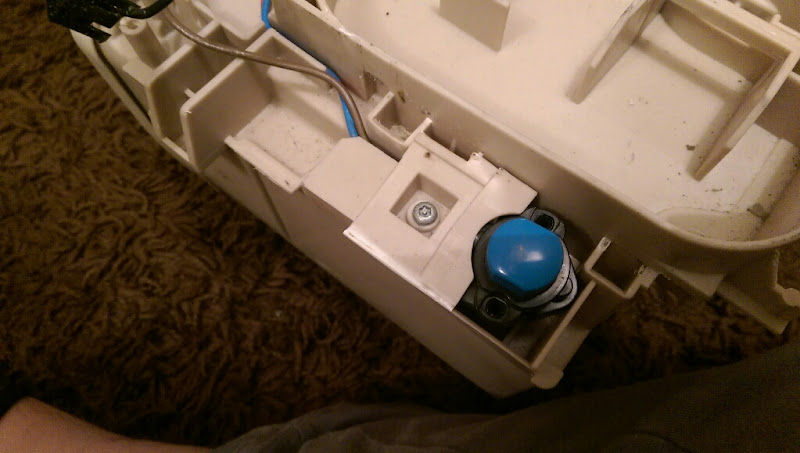
The plastics are a different shade on the pedals

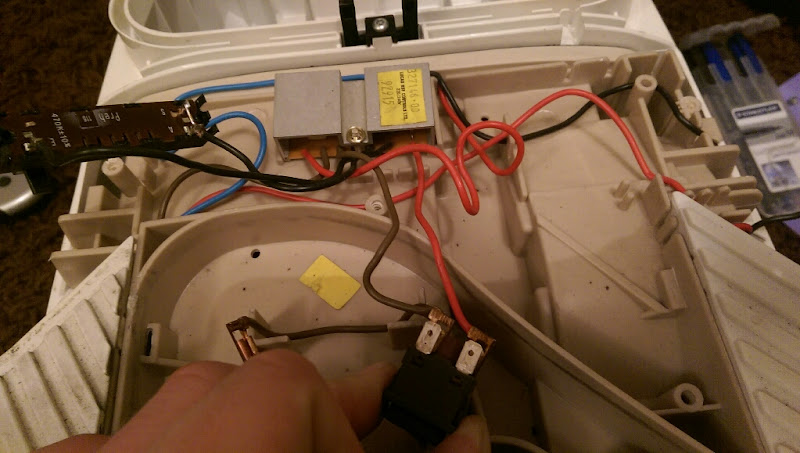
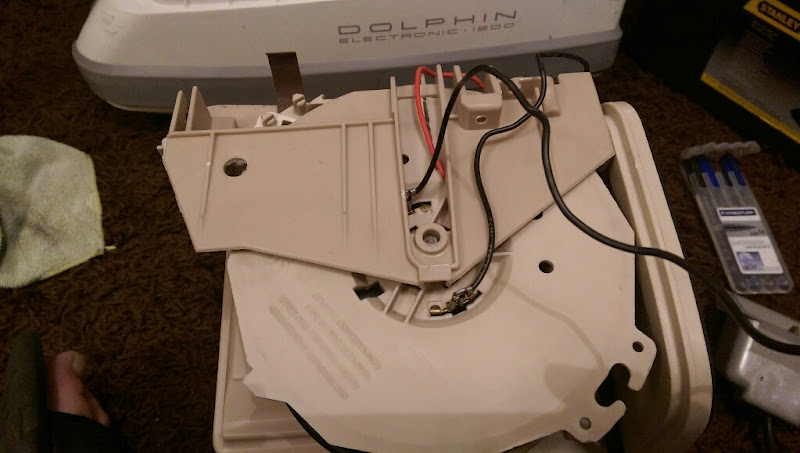
Motor and cord rewind assemblies lift out whole
Power switch holder removed

There are 2 neutrals coming from the cord reel, one to the motor and one to the PCB
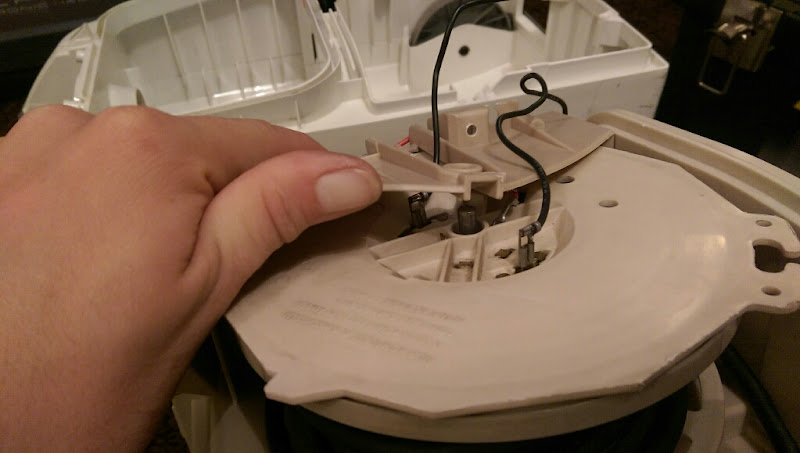

Cord reel lifts out

In hindsight, I wish I had cut the cable down a bit as the end is very bent, maybe another day

The power button spring was missing, so the cord reel one was removed

Motor housing seal removed

Motor housing removed

Fancase seal off

motor out

The rf supressor is on a bit of a state

It was like that when I bought it, and I left it alone, it does still work, despite it exploding a bit at some point in its life

Out it comes


The motor itself was very clean, so I dripped a bit of oil in the bearings and left it be

Looking a bit emptier now

Bag door catch out

Bumper off

Rear wheels off

Front wheels off

Parking bracket removed

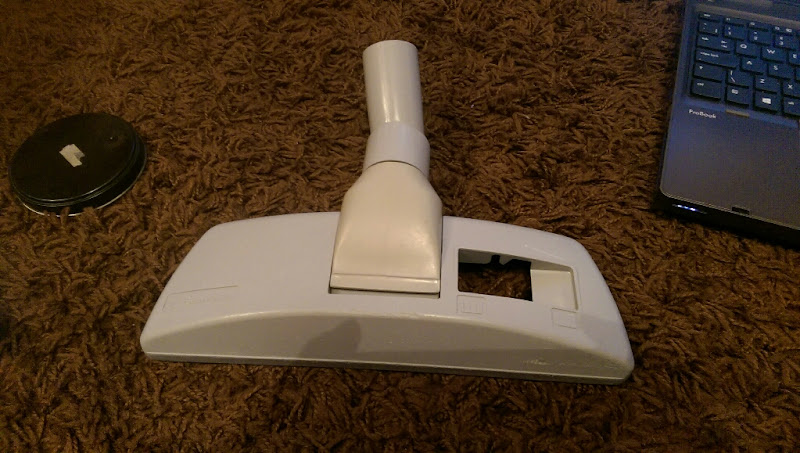
Machine done, it's onto the floor tool. Not sure if this is the one it originally came with as I have a few now, but it's a floor tool, and that's good enough for me!


Baseplate off

Brushes out

Changeover plate out

Elbow out

All that was washed up, dried and polished in the usual fashion. I then did some shopping, and repaired the motor

Checked what wire should go where, and ran it past tech12 for reassurance


The black wire has the end of the coil wire with it as well, so it's tucked nicely into the motor housing out of the way and to ensure it cant move
Red live wire plugged in too

Motor back in

PCB fitted

Switch fitted
Cord rewind fitted
button covers and cord guide fitted

Motor housing seal fitted

Rear wheels now


with a drop of grease to smooth it out

Front wheel reassembled

One of the small guide wheels underneath has a side missing, but it doesnt seem to bother it


Bag door catch fitted

Parking bracket screwed in, this has been off before by the looks of it and had the wrong length screws refitted

Bumper on

Hose input housing fitted
Electronics dumped back in

speed control and superboost light fitted

cover fitted

Bag door seal fitted

I fitted new filters as the old ones were still drying at the time

A new bag


Bag door and escutcheon fitted

Post motor filter fitted. They seem to work better if fitted like this, then the cover fitted as they blow up and into position, the cover wont clip on if their just laid on top


Tool tray fitted


Tools fitted
And she is almost done!
Floor tool next


I found the extension tubes in the shed and gave them a good polish, and put it aside whilst it waited for its hose (and others) to dry

I found another pedal spring from the cannibalised dolphin


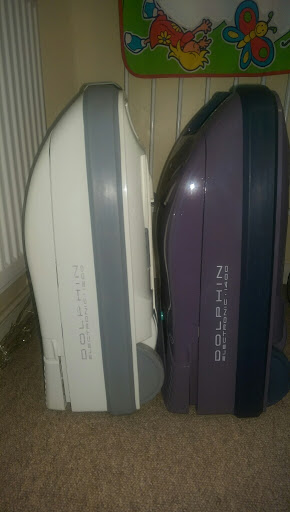
and the machine is done! It joined its friend


I did find the/a crevice tool


The floortools are very different. The grey one is ace on carpet, not as good on hard floor. The black one is rubbish on carpet as it holds itself too high, but ace on hard floors


I found a hose end, and got it polished up


And she is done! (again, I wont abuse it this time though)

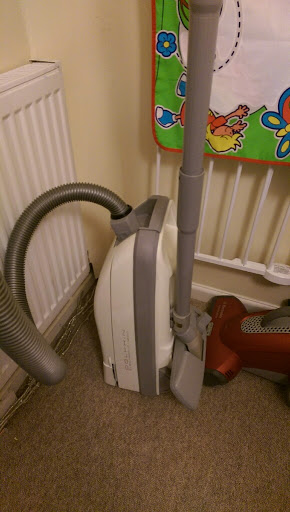
I've used it alot tbh, it's slightly nicer to use than the Z2260 as the hose is lighter and less bulky. The blower mode is handy too, I pointed it at the extractor fan in the bathroom and nearly choked to death!


