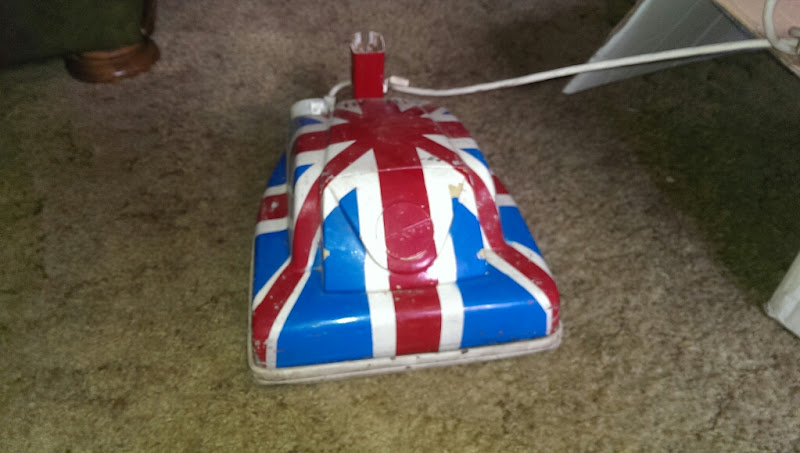
Back in September 2013, I bought a 99p Hoover Junior 1334. I won't lie, alcohol was involved, and I;ve not done alot to it in my ownership.
This is how it came out of the box


I cleaned and refitted the bag seal to aid performance

and fitted a new cable tie


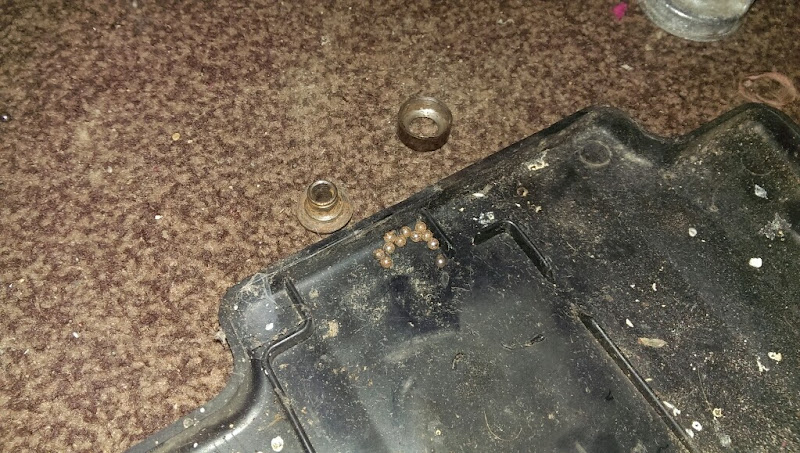
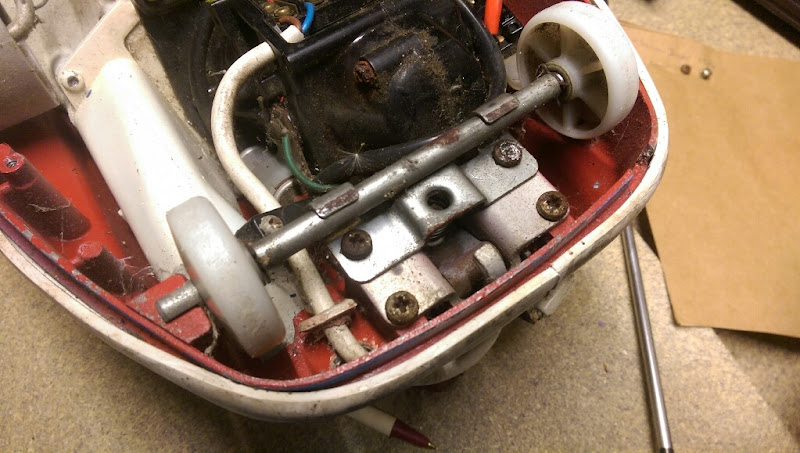
Taking the bottom cover off, it was evident it had been sat for a very long time

Then the problems that led to its long layup started
Screws started to round off

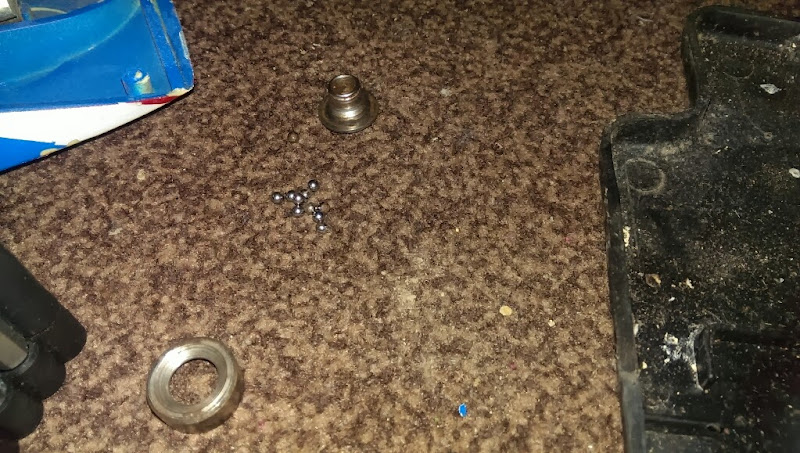
At the time, I used to split and re-grease brushroll bearings, and looking at the old pictures (22/09/2013 now), I did this to it


I fitted a new belt

and shot some videos, back at the flat this was!
Not a valid youtube URL
and that was that, as the rounded off screws prevented any more refurbishment taking place.
Until tonight, 3 years later, when I had another look at it...

The paintwork is shagged, I've been picking at it in the past

One of the the knackered bolts
I got creative, and using some big snips, managed to get enough purchase on the head to turn it, and 3 minutes later

it was off!

The wet patch is plusgas, which helped

The handle release pedal needs to be undone to withdraw the handle bail

I then removed the mains cable as it was getting in the way

Need a new one of these

The switch unscrews from the body
and the motor can be removed

The front wheels unscrew from the chassis

It's missing a screw from the firewall

but removing the other 2 is thankfully easy

This screw had also rounded back in the day

More side cutter action had it removed
The brushroll retaining spring is removed

The rear wheels split apart

as do the front

Brushroll split

The bit of metalwork on the belt guard unscrews

The handle bail was always broken, but it turns out that the retaining bolt was loose, so happy days there

which made this part not move up or down

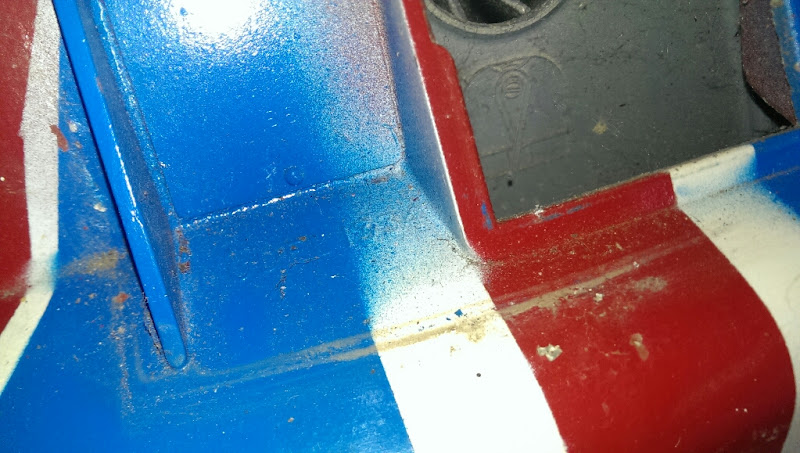
The person who painted this back in the day (I reckon for the jubilee in the 70's) was a bit sloppy in his or her work)
quick reference shot for the handle bail spring

all split apart

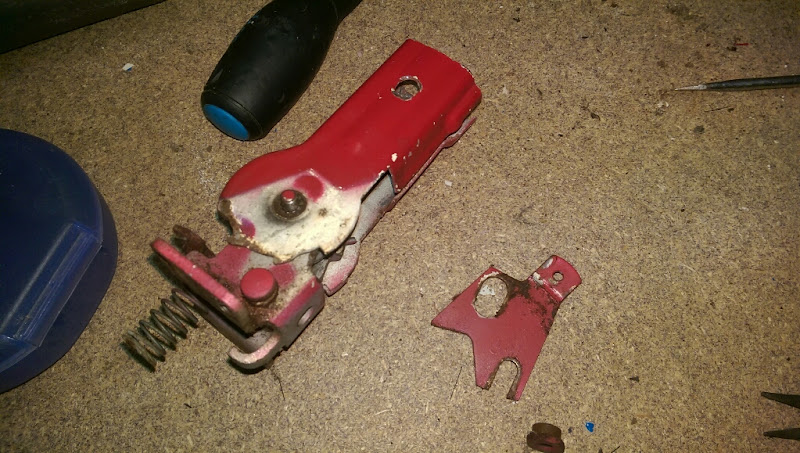
handle release pedal pad removed from the metal bracket

Onto the motor now, and the fan is removed from the motor

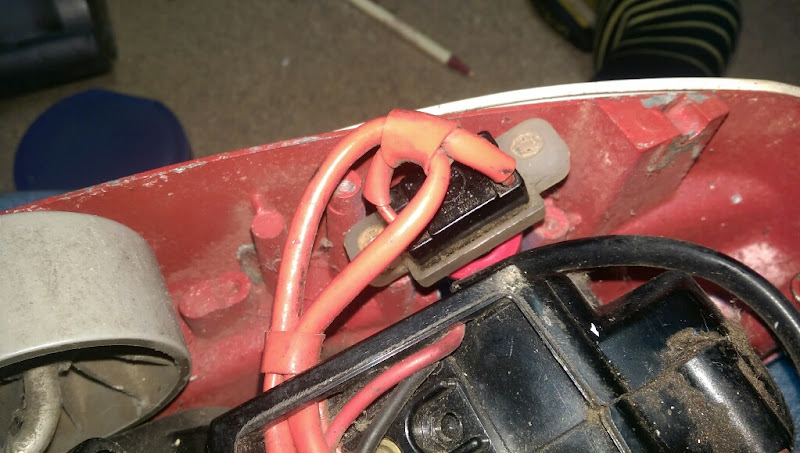
The switch de-wired

One side of the rf supressor de-wired

This is the last known crappy bolt, which sits at the back of the motor, I cant quite remember what it holds, guess we will find out soon

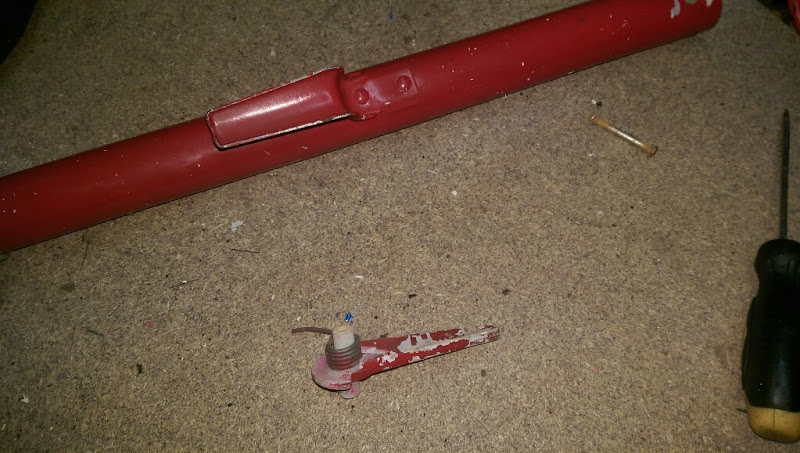
I left the motor alone for now, and took the rubber locating bit off the lower handle section

removed the bag holder from the upper handle section
and had an initial failed attempt at removing the handle grip. Someone has given me a red hot tip (oo-er) on how to get this off though, so will have a look at that tomorrow

I snipped the cable tie for a second time on the bag

and took the rubber seal out of the bag flange (fnarr)

and for now, that is that

A fellow collector has some scrap juniors, and has said to let him know what I need, so will see if he fancies sending me replacement screws and a new cable grommit
The vague plan is:
Get all the metal parts blasted (have spoken to someone already who says he could glass bead them, will sort that out at some point)
Get the motor overhauled and refurbished
Clean up all the rubber components
Paint it! I'm not keeping the union jack theme, I've never painted before so will stick to one colour (I need to read up on how to prep, prime and paint). I just need to choose the colour, which will have to match (or not look stupid with) the blue bag and white rubber parts. My initial thought is Purple, as Eva likes purple, so would like the cleaner, but I haven't really decided yet. Someone has mentioned white, but I'm not keen, may as well do something funky.
Unless anyone knows how to paint/re-colour rubber? Would happily paint the rubber bits, but in a way that means it wouldn't flake off within a month.
Anyone got any thoughts on what colour it could be?
This also means that the 1346 I picked up earlier in the week will stay as is, and be refurbished, although the stickers have gone, as they would have been ruined with washing anyway, being of paper type, and not shiney. I'll leave that for it's own thread though!


