I won this some time ago on ebay for just over £5. Came from a nice elderly couple, owned from new etc, just what all us collectors like to see

Whilst tidying the shed, I found my Permabag 2, Hoover's first generation bagless collection system, cobbled together when Dyson started to take over the market. I've had this for years but never used it, so thought I would refurb it along with the machine, mainly to get it out of the shed!

The only thing to come off the bag door is the retaining latch

The lid comes off the permabag

This blurry shot shows the inside is filthy, and going mouldy after god knows how many years in a garage and shed
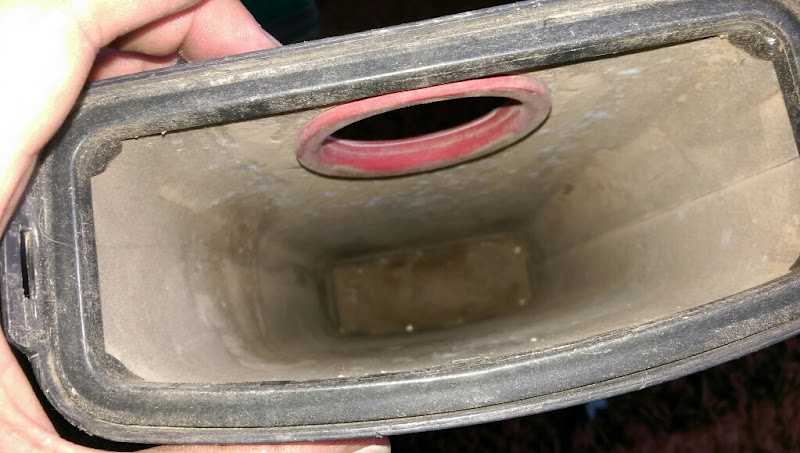
The inner box slides out of the cage, showing the years of dirt that have seeped through, apparently the system was, for want of a better word, shit!

But I'll keep it as a bit of nostalgia!

The pre motor filter was a bit clogged

I had already washed the hose, so the cable came off at the back

as did the small tools

The handle is removed with one screw

I did as I was told and left this label alone

The switch housing is removed with 2 screws

which exposes the wiring

The switch cover pops off
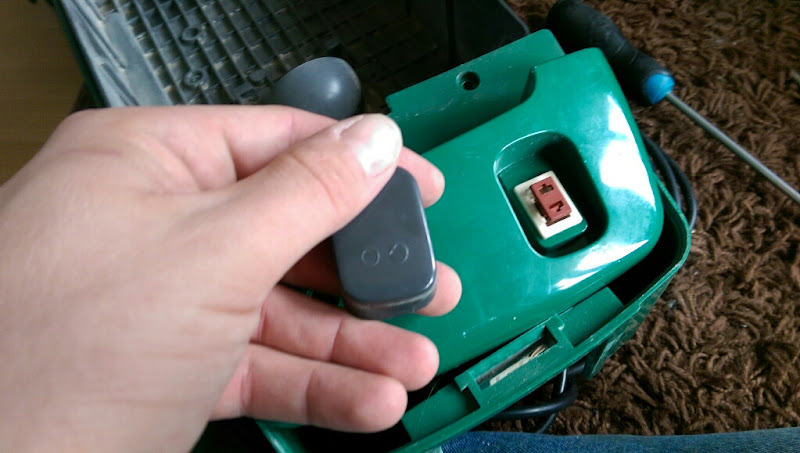
and once the bag full light is removed the little red lens falls out

Everything was de-wired

Crap picture, but the bag holder unscrews


and the two lower bag chamber screws are undone

The lower trim piece is levered carefully off


and the 4 motor cover screws are removed

and the cover lifted off

the 2 really long screws sit at the top

The post motor filter sits under the black cover

Inside the motor housing sits a diffuser, which had disintegrated as they all sadly do

With the motor cover out of the way, and the screws undone the bag chamber lifts out of the main chassis

revealing the motor in all it's filthy glory

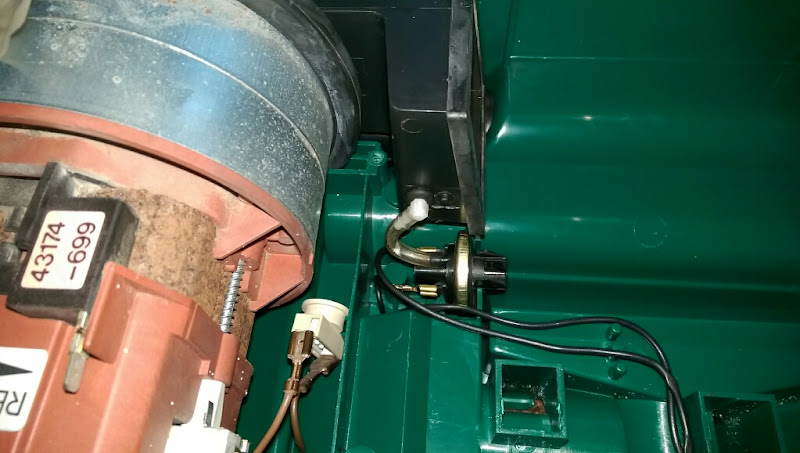
The main suction channel lifts out first, along with the little pipe that connects to the pressure switch that drives the bag full light

The pressure switch pops out of it's place on the chassis

Back to the top, the main wiring is held in place with this horrible clip, which I did not bother to replace

Once removed the wiring can be removed from the machine

The next step is to remove the height adjuster knob

and rotate the machine over

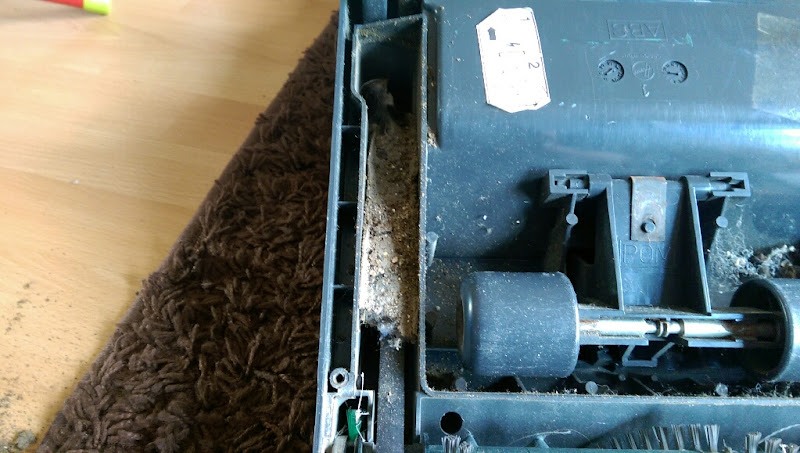
The clear blockage channel unclips, and 3 screws removes the base plate


There was a bit of smeg buildup by the belt
4 screws release the hood

revealing some date stamps, and allowing the bumper to be unclipped

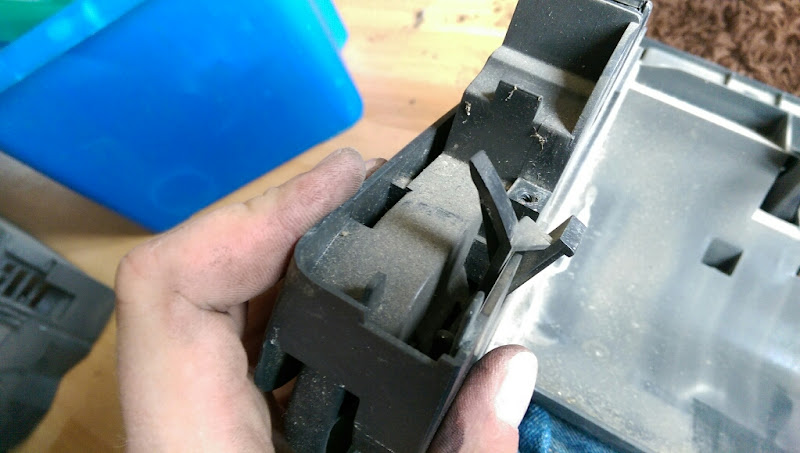
The release pedal unclips from the hood
I removed the motor at this point, although this could have been done before moving onto the hood


The big rubber fancase seal falls off

and all the wiring is removed

2 clamps either side on the pivot points are removed, one side is metal, the other plastic


This little piece of rubber sits in the motor housing on the back chassis

The belt spindle end holder and rubber seal

The choc block is removed from the chassis

and the carry handle, lower cord hook and tool holder is released with the 2 remaining screws


The release mechanism pops out of the lower chassis

I did not remove the rear wheels, as replacing the circlip looks damn near impossible with my motley collection of tools, do I did not enter that world of pain

The middle wheels are held in with this hateful spring clip

Which is easily removed, but also easily broken

The height stepper block splits and is removed once the wheels are out of the way

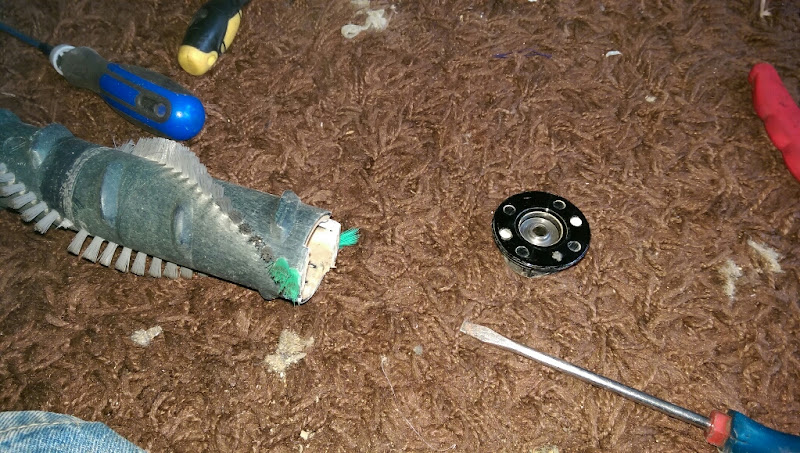
Main machine stripped, it was time to look at the brushroll

The end caps were full of fluff

Whilst all this was going on, I soaked the permabag assembly in a bath full of hot water and dissolved washing powder

and then rinsed it off and soaked it in a bath of hot water and bleach to sort out the mould
The rest of the machine was washed, dried and polished, and then re-assembled
Motor in

Ducting replaced. When I finished, I noticed there was no suction, I hadn't clipped the top duct into the fancase properly, so make sure it snaps in fully

I didn't take step by step re-assembly pictures, but the rear tool holder was fitted, then the bag chamber, then motor cover, then lower trim piece

Wiring and bag full gubbins fitted
The lower chassis was re-assembled and the hood fitted

Activator brushroll re-assembled with fresh bearings

and a new belt that came with the machine
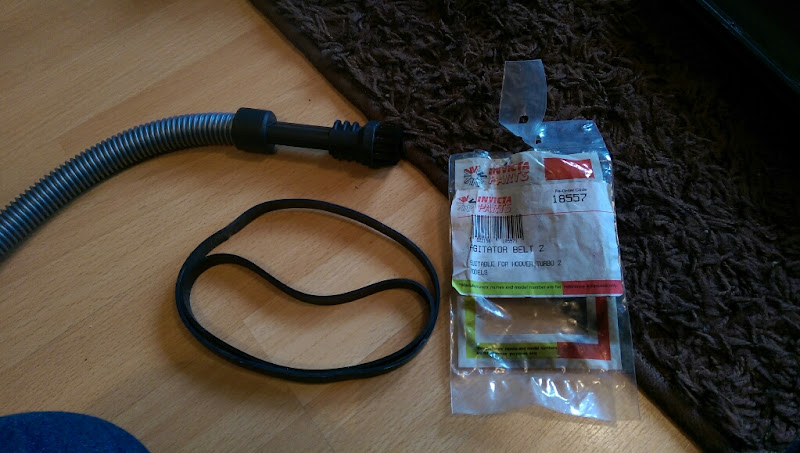

I found some new filters in the shed

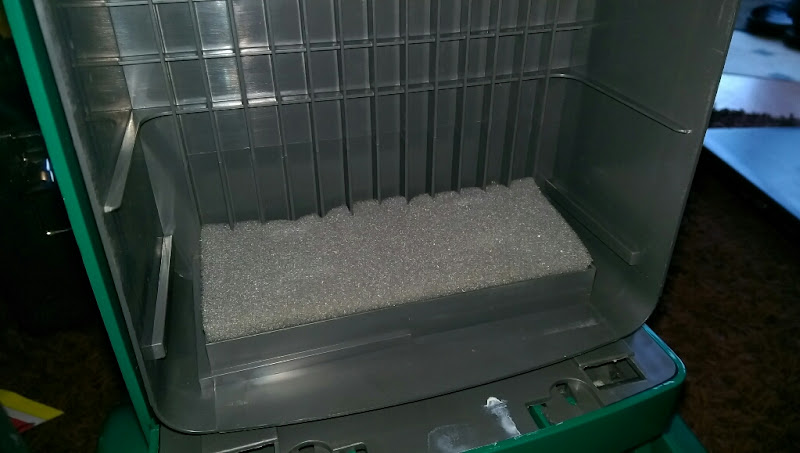
and checked out the clean and dry permabag

All the staining has gone, which is good


New post filter fitted

A week or so after I picked the machine up, the previous owner messaged me to say they had found the manual and guarantee, and would I like them? I said yes please, and went and picked them up, which is great as now I have a very complete TP2, the only way it could be better is if they had the box!

With the machine re-assembled, I had a vacuum with it
it seems to work very well as this is what it picked up after that video

This rug is vacuumed regularly with the Miele AccuNova, but the AccuNova isn't a very deep cleaning head
I then went up into the loft to get the red TP2 out for a bit of a photo shoot


and then put them up in the loft for another day

Happy to have this one, I feel the TP2 collection should grow a bit, they are very very good cleaners, better with a proper paper bag fitted though!


