I often have a few crap vacuums lying around that I get given. They come in handy sometimes too, an old colleague and freind of mine is moving out of her parents house, and asked me if I had anything. She has bare floorboards, so I didnt think a DC07 would be very good, so I said I'd have a look and see what I had.
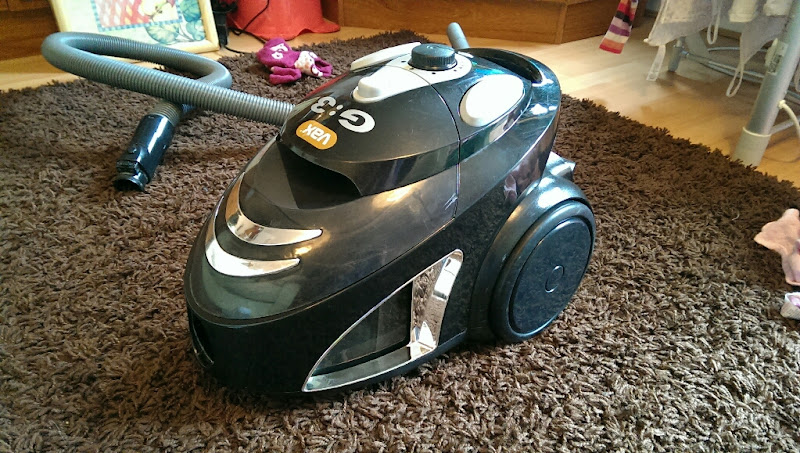
I found a Bush bagless cleaner in the shed, but upon turning it on it seemed the motor had killed itself, so I had another rummage and found this:

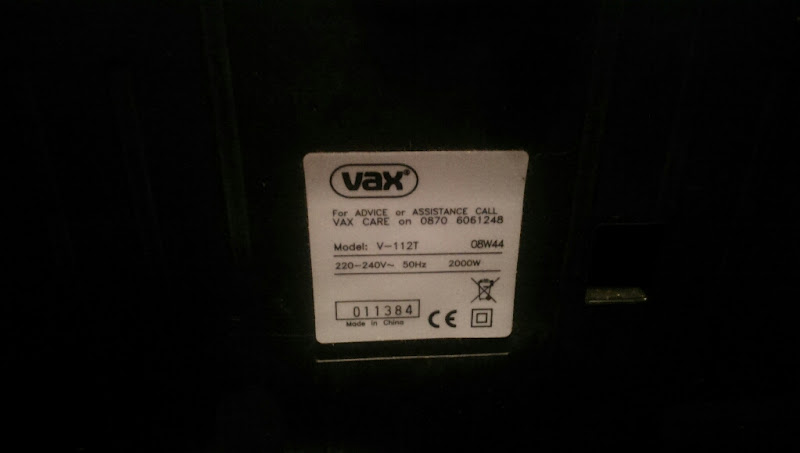
I remember getting this, a lady posted up on a local selling site asking if anyone wanted 2 free hoovers, and 4 people tagged me in the post. Got a nice DC04 Absolute+, which is long sold, and this. It's idential in pretty much every way to a Vax Centrix 3 I had a few years ago, which was shite tbh, but she wanted a cheap vac, a cheap vac she shall get!
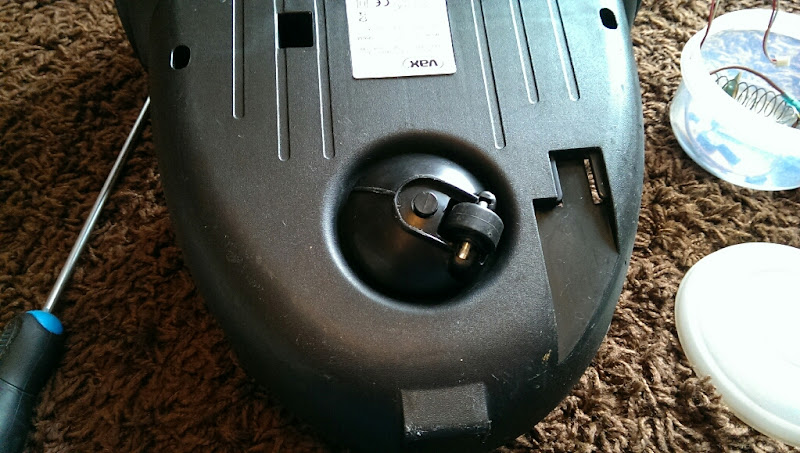
Dustbin out

5 screws and one security torx screw and the top housing lifts off
Was held on by 2 cables going to bits on the lid

Which connected on alternate sides

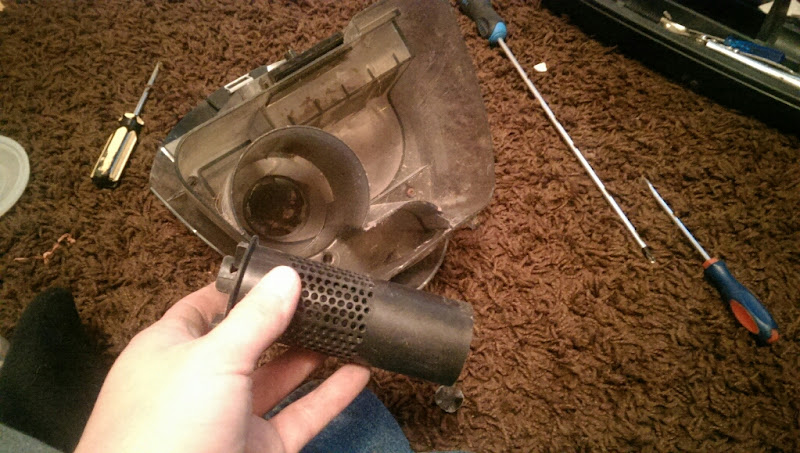
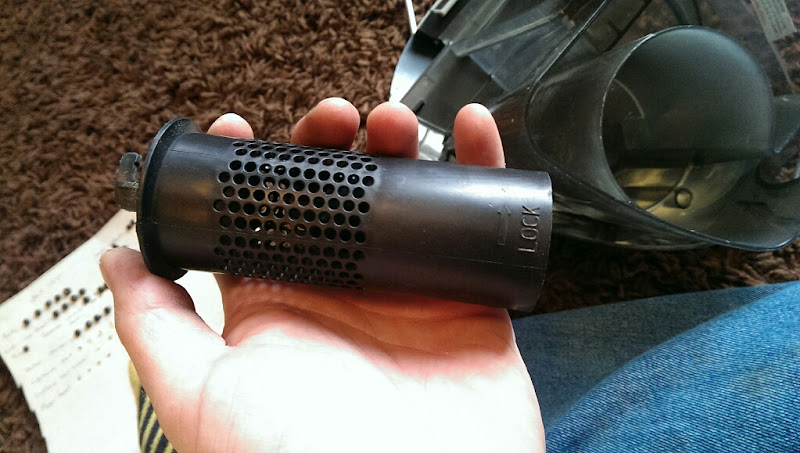
The post motor filter and housing fell out at this point too

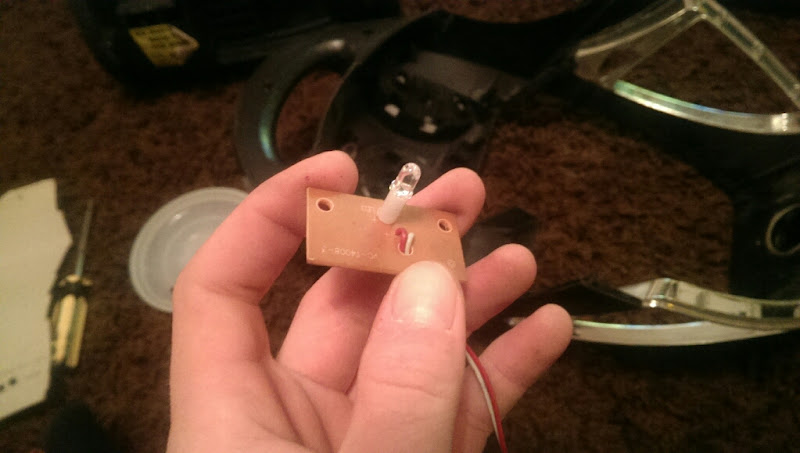
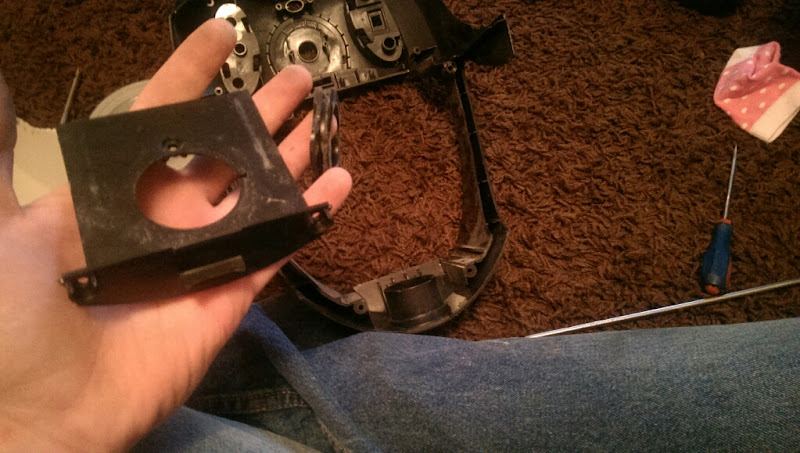
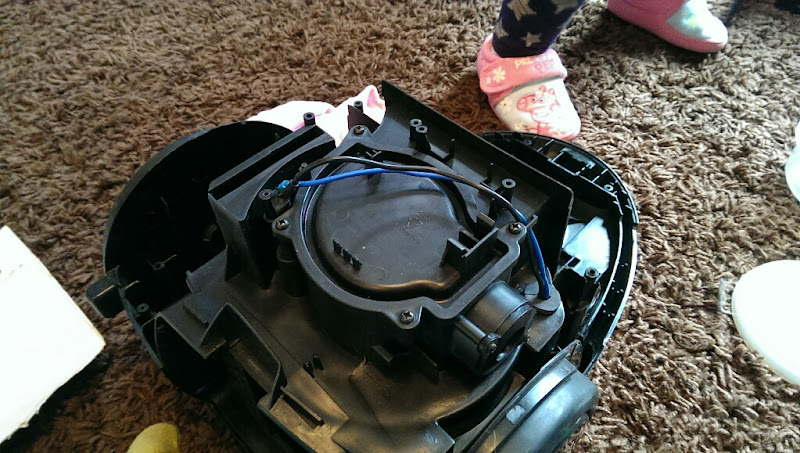
Under the lid was the speed control board and led light for blockages

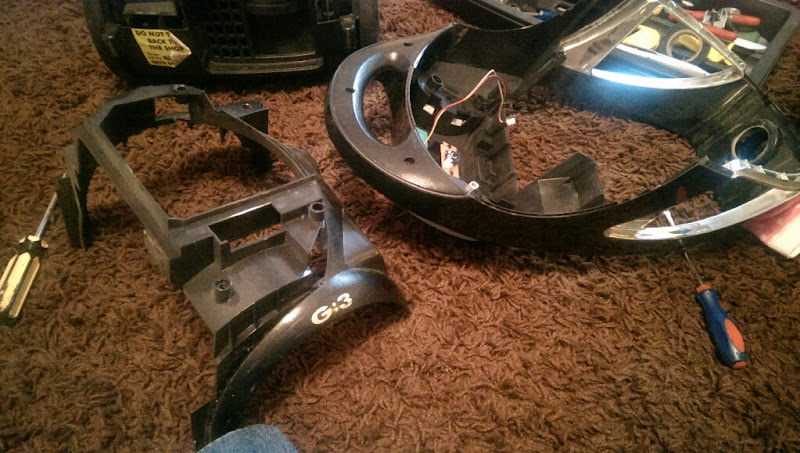
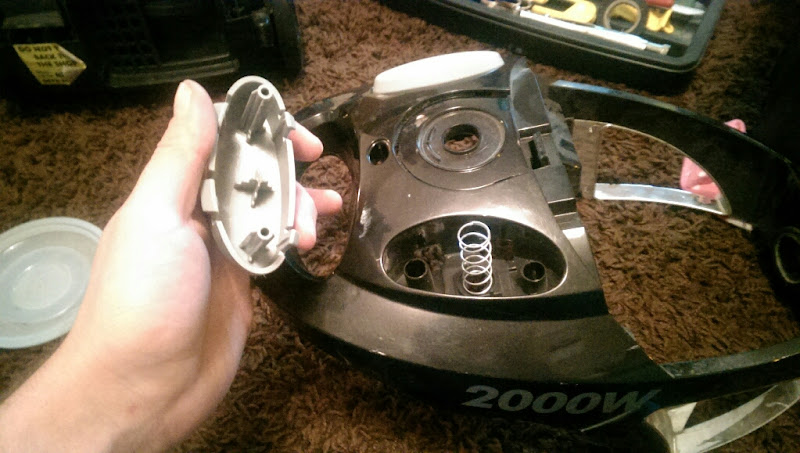
An internal chassis unscrewed
There was a roller to help guide the cable out


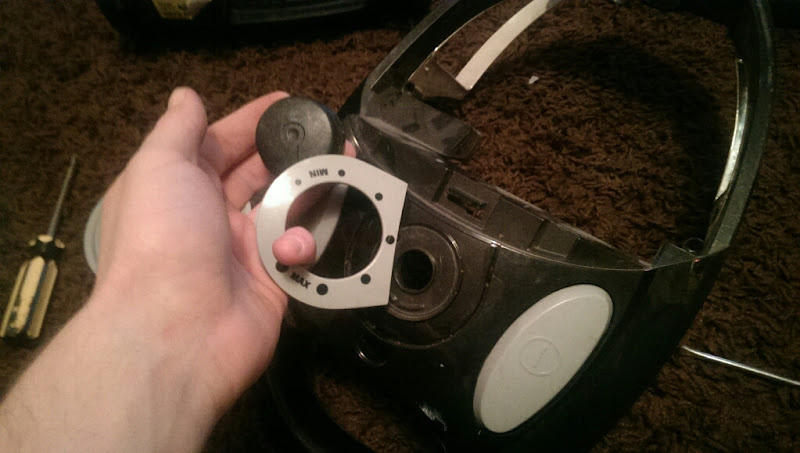
Speed control module

and the LED board
The lens for the led pops out from underneath
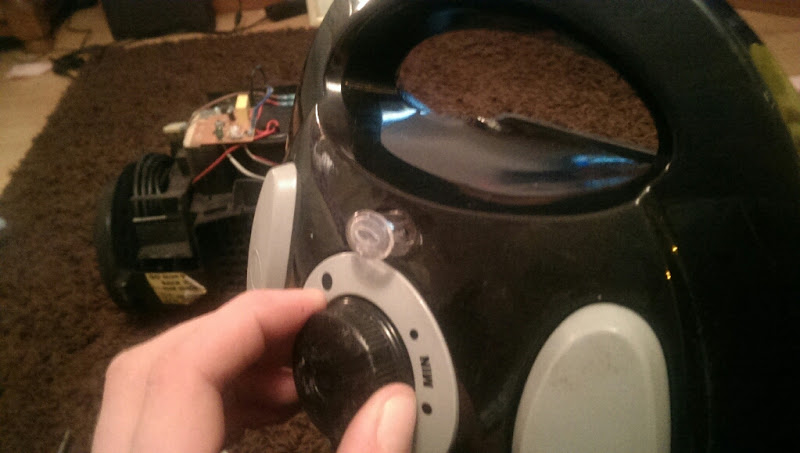
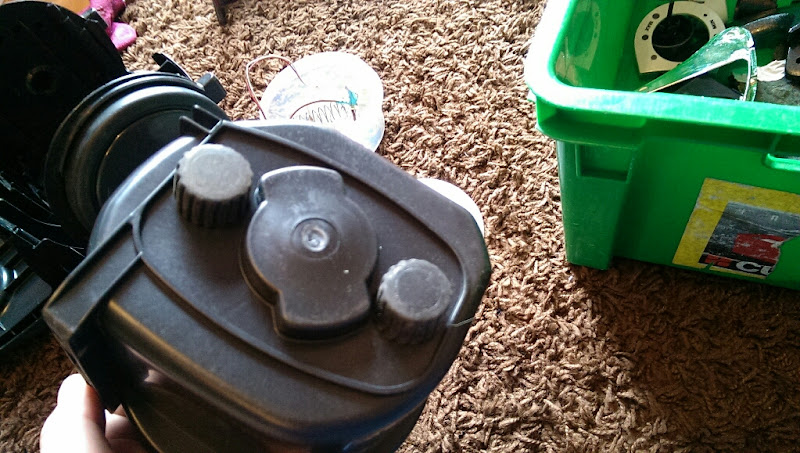
Speed control knob and trim pops out
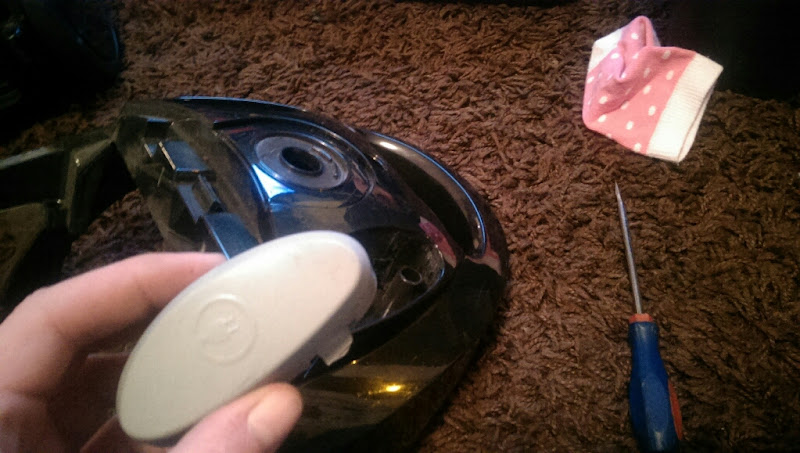
The pedals pop out now
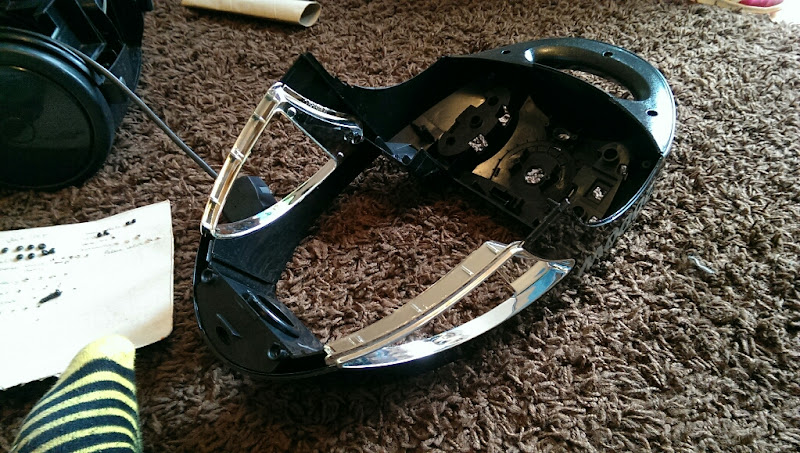
the 2 blingy chrome trimz unclip from the sides

The front hose entry trim unscrews and the seal is removed
the under handle trim unscrews

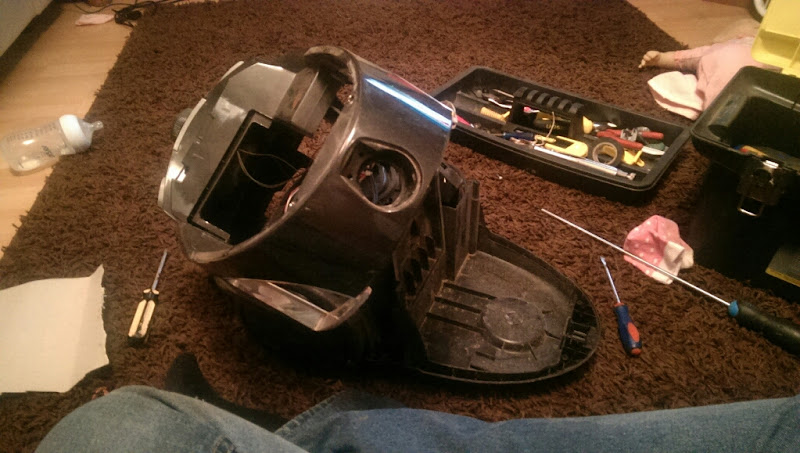
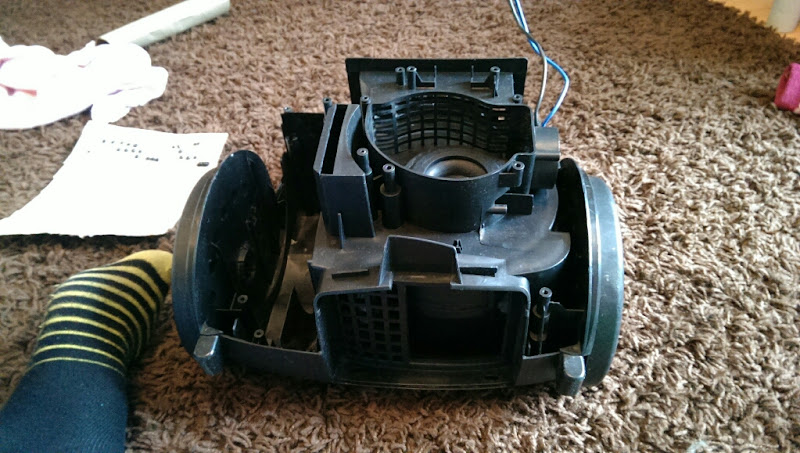
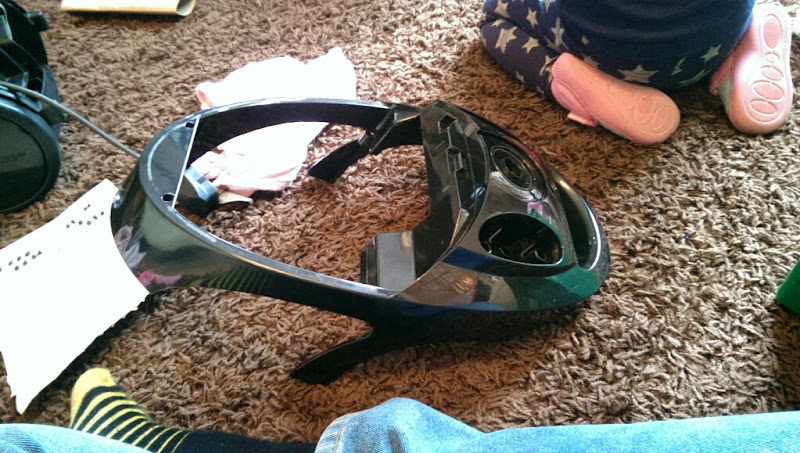
Onto the main part of the machine now!

The cord rewind mechanism lifts out
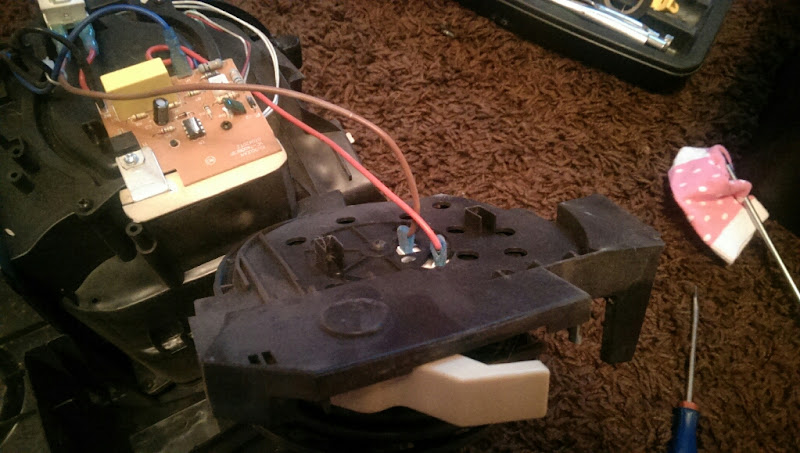
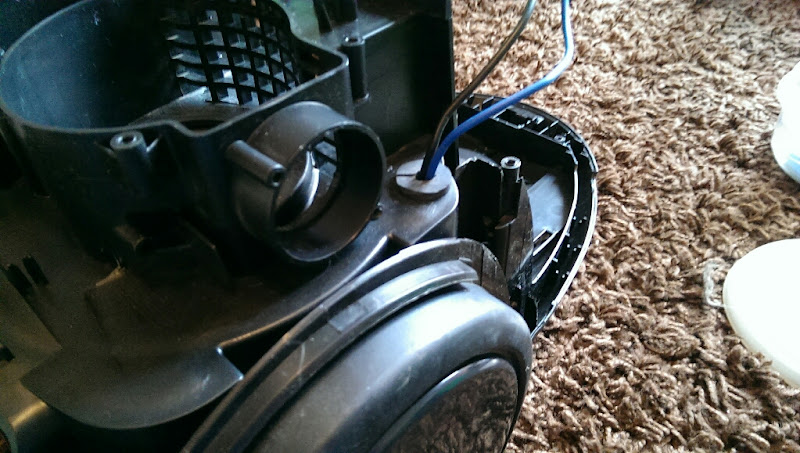
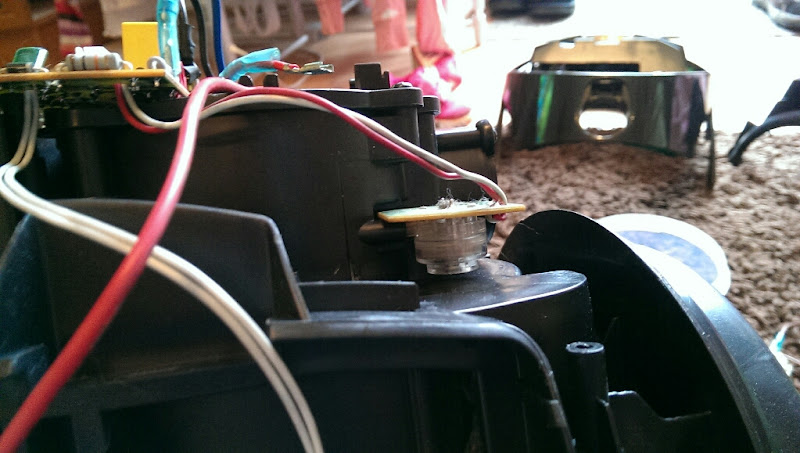
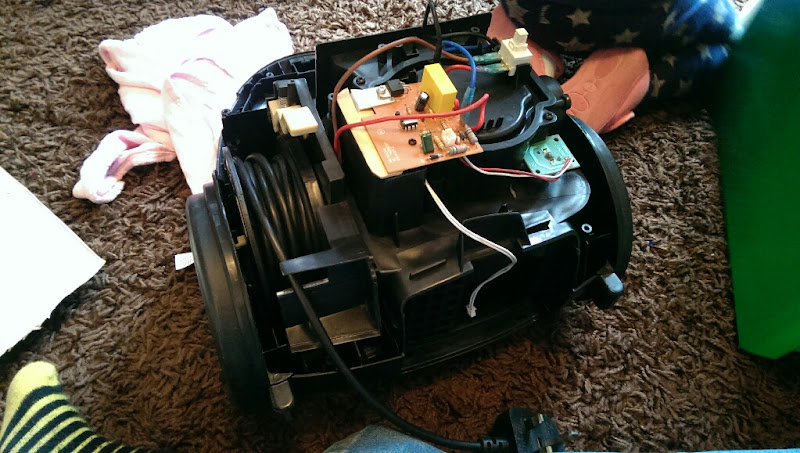
Onto the electronics now
Power switch out
Motor wires

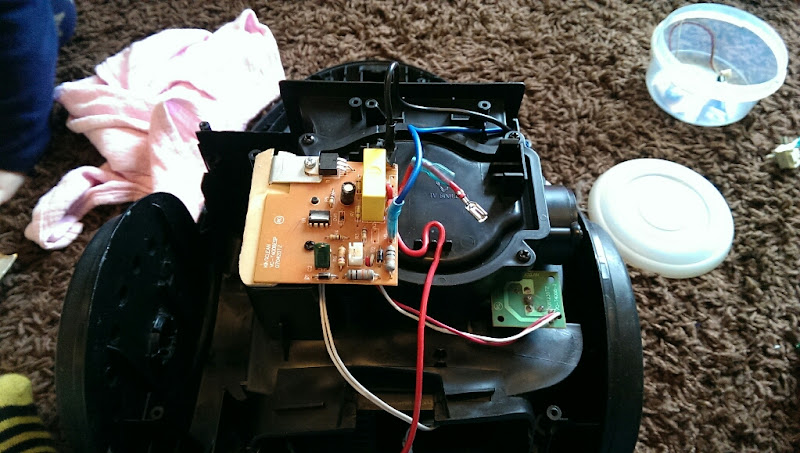
Managed to snap the corner of the PCB off. The internals were still ok though, so I put a drop of superglue on it to sort that...

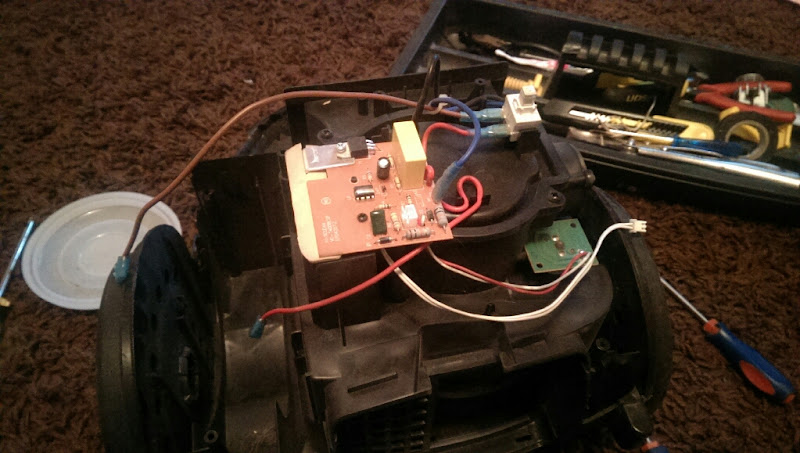
There was a cover

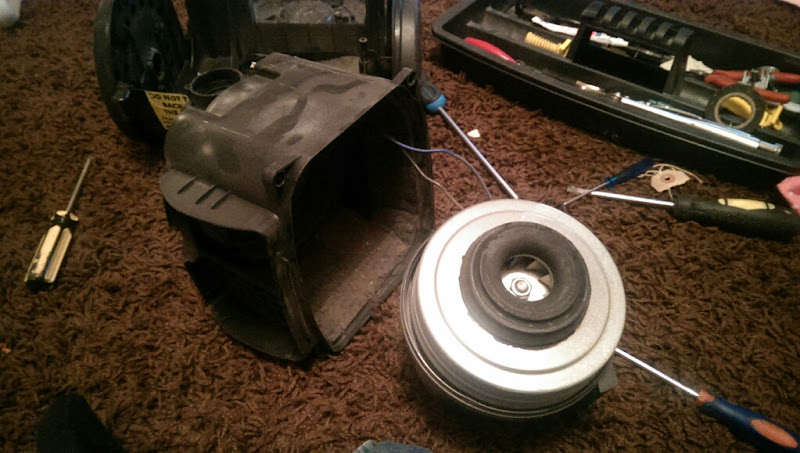
Aha, the top of the motor!

The release valve


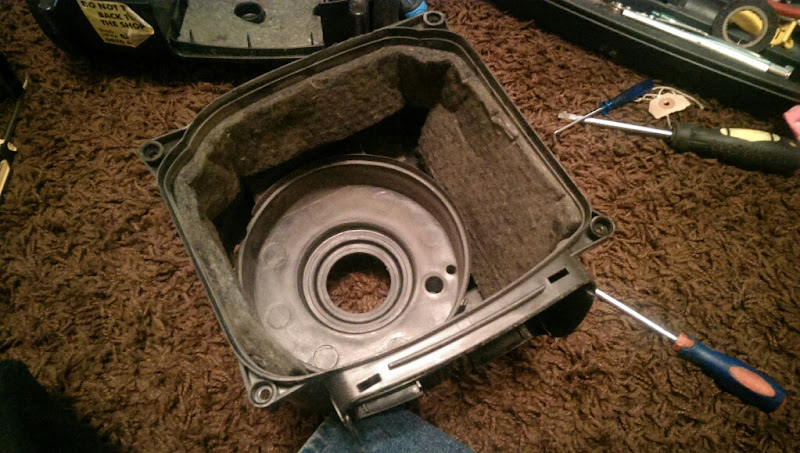
4 more screws and the motor housing pulls up, and the motor falls out
This bung held the wiring in

Sound deadening
Pulled it out for washing

2 anti vibration bungs were on the bottom of the motor housing

The beast of a motor is removed (horrible chinese screamer..)


Front wheel was removed

I tried to remove the rear wheels, but couldnt, so they stayed on
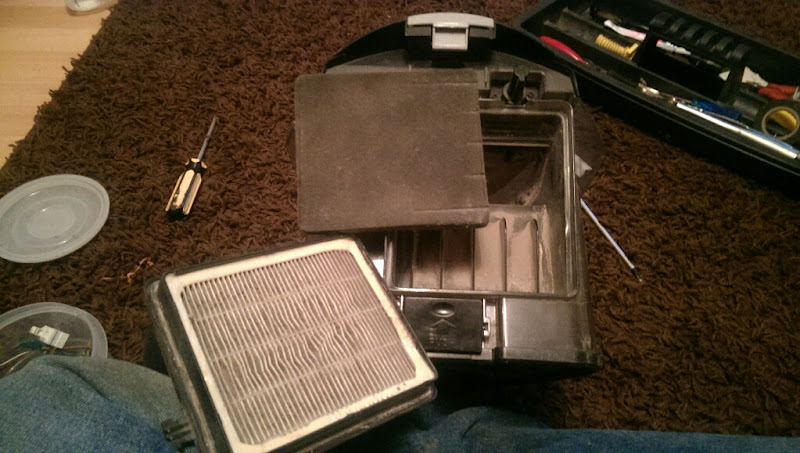
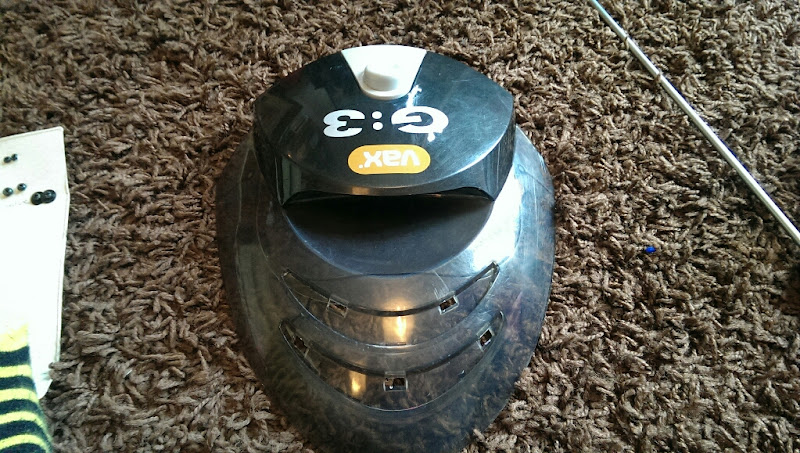
Dirtbin next

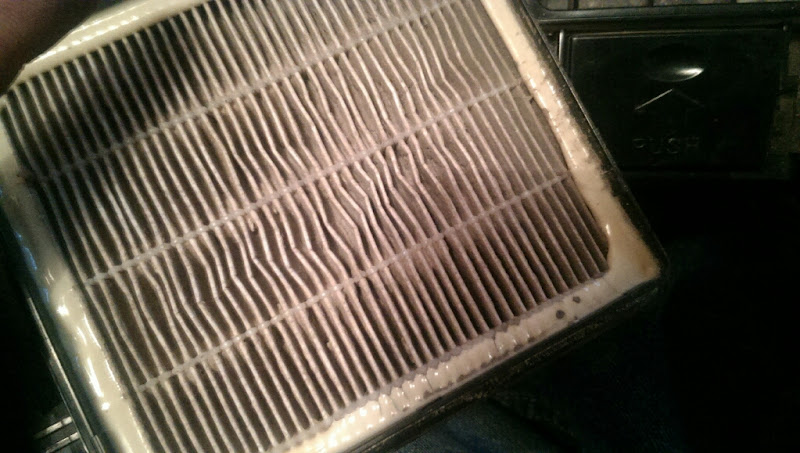
The ruined filters were removed
There's no washing this. It's the inefficiency of the cyclone system sadly
Bottom flap removed

Cyclone shroud removed
4 screws remove the top shell

2 more blingy bits are removed

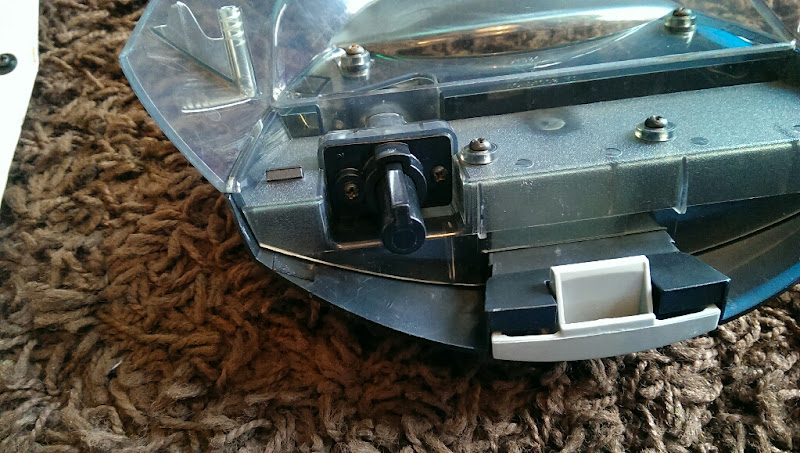
This chap here ensures the cyclone cant go back on (without a flatblade screwdriver) without the filters in place

The release clip pops out with a bend of the housing
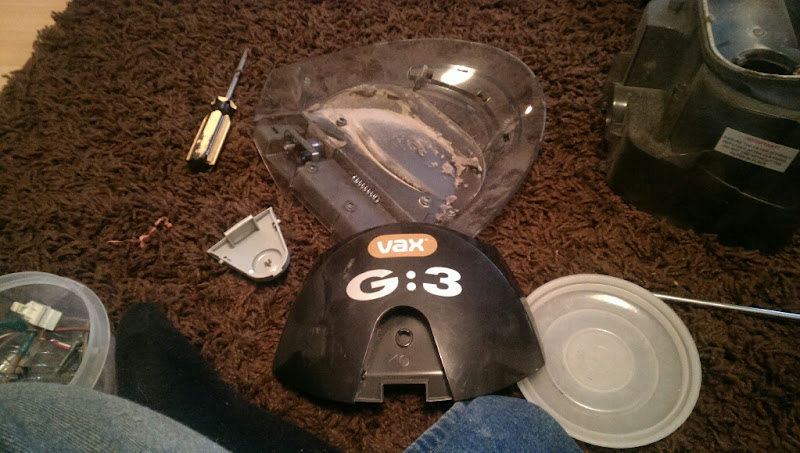
The only rubber seal on the whole machine that is removeable

and the cyclone was removed!
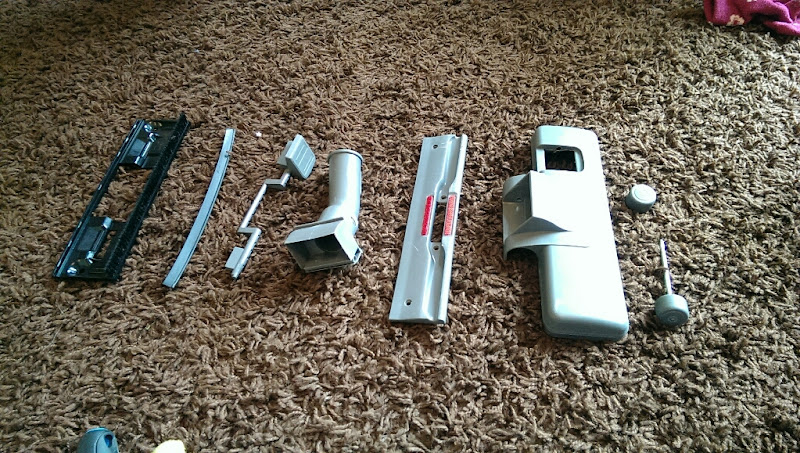
Onto the tools now. The handle had a tool holder on, I didnt get any tools with this machine, and the random dyson ones I've got for the machine dont fit on it, so I binned it off

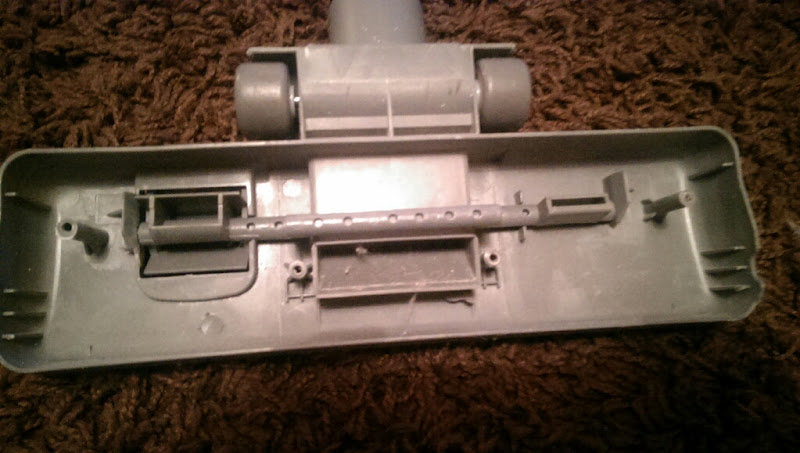
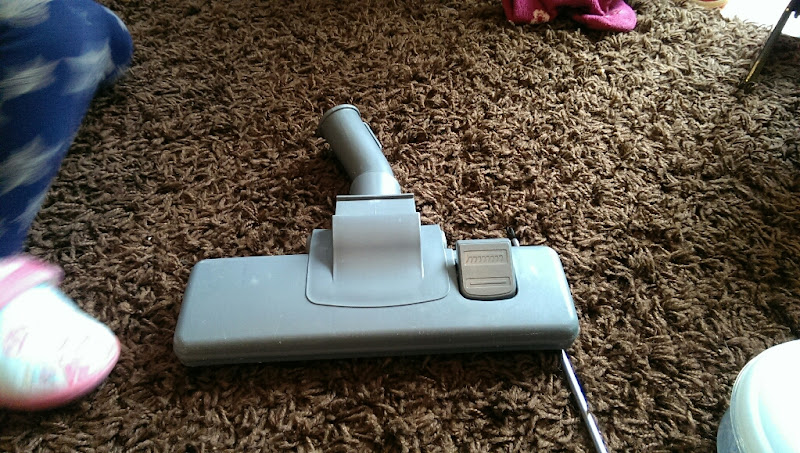
Floortool next

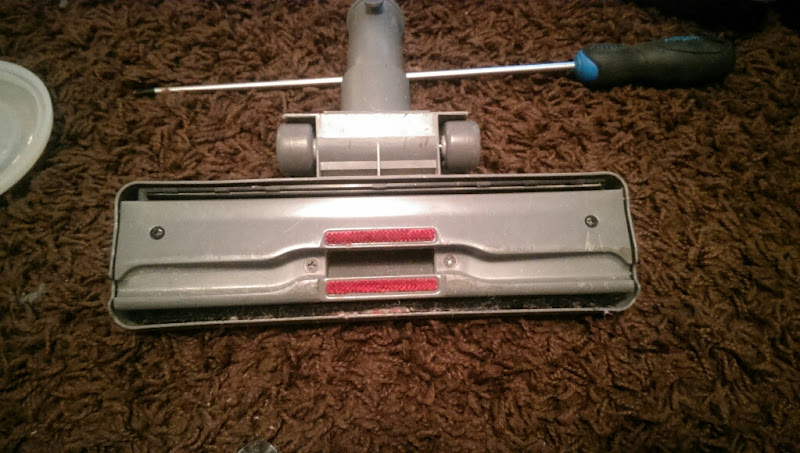


50/50 of the brush

Much better!
at the back was a rubber squeezee, which pulls out

Pedal snaps out

and with the wheels removed the neck seperates from the main head

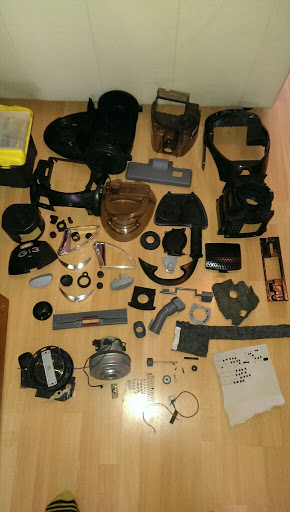
All ready for washing!

All the screws

and all the washed parts!
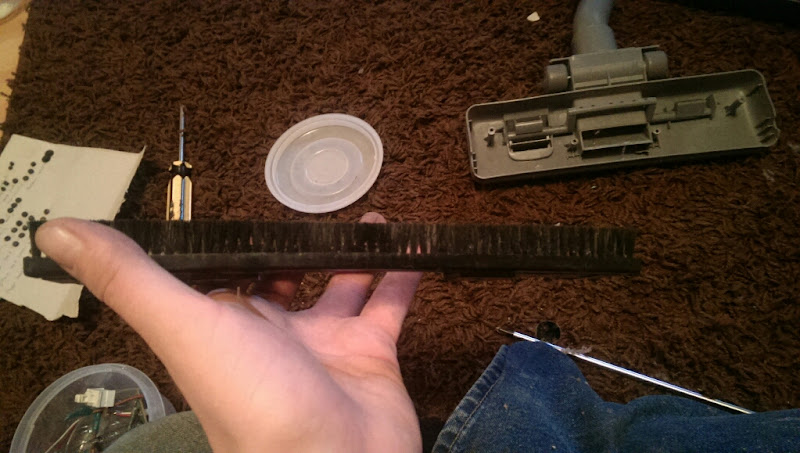
Floortool first

even cleaner brush strip

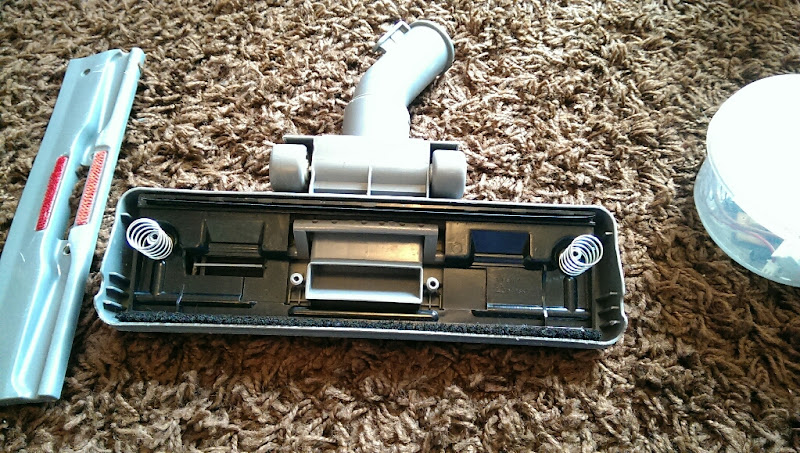
and the floortool is done

Cyclone next

cyclone holding clip refitted

and fitted to the lid
plunger refitted
Blingy shiz fitted

rubber seal fitted


shroud fitted

bottom flap fitted

and the cyclone is done
centre wheel fitted
le motor

rubber bungs fitted
Sound deadening fitted

motor located in the bucket

and fitted into the outer housing

wiring bung ready to go


lower sound deadening fitted

with a surprising amount of faffing the two peices were bought together, with everything wanting to fall out at once...
release valve back together

and fitted. Fitted the top suction channel cover too
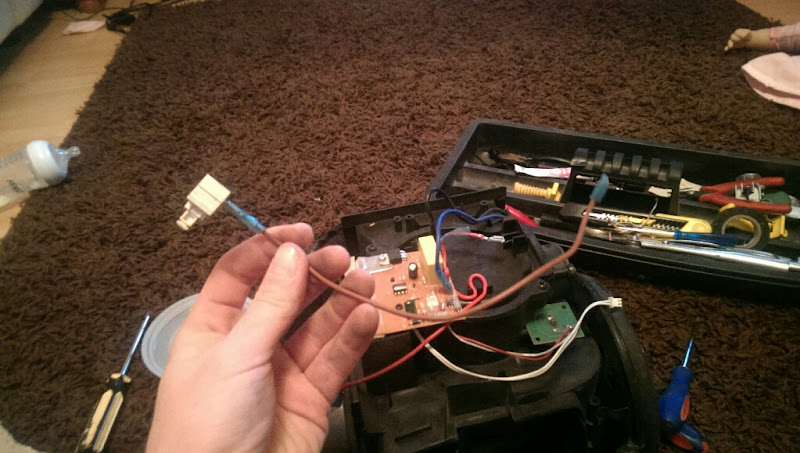
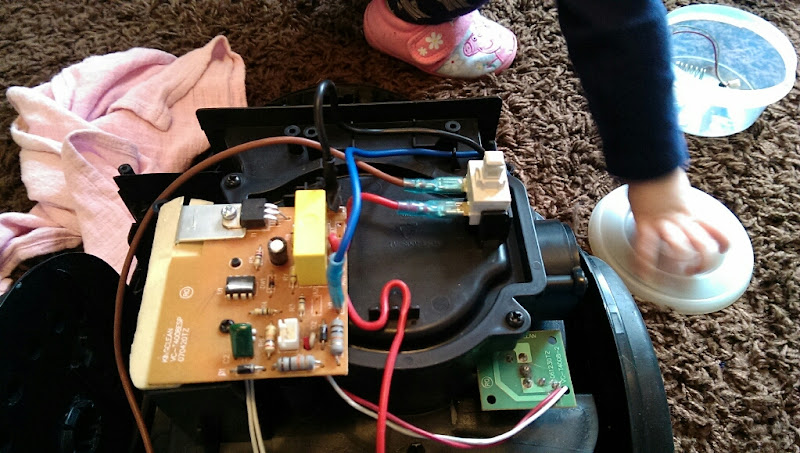
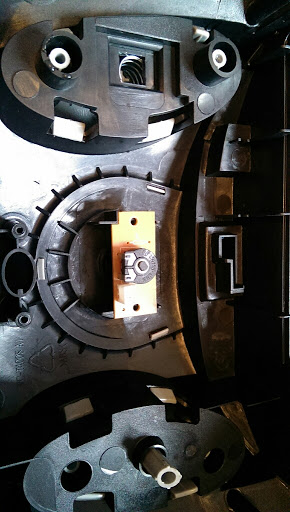
The airflow check pcb was fitted (was looking for a pipe that connects to it for a while...
the motor was wired up
switch was bought back in
and the cord rewind was connected up and fitted into the housing
lower housing done, it was time for the top
top handle fitted


hose entry housing refitted


blingy bits fitted
pedals were refitted

speed control bits fitted

had to fit the pcb to make sure both the knob and board were at the same place (forgot to time it up before removing, this is what puts me off doing a cambelt on a car...)

little boards fitted

roller fitted


plugged back in

top housing was screwed back down, and with the aid of a screwdriver the cyclone was fitted!

it looks like a trainer (shoe)

It works, but I almost thought it was broken as the suction was no better than a 400w dirty fan Turbopower 1 through the tools, before realising that the pre motor filter needed to be fitted to bridge the gap between motor housing and dustbin.
Filters are ordered, and the conclusion to this thread will be done when they arrive!
Tidied the shed up today too to make use of the space given by these two vacs not being in it anymore!


