I had this out of the shed on the last day of my paternity leave, and decided it was an 'outside' stripdown

Plus I was worried that something would fall over in the shed and break the mint wand


Release button released

Tools next

I found a less bent crevice tool, and put the odd shaped one in the shed for a rainy day

The upholstery tool has good litter pickers on too

Dusting brush was suitably smeggy

Onto the machine now, cyclone off

Filter flap is in good condition

but filthy

Pre filter housing was a little worse for wear, the foam seal coming off in places

Ancient filter removed

Wiring cover unscrewed

Ooops, caught the neutral wire when fixing the cable the first time it seems

Neutral apart

Wire clamps removed

Switch out

Mains cable off. I had to remove the spade terminal I fitted though to get it through the hole

The terminal cover on the chassis wire has to come off to fit through the hole


Push it through

and that is done for now

The cyclone-chassis seal comes out now

Time for some underneath action

2 out of 3 baseplate screws had come out of their retaining washers but amazingly the washers were still present

The underside was greasy as

, never seen one as greasy and mucky as this tbh

Baseplate split

Don't think I've seen one saying 'front' before, although have never looked until now tbh

Gopping soleplate seal removed

Brushroll now

split


Bumper off

One of the glamour caps removed from a wheel

Circlip underneath removed, wheen ald washer taken off, axle pulled through by the other wheel, a quick tap onto the table to pop the other glamour cap off, wheel and washer on the other side removed and

Brushroll housing popped up on the small pivot side

angled to full flop

and lifted off

Recline spring assembly removed

and split

Brushroll housing floating bracket removed

The remains were perched on the edge of the table now

and the lower motor housing unscrewed

Plaster dust...

Rubber flaps removed

rubber seals removed

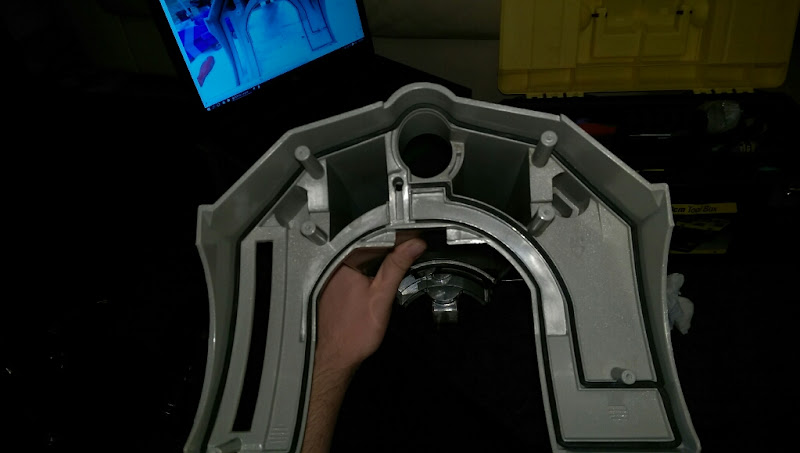
To get the motor out, we need to look down here

unplug the L and N

and remove this screw

The motor and TOC lift out

Motor rubbers and support bracket fall off
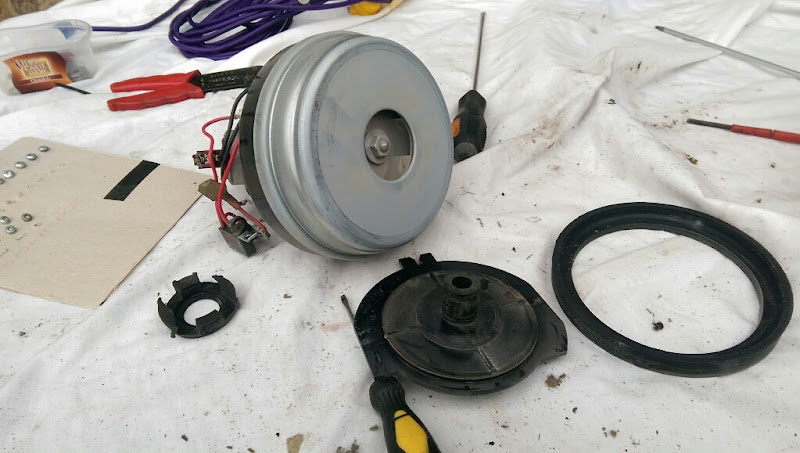
The motor fan was very dirty, so I got a big flatblade screwdriver, a hammer and a lawn

You want to either grow another arm, or hold the screwdriver against the lip of the fan case as so, then pivot the motor back slightly and hit the screwdriver with a hammer. You can see that it cracks the cover off slightly. The lawn absorbs the shock and enables the fan cover to move down into it slightly, if you were on a hard surface you could dent the fan cover

Repeat this a few times in different places and

The 3 fans come off as so, and are laid out in order of assembly

I nearly looked at stripping it down more but the motor is very clean, and I didnt want to move anything out of alignment and buggar it up, so left it be

The 2 fans have different notches taken out of the side. The bottom fan has the smaller one, the outer one has the 2 larger ones

Back to the machine. Wand seal out

6 more screws seperate the top motor cover from the chassis


Seals off

The chassis is now as naked as it will get (never been able to get the switch cover out, and the big seal is bonded to the plastic)

The grease has caught some stones in it. The spinal cord pulls out as well, and the little seal is removed from it

Pivot seal out

The main machine is apart!

Time for the dirty bit now!

The bottom of the bin was a bit minging

the inner part wasnt much better

Seals off

Cyclone top now

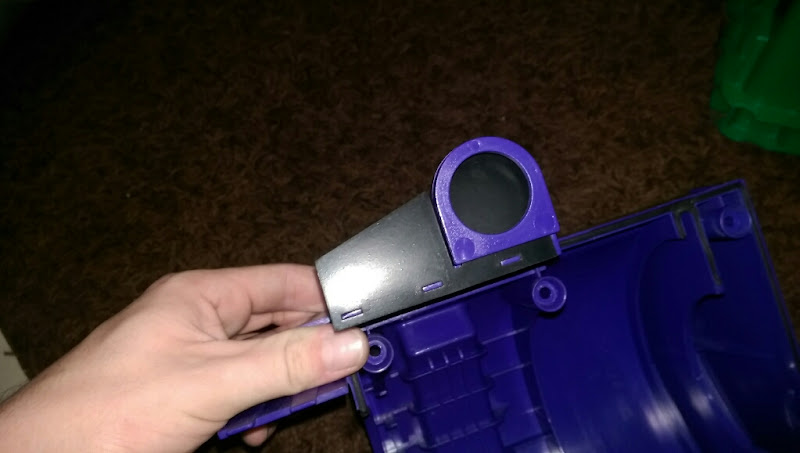
The release valves have to come out first

They pull out, but make sure you pull from one side so they flip out


There is a screw at the top

Once removed, hold the top handle very firmly, and bend the cone down until it cracks out of the housing


Now normally, I give the top part of the cyclone that is a tight fit in the housing a few hard smacks with a hammer and something blunt, and out it pops. This time however, it popped the release valve housing out...

Never had that before, but have heard Mvacs say they do it as routine, so I'm sure it can be fixed.
Either way, the pesky cyclone top is out

Bin seal out

Cone and shroud seperated

All the screws

Because it was particularly greasy, I soaked it all (bar the cyclone top to stop the stickers peeling off) and chassis as it's massive in hot water and washing powder for a few hours, which bought it all up very clean indeed and made it much easier to wash!

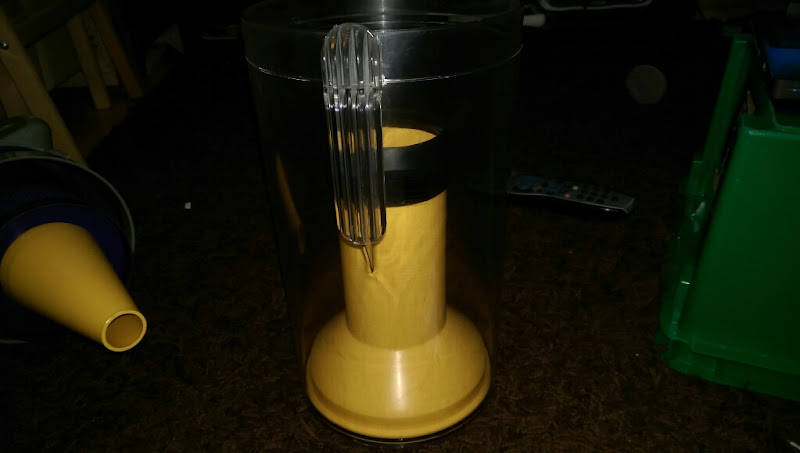
Pic taken from inside as I forgot to take a picture
Everything was washed, dried and polished. Then the usual

Cyclone cone and shroud were reassembled


bin seal refitted

Cyclone top seal refitted

and screwed in

I then went into the shed for my tube of sealer to refit the release valve housing, but it had gone hard (funny story about that, I pumped it, nothing. Cleaned out the nozzle, pumped it some more (one of those ones with the built in handle, not a cartridge and gun type job) and nothing. Took the nozzle off, poked it with the wheel axle and pop, sealer shot out everywhere...it would not stop, I hurried outside, getting none on the laminate or my hands, and just put it on the patio, where it carried on shooting out for 5 minutes, still there now but it's dry so I can peel it off, now I need more sealer), so used qbond
which did work, but calamity, it ran round the front and started sticking to the rug

Luckily, it came off with wire wool and some time, and just needs a hit with the rotary to erase all clues of my issue... cone and shroud fitted

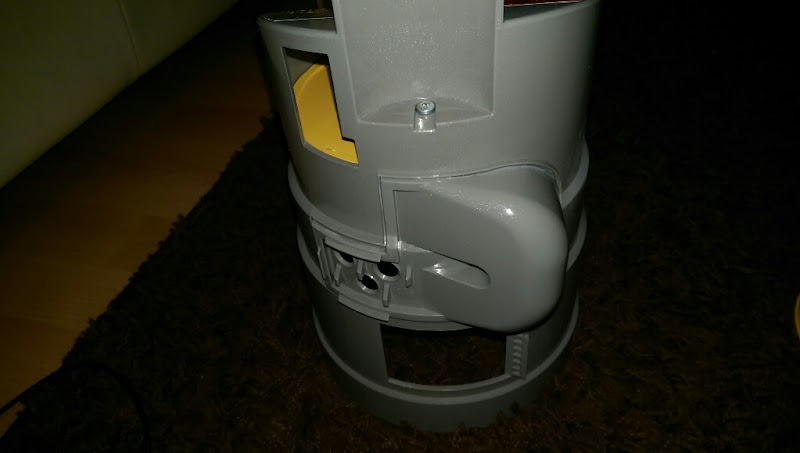
I cleaned up the relief valves

and refitted them for now, will tape it all up I think in the future, it improves the suction!

Lower cone now

Onto the machine

Pivot seal refitted

spinal cord fitted

Chassis seals fitted
Spinal cord pushed through and the chassis mated up to the top motor cover

Wand seal fitted

The motor was put back together after soaking the fans in the box of very hot water with the rest of the machine, then a good rinse

Seals and holder fitted

Motor refitted, wires screwed down, plugged in and routed

Seals fitted to the lower motor cover

flaps fitted
Motor re-enclosed

locking assembly reassembled and fitted

Brushroll housing fitted

Wheels fitted

Bumper fitted. I peeled off the non sticky tape, need to get a roll of double sided tape at some point for this and the other DC01s, but it holds ok

Brushroll and a new belt fitted

Baseplate seal fitted

Baseplate fitted

The top seal, switch and cable was fitted and covered up

I was given a new, genuine HEPA filter which I have been saving for this, so fitted that


filter flap fitted

I dug out a much better pre filter housing

with tidier seals and a new filter fitted


I got the hose out of the airing cupboard where it has been for months, and fitted that and the wand, and wound the cord up. Then I noticed the plug is missing the fuse holder, must get one of those some day

Done!
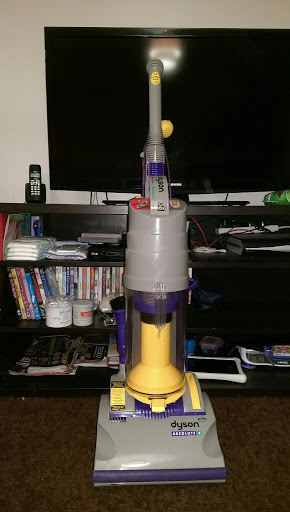
The next day after work I ran it over the mat by the door and the big rug, and pulled a surprising amount of crap out, and confirmed that the release valve housing is nicely sealed up

I still need to polish it up and wax it, but have been using it for the past few days, so will use it a bit more, clean it back up again and post some proper afters!
Only 2 more DC01's to get now!


